BlackedOutHoe
Low & Slow
This is an easy swap. Just take your time.
This is for the 95-99 GMT-400 truck and SUV gauge clusters.
Things you will need:
(6) 194 LED bulbs. color of your choice. The bulbs you want are available from superbrightLEDS.com. They are the WLED-x bulbs, they look like this. The 120 degree viewing angle.

These bulbs provide the best light output for this application, they don't leave hot spots like other types of bulbs.
Tools:
-7mm nut driver, or a 1/4" 7mm socket and extention with a ratchet.
-Small flathead screwdriver
Start off by tilting the steering wheel as low as it can go. Also put the gear selector all the way down into 1. (you will need to have the key on to get it out of park, and set parking brake)
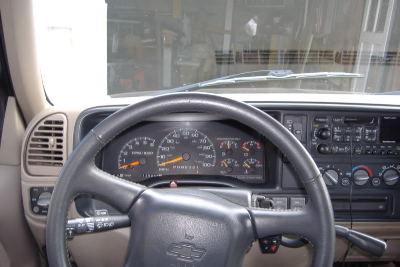
Then start pulling off your dash bezel. Take your time, you wouldn't want to break any clips.
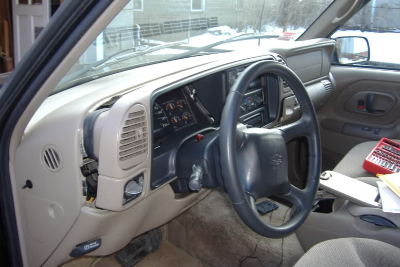
Be aware of the things that have wires running to them that mount to your bezel. Such as the headlight controls
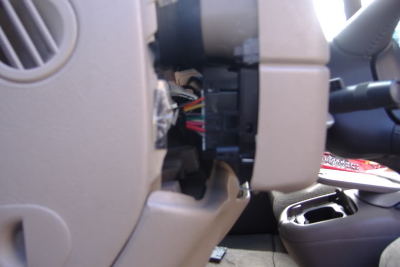
And the rear hatch popper and wiper controls for you Tahoe boys, or cargo lamp if you have a pickup.. Also if you have push button 4x4, you'll need to unplug those as well.
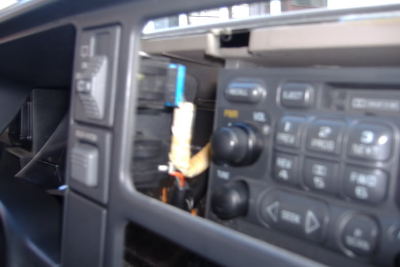
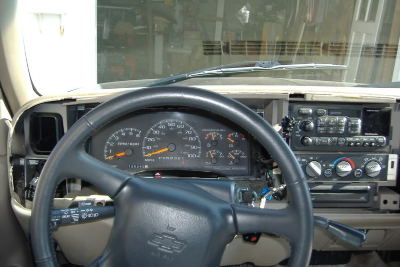
Naked dash
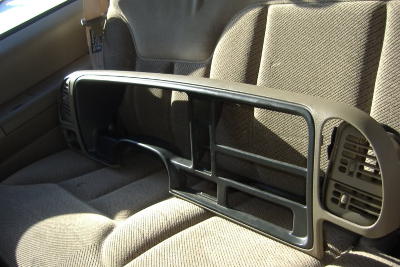
Dash bezel
Next is to take out the four 7mm screws that hold the gauge cluster in place. Use the nut driver for this.
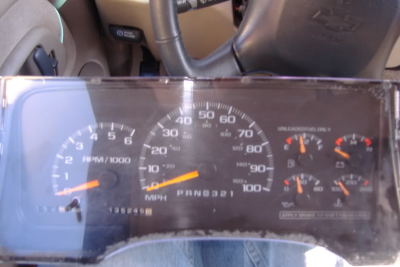
Cluster
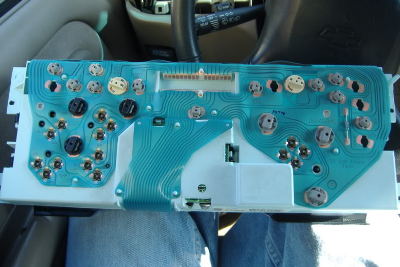
Flip it over to get to the bulbs you will be pulling out. There are six of them, and they all say "ILL" next to them
On the left is the bulb you're taking out, on the right is the LED you'll be putting back in.
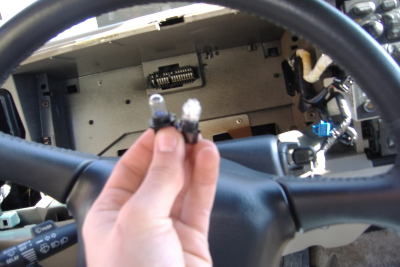
**IMPORTANT** Before you screw the cluster back in, simply place it back where it goes, and then take the headlight controls off of the bezel. Then reconnect it to the wire you took it off. This will allow you to test your lights to make sure all the LEDs are facing the right way. If they do not work, pull the cluster back out and turn the bulbs 180°. They should work then.
Once you get them in and working correctly, simply put the cluster back in and screw the screws back in.
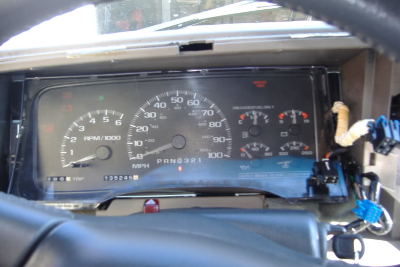
Then reverse the process you did to get them in. Be careful as to not tangle or twist the wires that connect to the controls that mount to the bezel.
I also did my HVAC controls. Those take T1.5 bulbs, which are also available from superbrightleds.com. Installation for those are pretty much the same for the cluster. Remove the HVAC controller, turn it over and find the four bulbs that illuminate the face of the HVAC controller and replaced them the LEDs. You will need 4 bulbs for this.
Finished Product:


Enjoy!

This is for the 95-99 GMT-400 truck and SUV gauge clusters.
Things you will need:
(6) 194 LED bulbs. color of your choice. The bulbs you want are available from superbrightLEDS.com. They are the WLED-x bulbs, they look like this. The 120 degree viewing angle.

These bulbs provide the best light output for this application, they don't leave hot spots like other types of bulbs.
Tools:
-7mm nut driver, or a 1/4" 7mm socket and extention with a ratchet.
-Small flathead screwdriver
Start off by tilting the steering wheel as low as it can go. Also put the gear selector all the way down into 1. (you will need to have the key on to get it out of park, and set parking brake)

Then start pulling off your dash bezel. Take your time, you wouldn't want to break any clips.

Be aware of the things that have wires running to them that mount to your bezel. Such as the headlight controls

And the rear hatch popper and wiper controls for you Tahoe boys, or cargo lamp if you have a pickup.. Also if you have push button 4x4, you'll need to unplug those as well.

Naked dash

Dash bezel

Next is to take out the four 7mm screws that hold the gauge cluster in place. Use the nut driver for this.
Cluster

Flip it over to get to the bulbs you will be pulling out. There are six of them, and they all say "ILL" next to them

On the left is the bulb you're taking out, on the right is the LED you'll be putting back in.

**IMPORTANT** Before you screw the cluster back in, simply place it back where it goes, and then take the headlight controls off of the bezel. Then reconnect it to the wire you took it off. This will allow you to test your lights to make sure all the LEDs are facing the right way. If they do not work, pull the cluster back out and turn the bulbs 180°. They should work then.
Once you get them in and working correctly, simply put the cluster back in and screw the screws back in.

Then reverse the process you did to get them in. Be careful as to not tangle or twist the wires that connect to the controls that mount to the bezel.
I also did my HVAC controls. Those take T1.5 bulbs, which are also available from superbrightleds.com. Installation for those are pretty much the same for the cluster. Remove the HVAC controller, turn it over and find the four bulbs that illuminate the face of the HVAC controller and replaced them the LEDs. You will need 4 bulbs for this.
Finished Product:


Enjoy!


Last edited:


