vjr021
Full Access Member
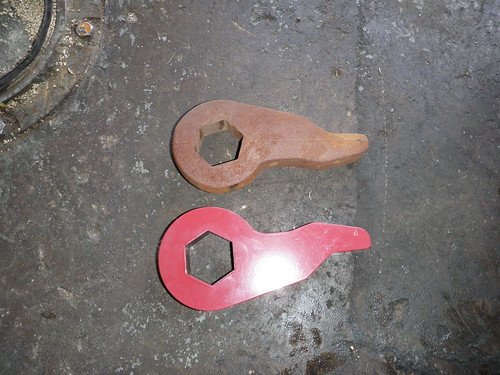
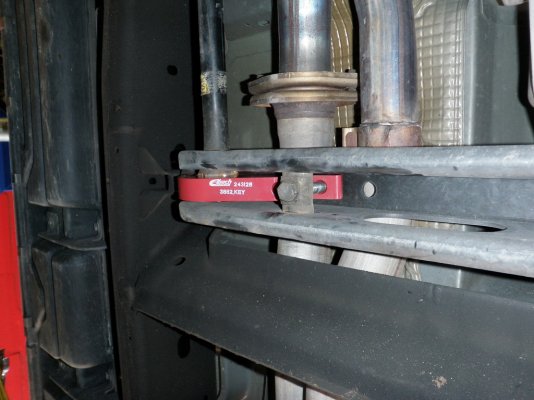
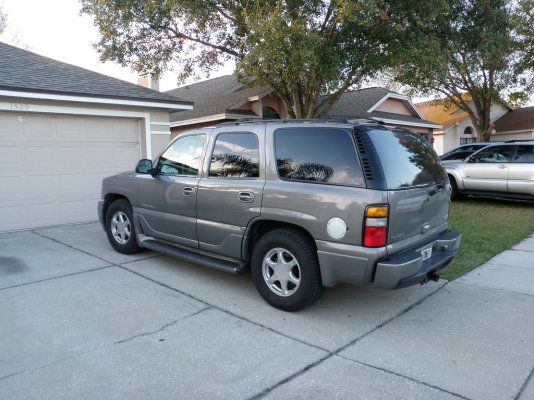
Finally got around to installing the 2/3 drop Eibach sent... Perfect companion to the Sway Bar kit I previously installed. Kind of a backwards way of doing it, but I needed a hand to take pics and install the drop at the same time.
Here's how it went:
Eibach Kit # Fits Yukon Denali and Escalade
Includes:
- Keys
- Rear springs
- shorter Ride Height Sensor bars
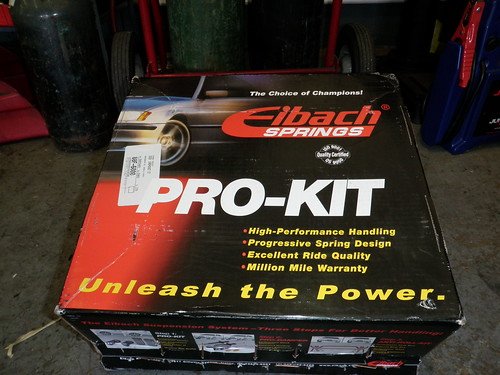
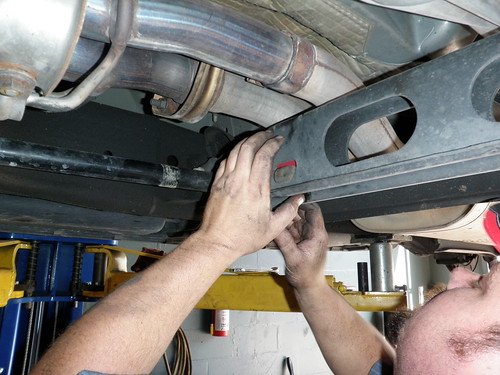
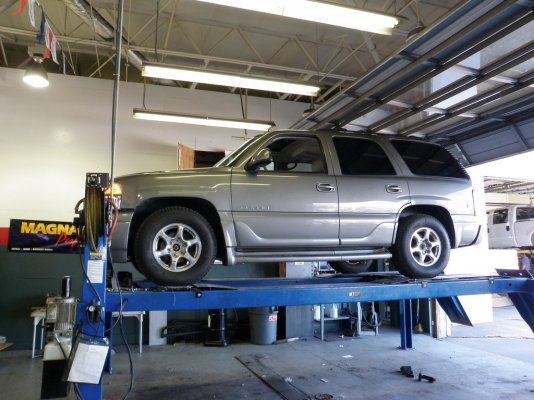
I decided to call in a favor and had some help from my friends @ 4 Wheel Parts, the lift helped with taking the pics, but after seeing what is needed, I am comfortable with saying this could be done in a driveway with a good jack (or two) and some good stands.
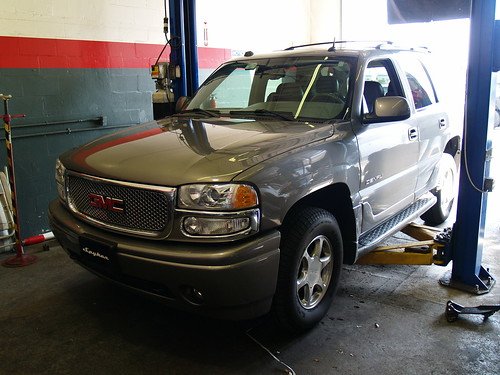
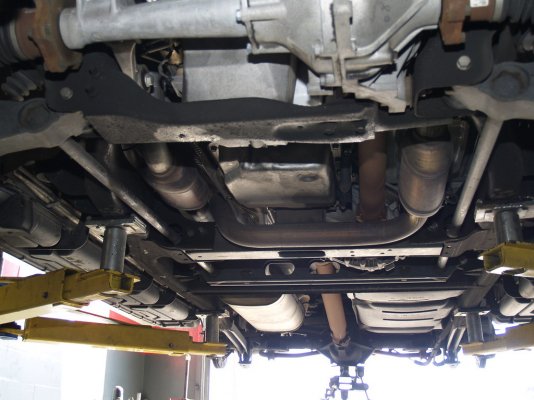
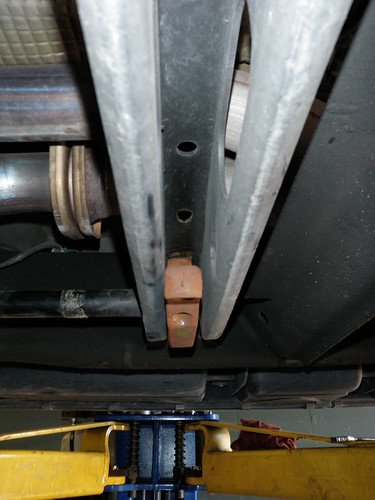
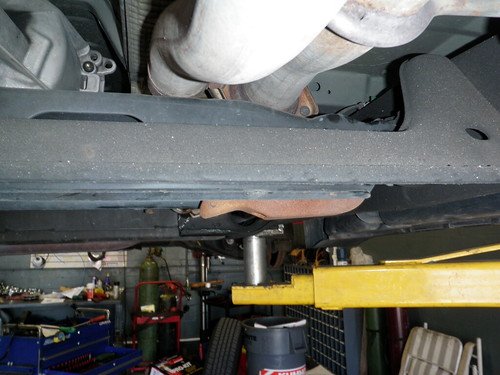
Rear Reference shot...
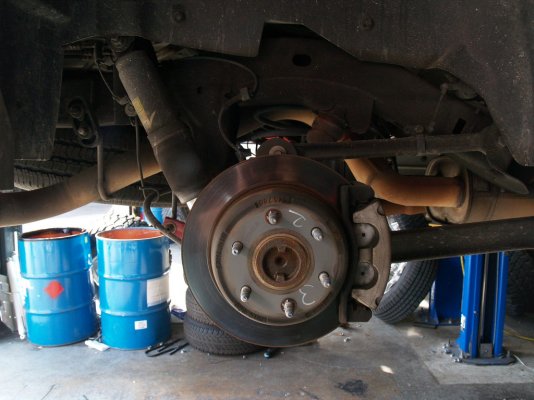
Jack the rear of the truck up and get it as high as you are comfortable on a jack stands... Make sure this is from the frame and not anywhere that will keep the suspension from moving, you need the axle free.
If you have a Denali, make sure the ignition is never turned on when the wheels are off the ground, due to the air ride sensors.
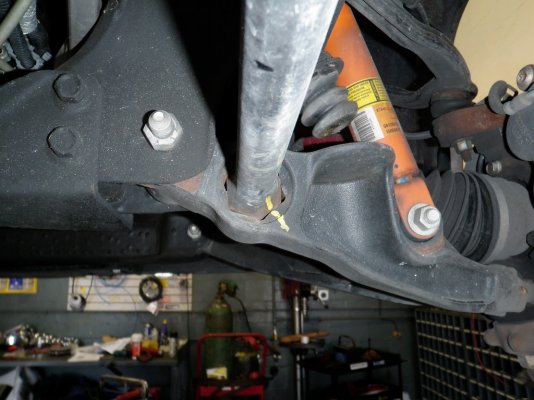
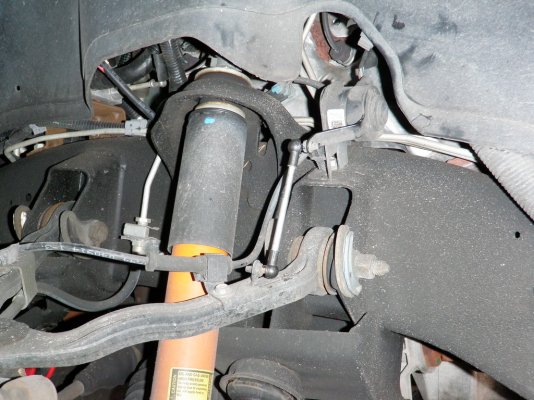
Once you have the wheels off (I didn't think I needed to show pics of that) you need to disconnect your sway bars from the lower part of the end link.
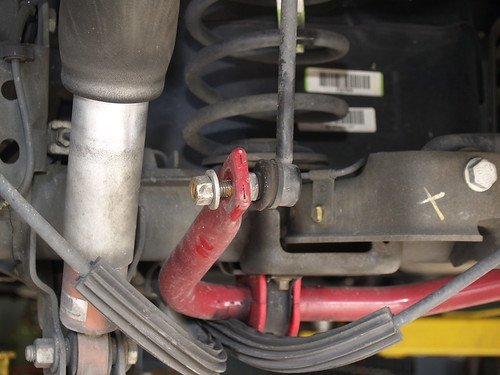
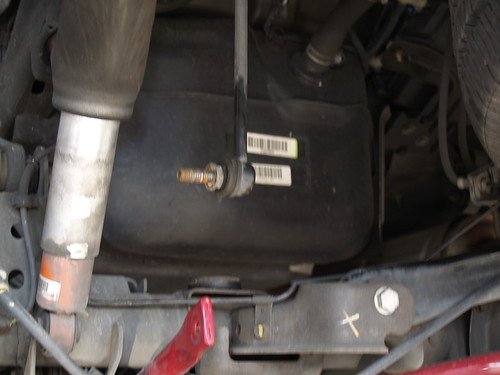
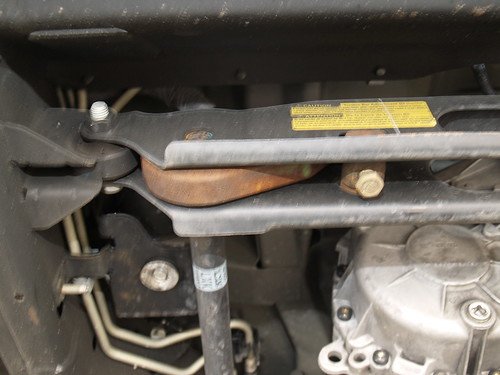
Then pop the ride height sensor bars off from either side, using a flat screw driver, or other pry bar type tool. Do not damage the ends, they will need to be reused. Place in a safe place for later.
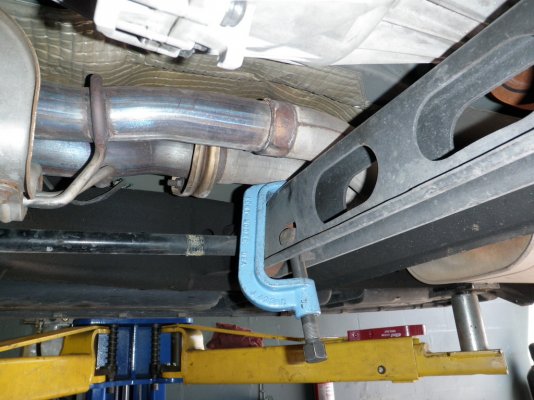
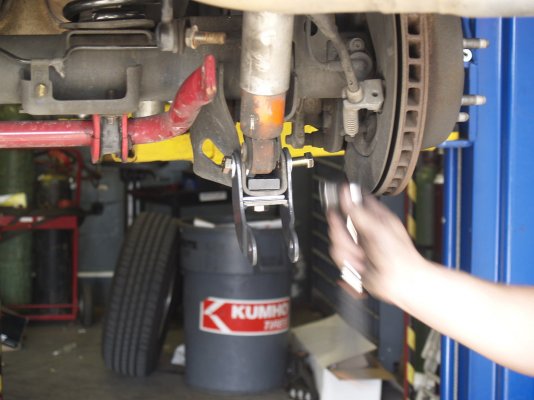
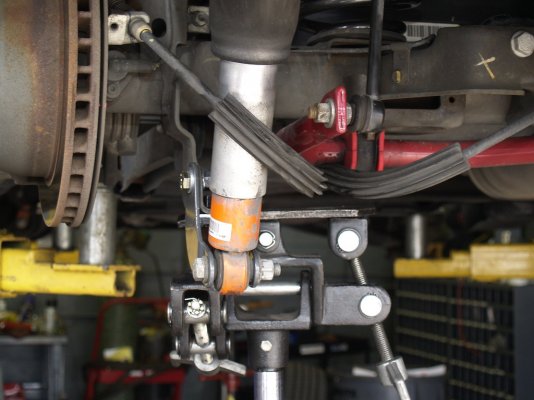
Next, brace the rear axle from falling and remove the bottom bolt of the rear shock... If you have the axle braced you can do both sides, this makes the spring removal easier.
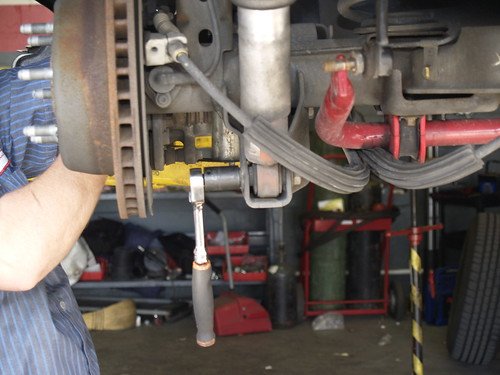
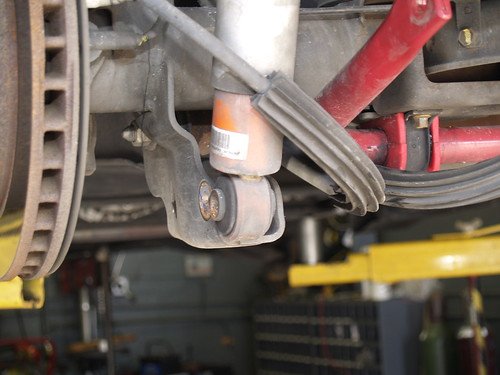
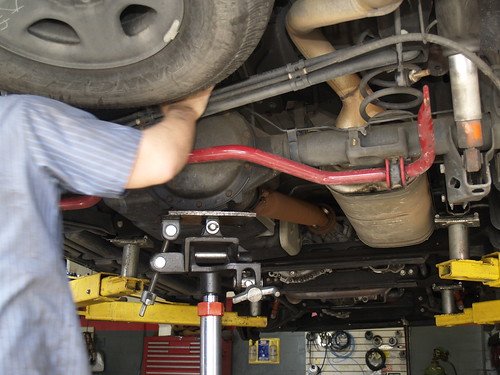
Be careful to not pull on any cables..
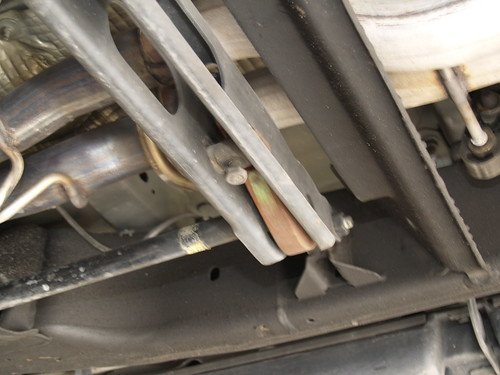
Cable for ebrake:
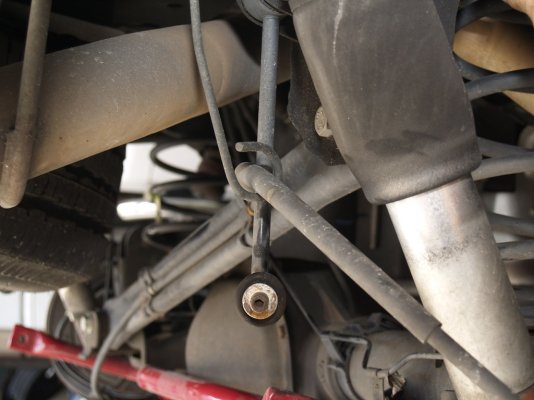
remove the ABS sensor cable from the frame...
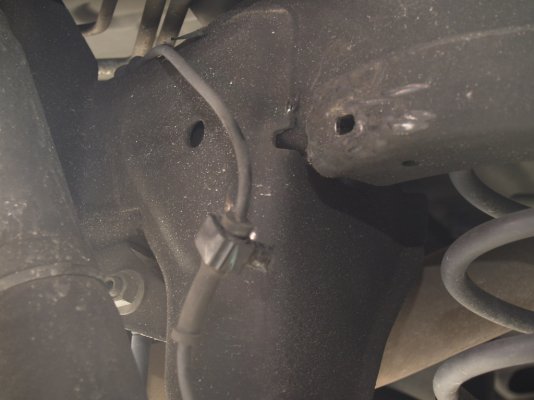
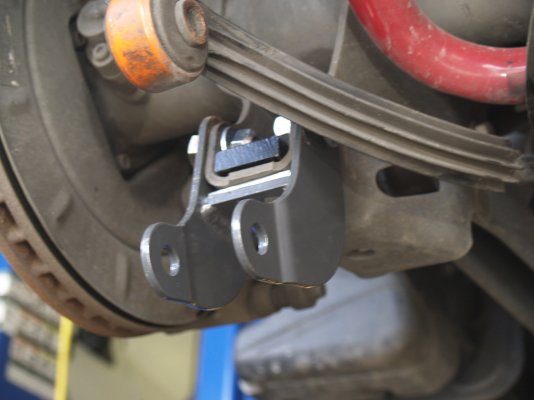
Keep lowering axle slowly until you can work the spring out of the perch... Make note of any rubber cups that will need to go on the new spring. Lowering one side of the axle at a time helps...
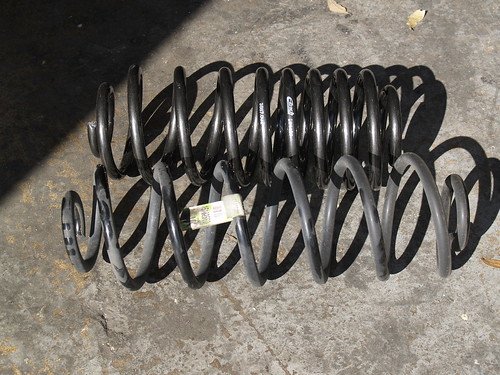
Install the new spring just as the old one went in...
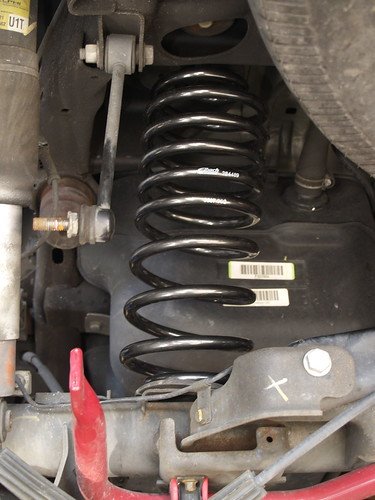
Raise the axle and re-install shacks, then sways.
Now the Ride Height Sensors... This has for some reason been a mystery around here... this is very simple. (For those that don't know) These bars attach the suspension to sensors to tell the truck how low/high the suspension is at any given time. If you lower your truck, these sensors are not going to be in the correct position, so Eibach (and others) include shorter bars to use in the kit to keep from causing error messages in the system.
The kit comes with a shorter pair and a longer pair. the shorter ones are for the rear...
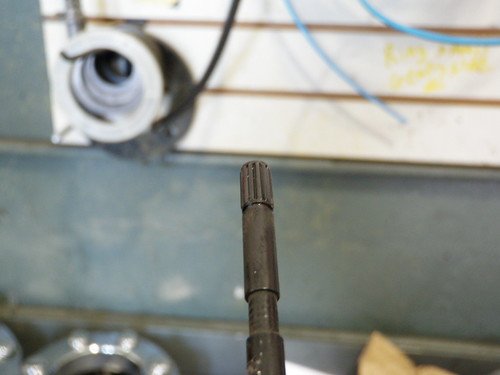
The stock sensor bars have plastic ends that are pressed on. once the cap is pulled off (you may have to work it a little) it will look like this:
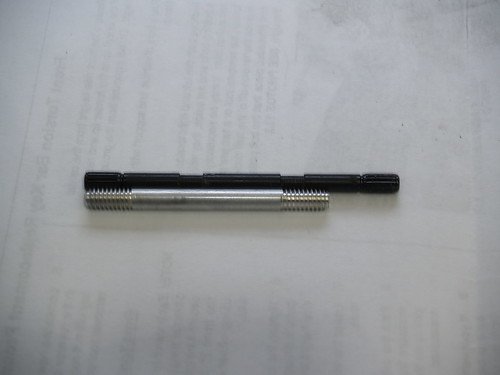
OEM vs. Eibach size difference:
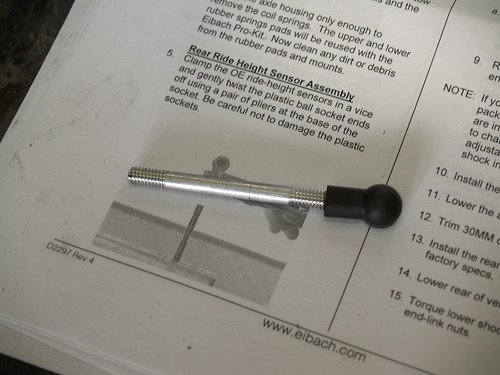
You can see the Eibach bars are threaded, so just screw on the new ends as low as you can go with out over tightening.
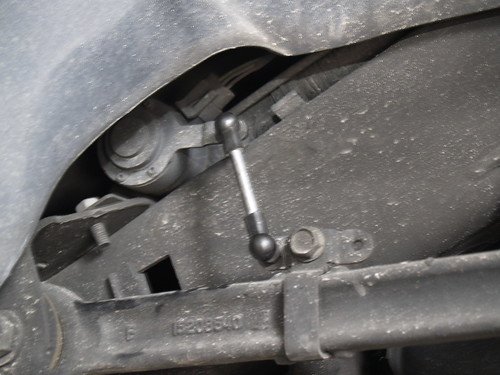
Then just pop them back on.
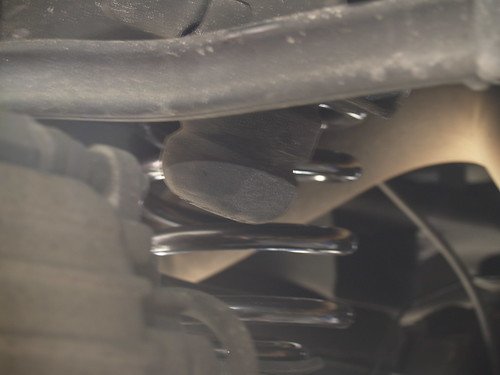
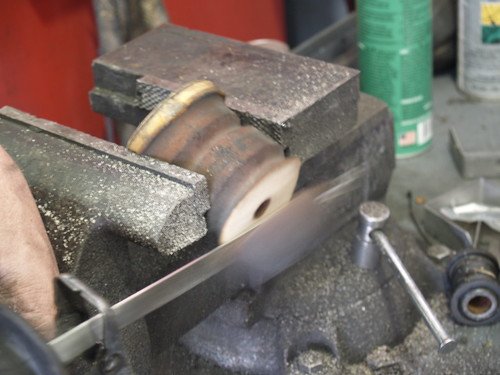
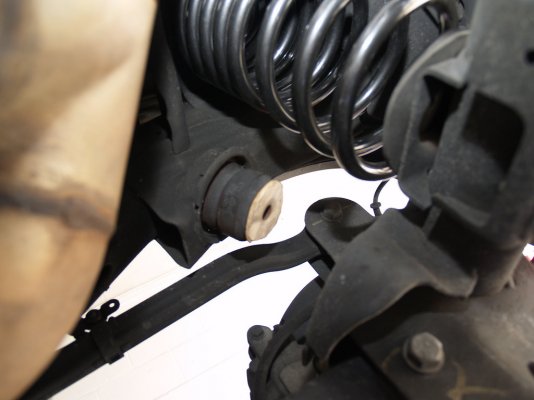
The bump stops need to come out, just pry them out of the cup and trim 30mm off the ends... (or replace with shorter ones)
Put the wheels back on, torque properly, and move to the front...
Here's how it went:
Eibach Kit # Fits Yukon Denali and Escalade
Includes:
- Keys
- Rear springs
- shorter Ride Height Sensor bars

I decided to call in a favor and had some help from my friends @ 4 Wheel Parts, the lift helped with taking the pics, but after seeing what is needed, I am comfortable with saying this could be done in a driveway with a good jack (or two) and some good stands.

Rear Reference shot...

Jack the rear of the truck up and get it as high as you are comfortable on a jack stands... Make sure this is from the frame and not anywhere that will keep the suspension from moving, you need the axle free.
If you have a Denali, make sure the ignition is never turned on when the wheels are off the ground, due to the air ride sensors.
Once you have the wheels off (I didn't think I needed to show pics of that) you need to disconnect your sway bars from the lower part of the end link.


Then pop the ride height sensor bars off from either side, using a flat screw driver, or other pry bar type tool. Do not damage the ends, they will need to be reused. Place in a safe place for later.
Next, brace the rear axle from falling and remove the bottom bolt of the rear shock... If you have the axle braced you can do both sides, this makes the spring removal easier.


Be careful to not pull on any cables..
Cable for ebrake:

remove the ABS sensor cable from the frame...

Keep lowering axle slowly until you can work the spring out of the perch... Make note of any rubber cups that will need to go on the new spring. Lowering one side of the axle at a time helps...

Install the new spring just as the old one went in...

Raise the axle and re-install shacks, then sways.
Now the Ride Height Sensors... This has for some reason been a mystery around here... this is very simple. (For those that don't know) These bars attach the suspension to sensors to tell the truck how low/high the suspension is at any given time. If you lower your truck, these sensors are not going to be in the correct position, so Eibach (and others) include shorter bars to use in the kit to keep from causing error messages in the system.
The kit comes with a shorter pair and a longer pair. the shorter ones are for the rear...
The stock sensor bars have plastic ends that are pressed on. once the cap is pulled off (you may have to work it a little) it will look like this:

OEM vs. Eibach size difference:

You can see the Eibach bars are threaded, so just screw on the new ends as low as you can go with out over tightening.

Then just pop them back on.

The bump stops need to come out, just pry them out of the cup and trim 30mm off the ends... (or replace with shorter ones)


Put the wheels back on, torque properly, and move to the front...
Last edited:

