MechEng813
Member
- Joined
- Jan 11, 2017
- Posts
- 74
- Reaction score
- 70
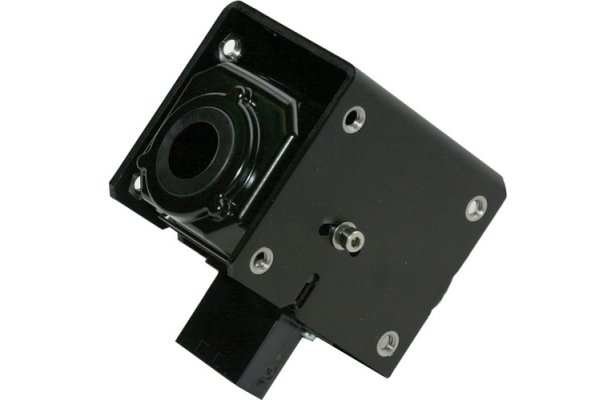
Wanted to share some pics of my thermal imager install incase anyone was looking for mounting ideas.
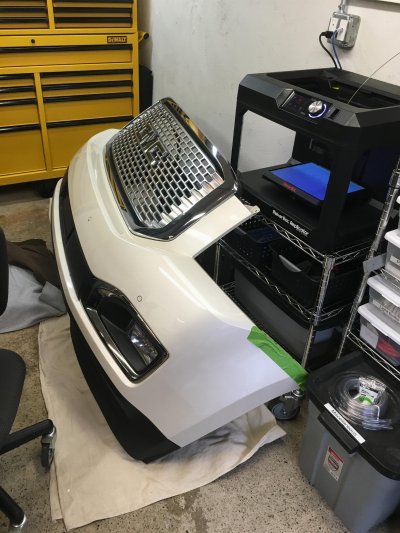
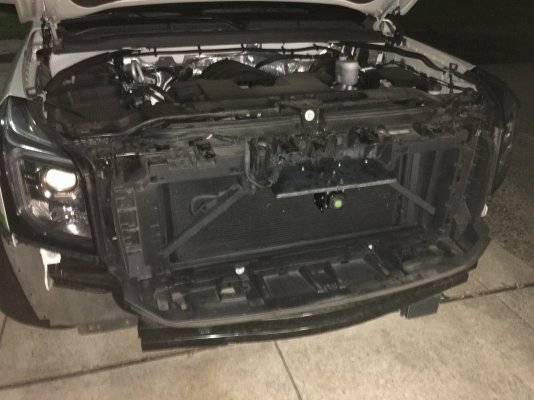
Started with taking the entire front bumper off.
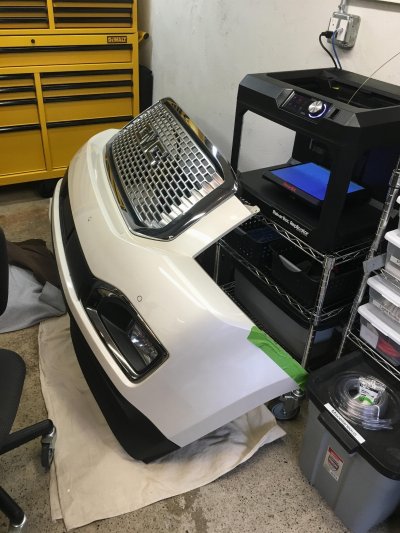
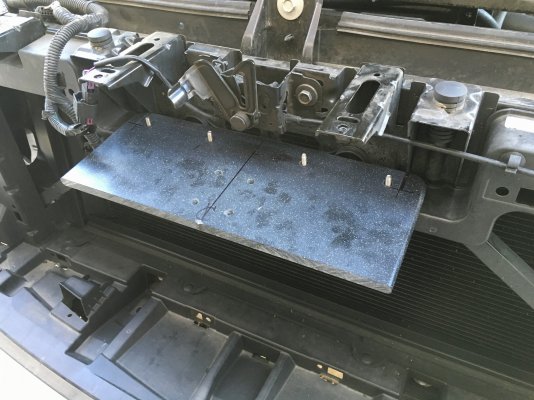
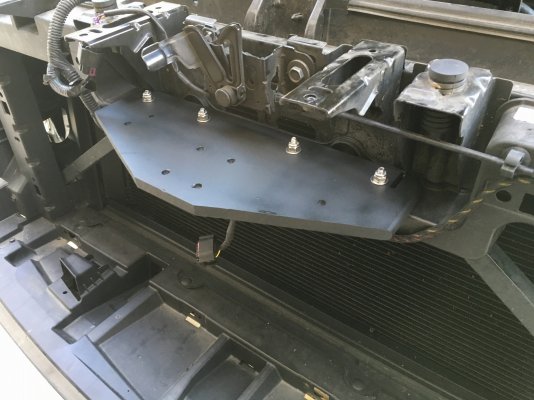
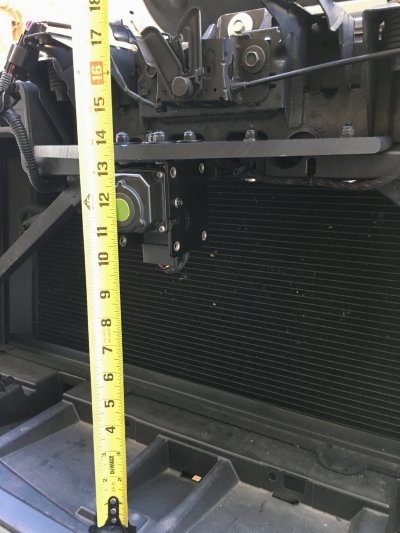
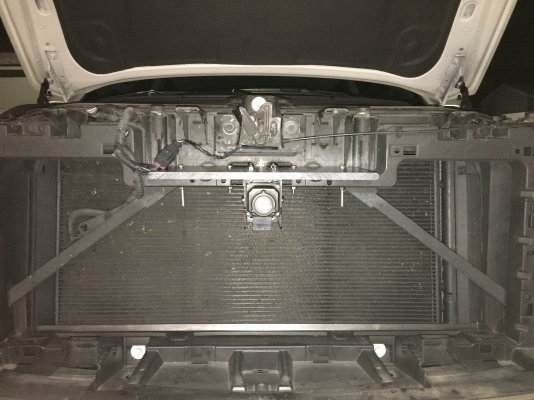
Along the upper radiator mount drilled 4x thru holes and used 1/4-20 stainless screws
and locknuts to create a series of four mounting studs.
Because the radiator mount is hollow, i used plastic spacers to fill in the void.
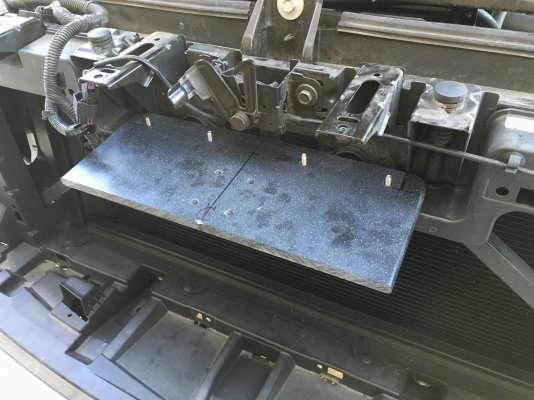
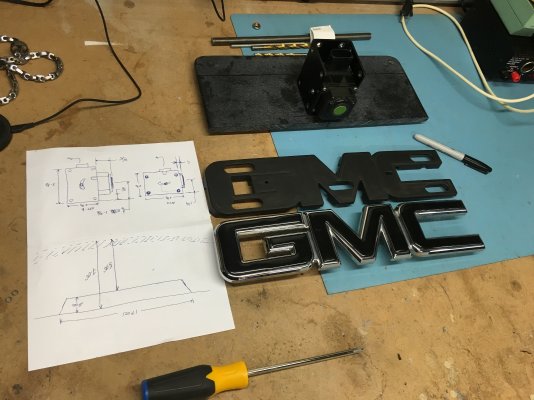
Using a piece of black Corian counter top scrap, I started building the mounting plate that would hold the camera.
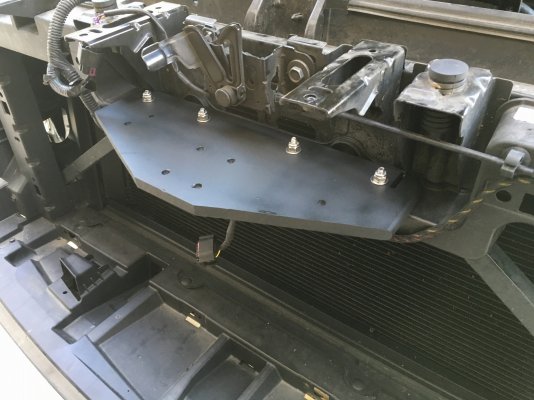
I trimmed the Corian down a bit to decrease the total mass of the bracket
(and to prevent unwanted vibration)
After temporarily fitting the bumper back in place, I was able to figure out how far back from the grill the camera needed to sit.
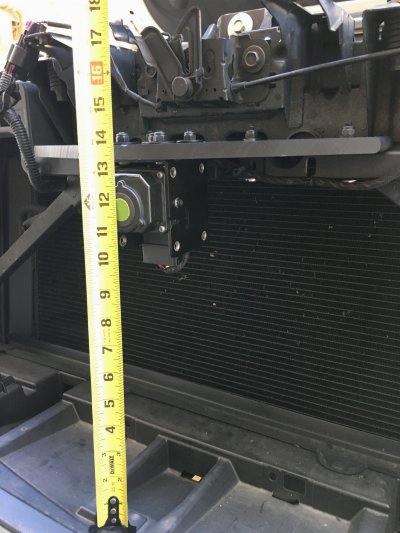
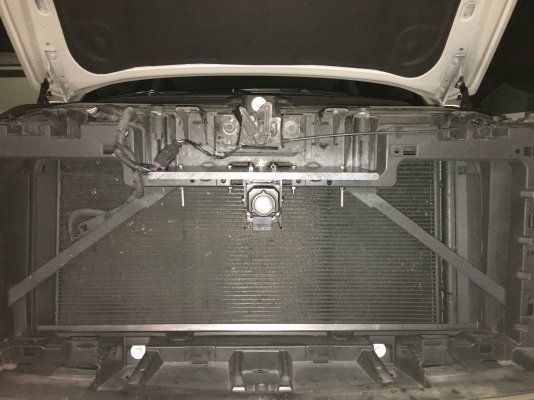
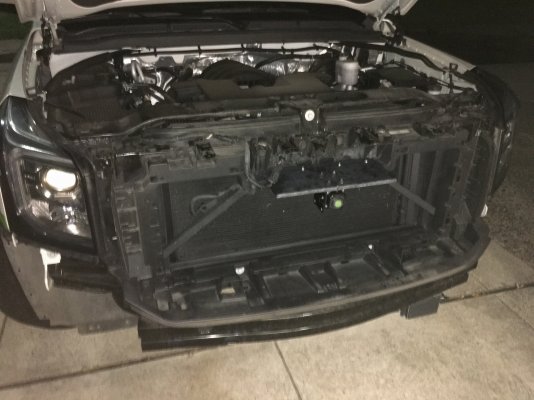
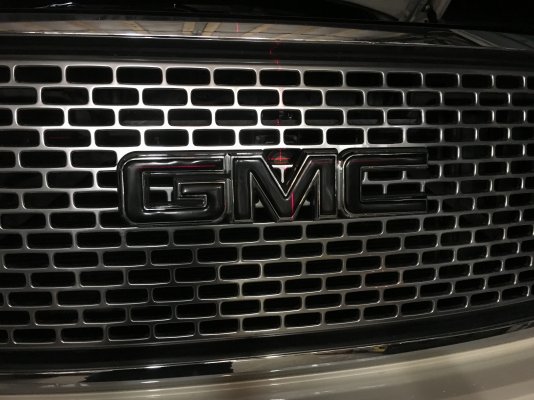
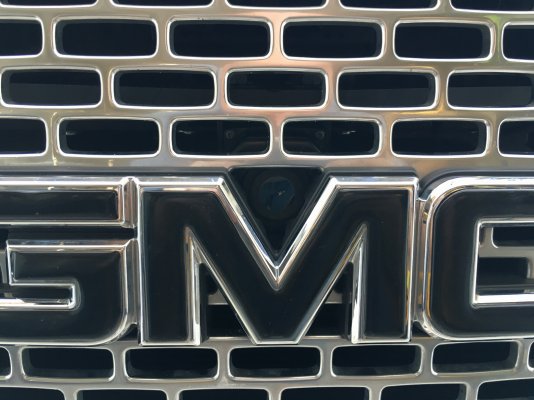
By carefully keeping the camera bracket centered I was able to have the lens sit just above the "M" emblem.
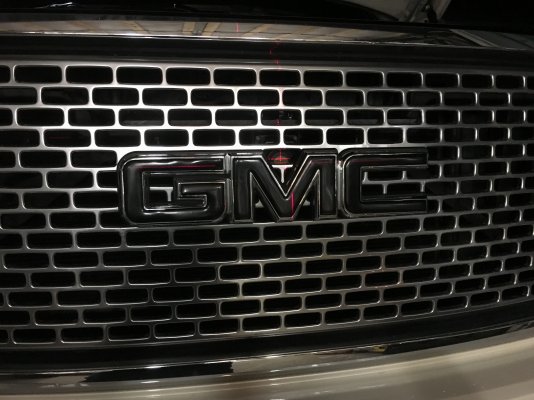
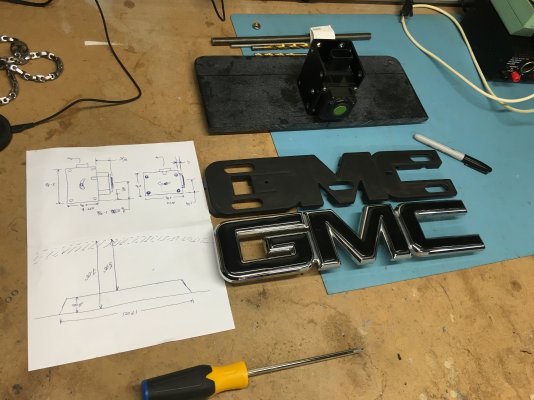
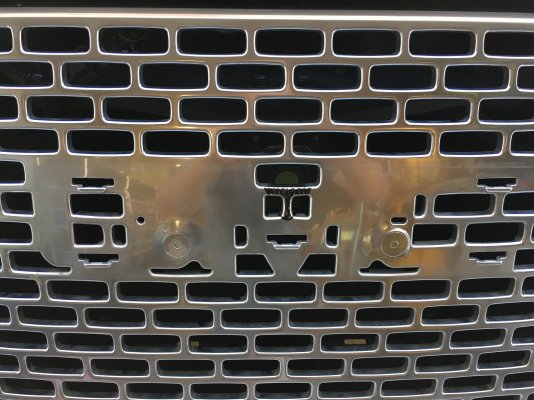
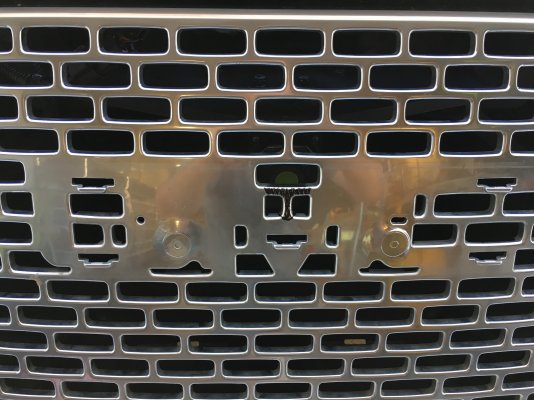
Just a slight modification to the grille and the camera is exactly where it needs to be.
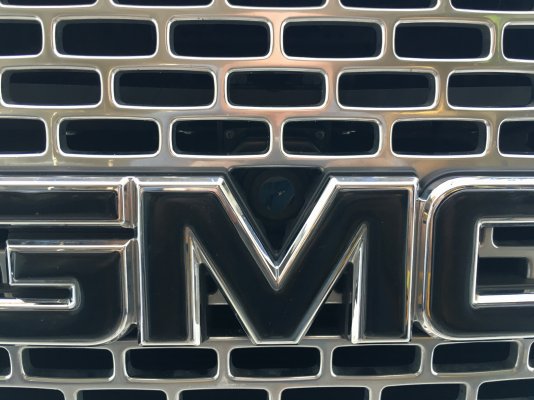
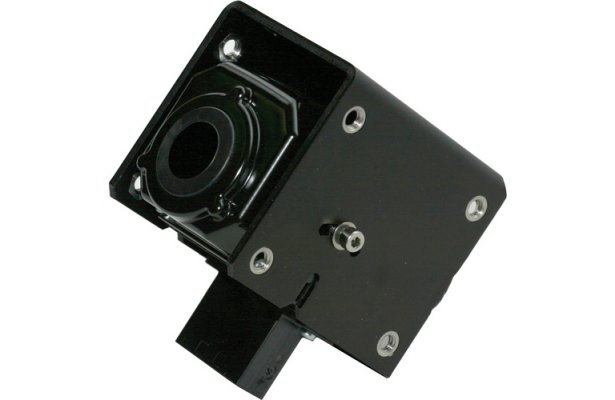
Electrical hook up was very straight forward.
Accessory 12v, ground and a composite video output.
I picked up a 5" LCD and mounted it high along the headliner, keeping it just within my peripheral vision
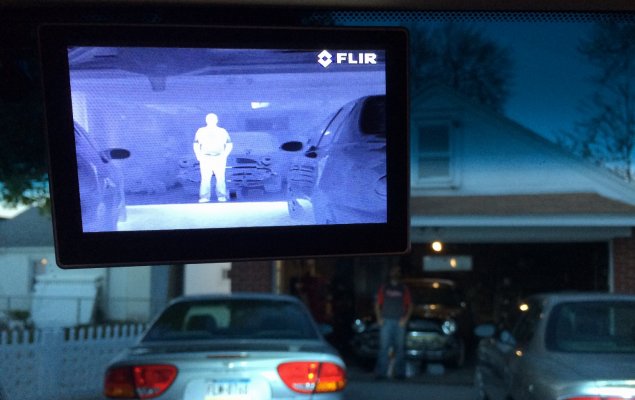
Added a switch to the screen power, to shut it off when not needed.
And I also keep a piece of Green lens gel in the center console incase the white starts to bother me while I'm driving

Started with taking the entire front bumper off.

Along the upper radiator mount drilled 4x thru holes and used 1/4-20 stainless screws
and locknuts to create a series of four mounting studs.
Because the radiator mount is hollow, i used plastic spacers to fill in the void.

Using a piece of black Corian counter top scrap, I started building the mounting plate that would hold the camera.

I trimmed the Corian down a bit to decrease the total mass of the bracket
(and to prevent unwanted vibration)
After temporarily fitting the bumper back in place, I was able to figure out how far back from the grill the camera needed to sit.


By carefully keeping the camera bracket centered I was able to have the lens sit just above the "M" emblem.


Just a slight modification to the grille and the camera is exactly where it needs to be.

Electrical hook up was very straight forward.
Accessory 12v, ground and a composite video output.
I picked up a 5" LCD and mounted it high along the headliner, keeping it just within my peripheral vision

Added a switch to the screen power, to shut it off when not needed.
And I also keep a piece of Green lens gel in the center console incase the white starts to bother me while I'm driving
Last edited:

