99Yuk
Full Access Member
This is part 1 Installing and wiring up the OEM functions of the replacement mirrors.
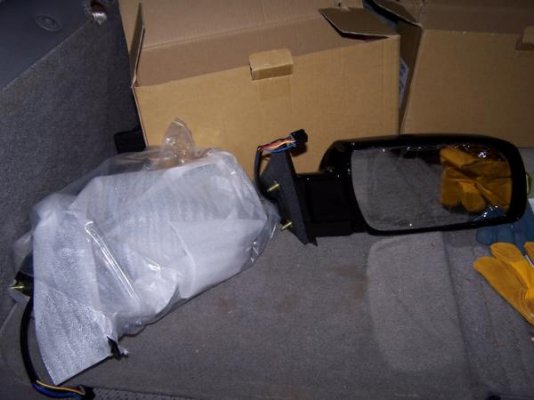
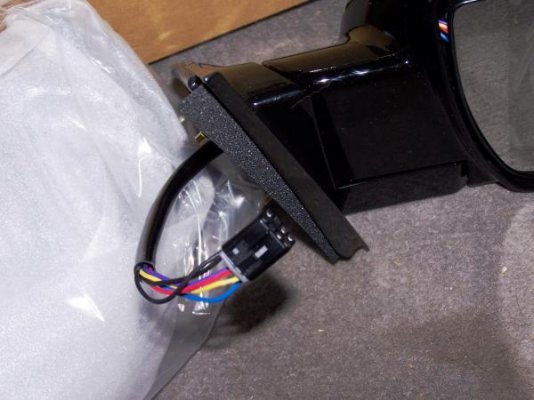
If you bought your new heated mirrors from Ebay, this is what they will look like.
Tools used:
x1 flat screwdriver
x1 10mm socket and 1/4" drive ratchet and 3" extention
x1 10mm wrench
x1 24" or so (length is not terribly important) hard stiff wire.
x1 small paperclip
Step 1: Using the flat screwdriver, carefully pop up the triangle mirror cover, place that part aside.
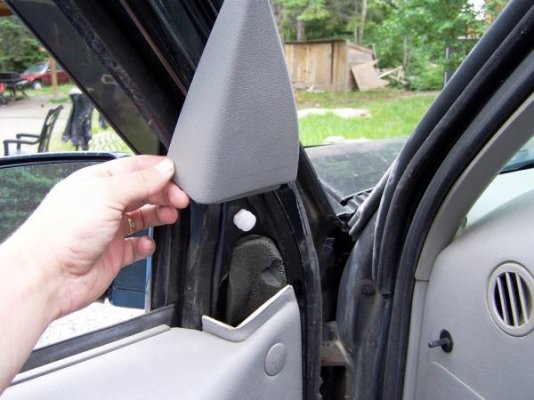
Step 2: Wrap the stiff wire around the plug that goes into the door. Make sure that when you tug on the wire that it won't slip off the plug. The wire prevents the plug from disapearing down the black void that is called the door. Pull the two plug parts apart.
Step 3: There are three 10mm nuts that hold the mirror on. Use the 10mm socket where you can and the 10mm wrench to loosen up the nuts and very carefully remove them with your fingers. Take your time here folks. One slip and the nuts go down that black void. Place your nuts in a safe place. Carefully Remove the existing mirror and place beside the new mirror.
Step 4: Next up is the wiring. You'll notice that the OEM plug is 4-pin, while the new mirrors are 6-pin. Using the flat screwdriver, carefully remove the grey plastic clips on both plugs ends of both mirrors. There should be four grey plastic clips when your done, place them aside. Using the small paperclip, push up on one color wire, then insert the paperclip into the release hole (it's the small hole on the inside of the plug), then pull the wire out of the plug. Do this four times on the oem plug, and four times on the new mirror plug. Only do this to the colored wires, leave the two black wires alone on the 6-pin plug.
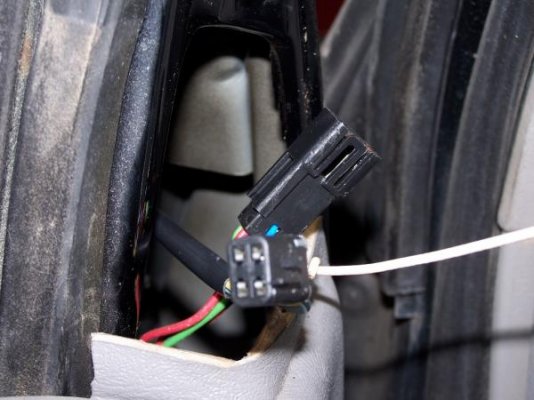
Four pin plug close up:
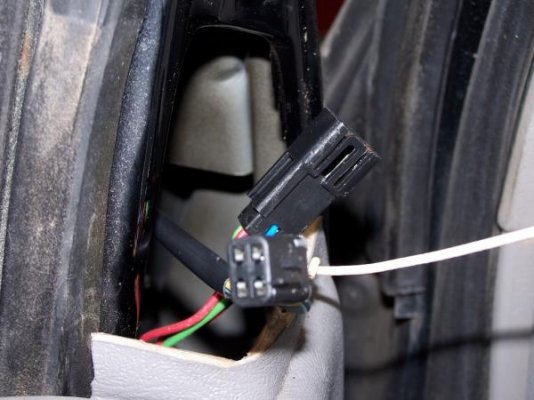
Six pin plug close up:
Old and new:
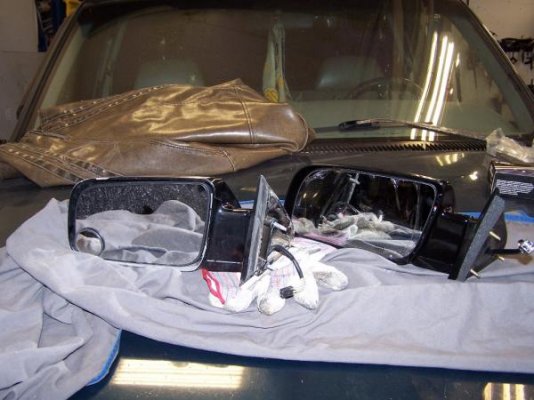
Step 5: Install the new mirror. Don't reuse the old rubber/foam gasket, the new ones come with a different type of rubber gasket. Put those three nuts back on very carefully.
Step 6: Now I did find a wiring diagram of both the heated and non-heated mirrors, but in all honesty, I didn't use them. I just manually pushed in the four loose ends of the new mirror into the OEM door plug (the one with the wire wrapped around it) until I got the power functions to work correctly. It took me two attempts to get everything working properly. Once your happy with the wiring, remember how they were plugged in, the remove the four loosey pins, and insert them into the old OEM 4-pin plug that was removed from the old mirror. Reinsert the four grey plastic clips. At this point, it should look like this;
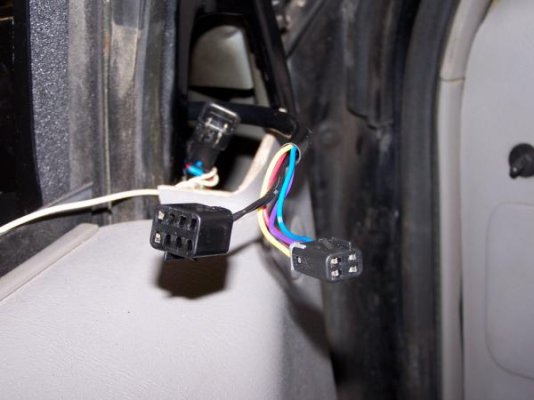
Plug the old oem plugs back together and test to make sure that everything is working.
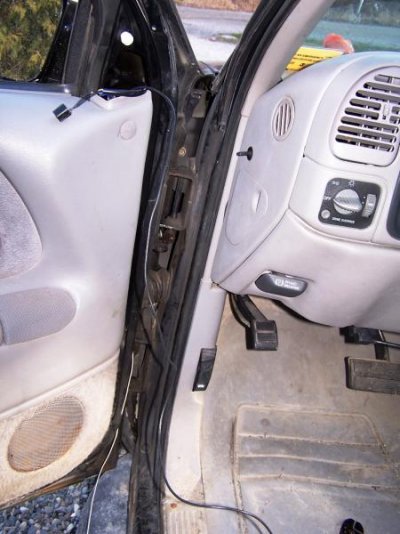
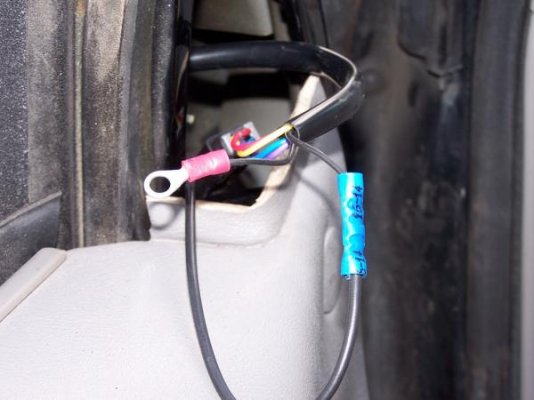
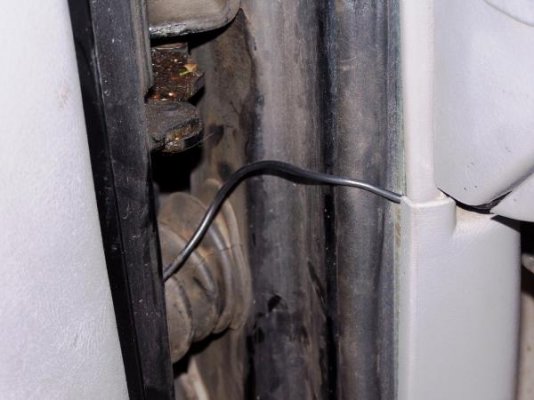
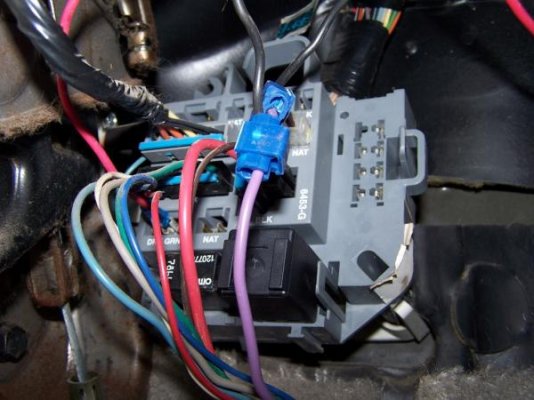
This is as far as I got so far. Next up is grounding the 12v power for the heating element inside the door, and running the single 12v wire. I think that I may have to remove the door panel to run the wire through the door and the door rubber to the body. Then I have to locate the rear defrogger circuit and splice into it. that will be part 2, when it gets done.
If you bought your new heated mirrors from Ebay, this is what they will look like.

Tools used:
x1 flat screwdriver
x1 10mm socket and 1/4" drive ratchet and 3" extention
x1 10mm wrench
x1 24" or so (length is not terribly important) hard stiff wire.
x1 small paperclip
Step 1: Using the flat screwdriver, carefully pop up the triangle mirror cover, place that part aside.

Step 2: Wrap the stiff wire around the plug that goes into the door. Make sure that when you tug on the wire that it won't slip off the plug. The wire prevents the plug from disapearing down the black void that is called the door. Pull the two plug parts apart.

Step 3: There are three 10mm nuts that hold the mirror on. Use the 10mm socket where you can and the 10mm wrench to loosen up the nuts and very carefully remove them with your fingers. Take your time here folks. One slip and the nuts go down that black void. Place your nuts in a safe place. Carefully Remove the existing mirror and place beside the new mirror.
Step 4: Next up is the wiring. You'll notice that the OEM plug is 4-pin, while the new mirrors are 6-pin. Using the flat screwdriver, carefully remove the grey plastic clips on both plugs ends of both mirrors. There should be four grey plastic clips when your done, place them aside. Using the small paperclip, push up on one color wire, then insert the paperclip into the release hole (it's the small hole on the inside of the plug), then pull the wire out of the plug. Do this four times on the oem plug, and four times on the new mirror plug. Only do this to the colored wires, leave the two black wires alone on the 6-pin plug.
Four pin plug close up:

Six pin plug close up:

Old and new:

Step 5: Install the new mirror. Don't reuse the old rubber/foam gasket, the new ones come with a different type of rubber gasket. Put those three nuts back on very carefully.
Step 6: Now I did find a wiring diagram of both the heated and non-heated mirrors, but in all honesty, I didn't use them. I just manually pushed in the four loose ends of the new mirror into the OEM door plug (the one with the wire wrapped around it) until I got the power functions to work correctly. It took me two attempts to get everything working properly. Once your happy with the wiring, remember how they were plugged in, the remove the four loosey pins, and insert them into the old OEM 4-pin plug that was removed from the old mirror. Reinsert the four grey plastic clips. At this point, it should look like this;

Plug the old oem plugs back together and test to make sure that everything is working.
This is as far as I got so far. Next up is grounding the 12v power for the heating element inside the door, and running the single 12v wire. I think that I may have to remove the door panel to run the wire through the door and the door rubber to the body. Then I have to locate the rear defrogger circuit and splice into it. that will be part 2, when it gets done.

