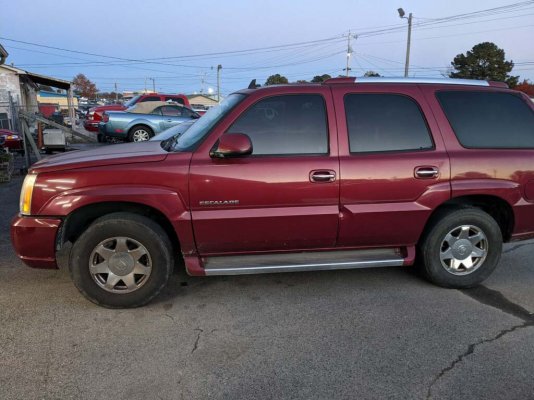
I just came across this forum for build photos. I have just Started a restomod build on this 06 Esky to use as a daily driver. The builder is a good friend and auto dealer in N. AL who builds restomods and sells them through Mecum as a side business. (He sold four cars at Mecum Dallas this year.)
Plans are to rebuild the trans and drop in a new engine. Doing a 2/3 drop using Belltech drop kit, autoride remove and replacing worn suspension and steering components. Doing '07 front brake rotor upgrade going to slotted rotors all around.
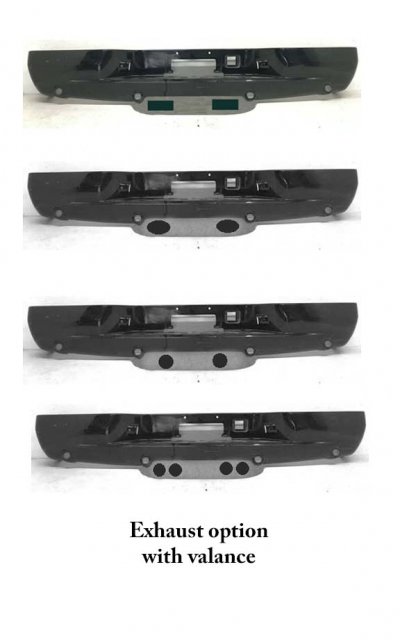
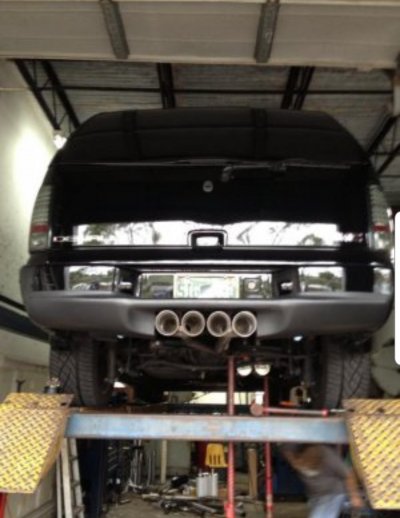
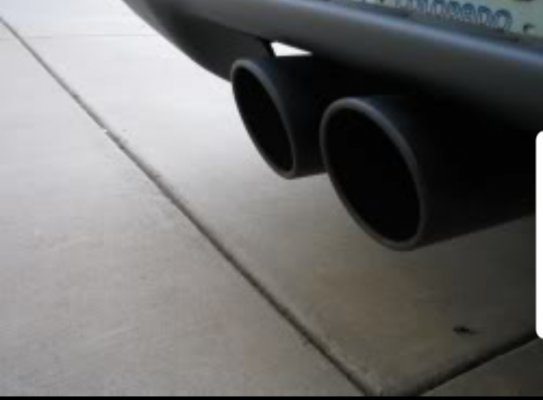
Engine: The engine is a GM performance LS364/450HP. It has LS3 rectangle port heads, LS6 cam (circa 02-04 Corvette) and a new GM truck style intake for higher pressure injectors. The engine is compatible with existing ECM. Once installed it will be program tuned. Going with shortie headers and dual exhausts with rear center mounted exhaust tips.
Exterior: Paint will be reconditioned and front grill painted to match. Also will paint running boards and rear bumper step pads to match for a unicolor look. 17" wheels replaced with 20s and Michelin Defender 275/55/20 tires. Roof rack will be removed as will trailer hitch. The spare tire will be removed and replaced with a ResQ Pro+ tire sealant/inflator kit.
Interior: For now the interior will be reconditioned and kept its original pewter color. Once I have the car I will explore getting the seat faces and door panel inserts dyed a dark red to match the exterior. If that's not practical, I'll eventually buy custom seat covers to accomplish the look. Will also replace the original radio. The third row will be removed and new carpet mat installed to cover the floor brackets.
So far, the trans is rebuilt. Engine is bought and delivered, but install delayed about a month because the installer is swamped right now. So the suspension, steering and brakes are going on next.

.
I'll include more photos as the build progresses.
Plans are to rebuild the trans and drop in a new engine. Doing a 2/3 drop using Belltech drop kit, autoride remove and replacing worn suspension and steering components. Doing '07 front brake rotor upgrade going to slotted rotors all around.
Engine: The engine is a GM performance LS364/450HP. It has LS3 rectangle port heads, LS6 cam (circa 02-04 Corvette) and a new GM truck style intake for higher pressure injectors. The engine is compatible with existing ECM. Once installed it will be program tuned. Going with shortie headers and dual exhausts with rear center mounted exhaust tips.
Exterior: Paint will be reconditioned and front grill painted to match. Also will paint running boards and rear bumper step pads to match for a unicolor look. 17" wheels replaced with 20s and Michelin Defender 275/55/20 tires. Roof rack will be removed as will trailer hitch. The spare tire will be removed and replaced with a ResQ Pro+ tire sealant/inflator kit.
Interior: For now the interior will be reconditioned and kept its original pewter color. Once I have the car I will explore getting the seat faces and door panel inserts dyed a dark red to match the exterior. If that's not practical, I'll eventually buy custom seat covers to accomplish the look. Will also replace the original radio. The third row will be removed and new carpet mat installed to cover the floor brackets.
So far, the trans is rebuilt. Engine is bought and delivered, but install delayed about a month because the installer is swamped right now. So the suspension, steering and brakes are going on next.

.
I'll include more photos as the build progresses.
Last edited:


