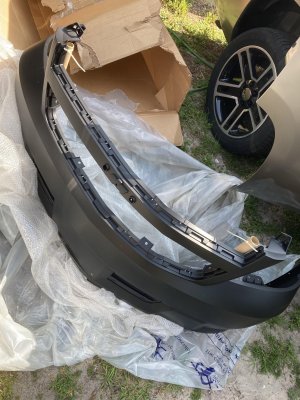
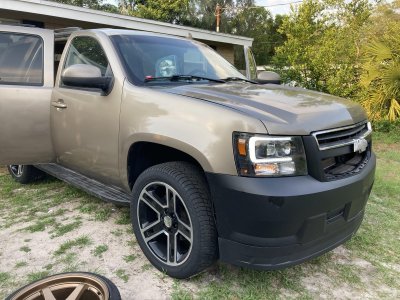
PeteCT
Full Access Member
- Joined
- May 31, 2019
- Posts
- 105
- Reaction score
- 71
Starting this thread as a progress on my work: complete rebuild and modernize + restyle the truck (getting some hybrid exterior elements). Will post pictures and issues I had during the process that may be useful for others if they will decide to do something like that.
What is done:
- Factory Remanufactured Engine dumped in (it was easier than I thought).
- AC lines.
- Brand new transmission .
- Front Suspension: struts+springs, axles, rods, lower and upper arms, ball joints, bearing hubs.
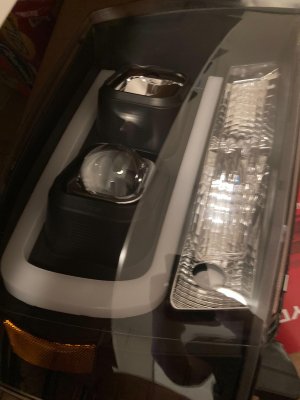
- Same headlights just new - not hazy.
- driver side window control unit (replaced but still doesn't work)
- New 22" wheels and tires (285/22/45).
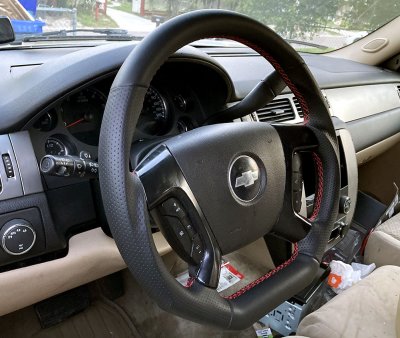
- New steering wheel (actually it is more comfortable, the wheel itself is thicker as newer models and more comfortable)
This is how it looks now. I repainted the truck with similar to original color (it was no the best of my work as but I learned a lot, and upcoming paint project should be done way better this time) but planning to change the color this or next weekend.
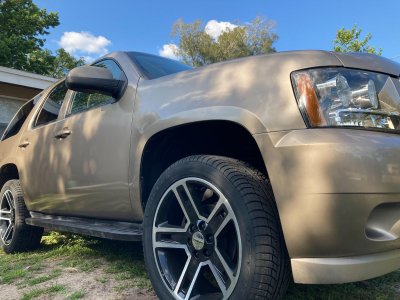
Delivered and ready to be placed/use
- rear springs with rubber mounts
- 2 DIN Radio
- Paint car in industrial grey. Mix White+Black paint I got, then Clear.
- Paint in black rear upper quarter panel (between rear & side rear glass to create "continues" black effect around), both logo.
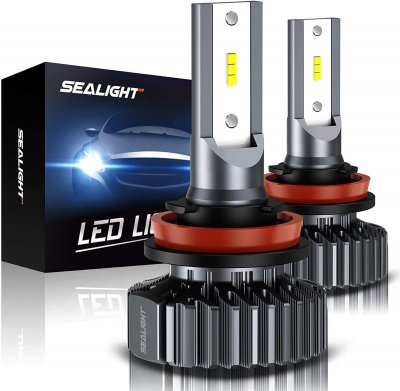
- LED headlight bulbs
- new lug nuts
- rear bearing and seals
Purchased and waiting to be delivered
- Rear arms
- floor for the whole car
- katzkin leather interior for 9 seats
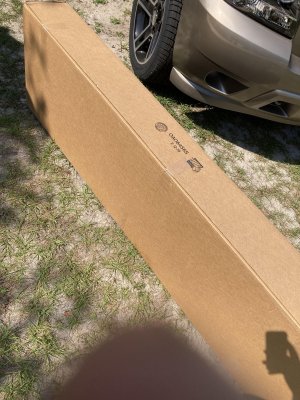
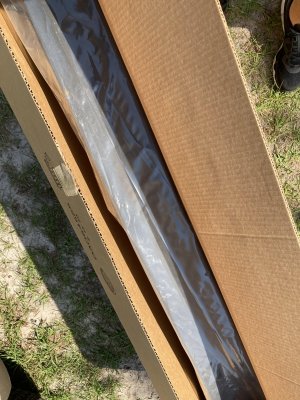
- new LED headlights
- frame and wiring for 2DIN radio/gps
- hybrid version hood
- hybrid version grille
- hybrid version lower air deflector
- front passenger caliper
- rear bearing + seals
Fix
- Dashboard. Dismount and plastic weld + enforce
- Electric front seats. Doesn't work. Discover the issue then fix.
- Front right caliper, the old one is shut, doesn't release the brake)
- a little vertical play in a rear right wheel
- driver side window control unit fix the wiring or whatever, no power.
Planning to purchase
- "In-Head" 2x ~8inch Screens for the rear
- Rear camera
- new step assist
- exterior black handlers for the doors
- LED/halo taillights. not sure which design yet.
Custom
- Redesign dashboard dials and laser cut the new one
- Redesign dials arrows and 3D print
- Switch dashboard lights to RED (rear red diodes + 3D print AC dials, then paint/laser)
What is done:
- Factory Remanufactured Engine dumped in (it was easier than I thought).
- AC lines.
- Brand new transmission .
- Front Suspension: struts+springs, axles, rods, lower and upper arms, ball joints, bearing hubs.
- Same headlights just new - not hazy.
- driver side window control unit (replaced but still doesn't work)
- New 22" wheels and tires (285/22/45).
- New steering wheel (actually it is more comfortable, the wheel itself is thicker as newer models and more comfortable)

This is how it looks now. I repainted the truck with similar to original color (it was no the best of my work as but I learned a lot, and upcoming paint project should be done way better this time) but planning to change the color this or next weekend.

Delivered and ready to be placed/use
- rear springs with rubber mounts
- 2 DIN Radio
- Paint car in industrial grey. Mix White+Black paint I got, then Clear.
- Paint in black rear upper quarter panel (between rear & side rear glass to create "continues" black effect around), both logo.
- LED headlight bulbs
- new lug nuts
- rear bearing and seals
Purchased and waiting to be delivered
- Rear arms
- floor for the whole car
- katzkin leather interior for 9 seats
- new LED headlights
- frame and wiring for 2DIN radio/gps
- hybrid version hood
- hybrid version grille
- hybrid version lower air deflector
- front passenger caliper
- rear bearing + seals
Fix
- Dashboard. Dismount and plastic weld + enforce
- Electric front seats. Doesn't work. Discover the issue then fix.
- Front right caliper, the old one is shut, doesn't release the brake)
- a little vertical play in a rear right wheel
- driver side window control unit fix the wiring or whatever, no power.
Planning to purchase
- "In-Head" 2x ~8inch Screens for the rear
- Rear camera
- new step assist
- exterior black handlers for the doors
- LED/halo taillights. not sure which design yet.
Custom
- Redesign dashboard dials and laser cut the new one
- Redesign dials arrows and 3D print
- Switch dashboard lights to RED (rear red diodes + 3D print AC dials, then paint/laser)
Last edited:

