AdamsPolishes
Full Access Member
- Joined
- Mar 15, 2013
- Posts
- 418
- Reaction score
- 0
Here's another great job by Chase!
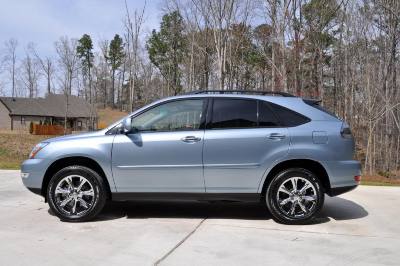
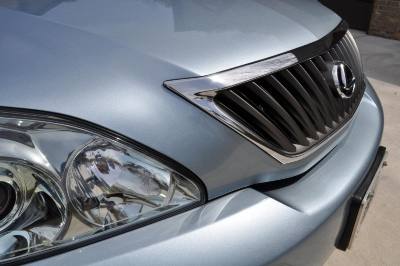
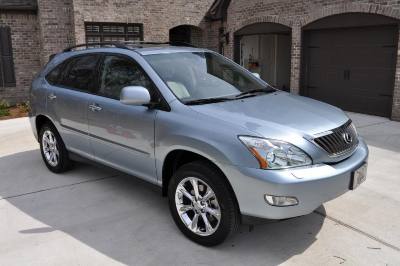
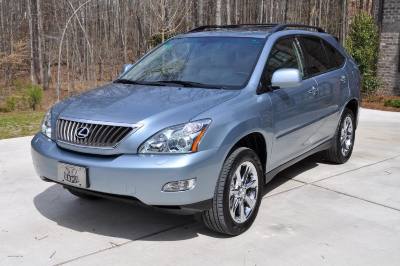
I always love these jobs. This is the wife, of the client I did the Cayman for. GREAT people, and they've seen what my hands can do. This is her daily driver, and I think they'll order up a polishing package in the summer, but for now it was just a wash, clay, sealant, interior job. I'm always very grateful for return clients like this, and furthering our relationship. I went to the client's house for this one, here's how things went down:
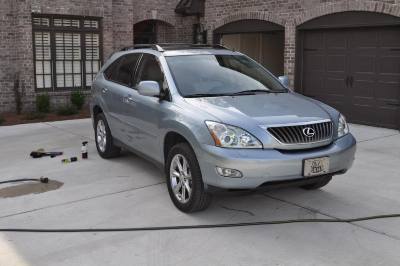
Lettin' the DWC & APC get right down to work:
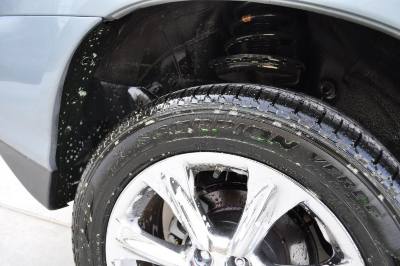
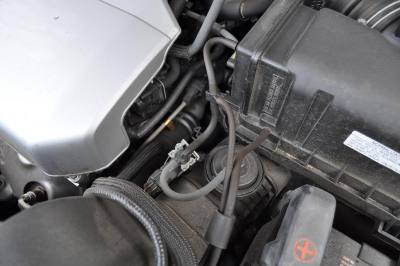
Engine bay before:
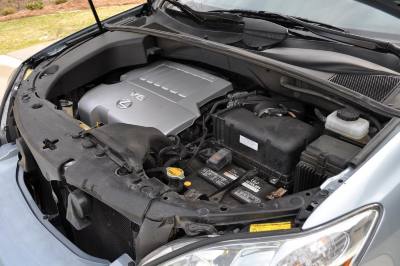
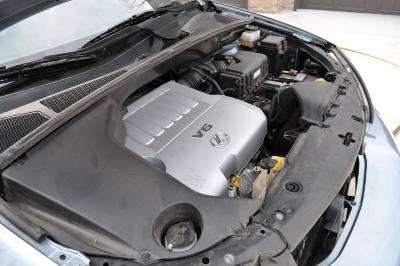
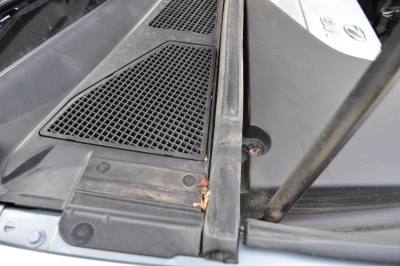
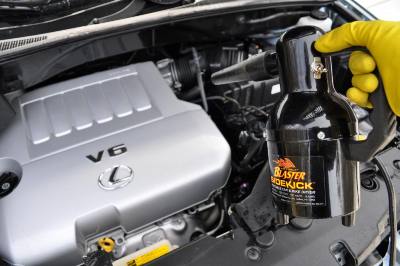
Washed & Blow dry:
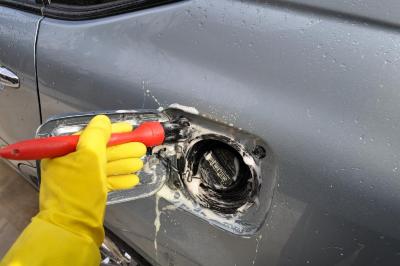
Always check this area during a wash. The lugnut brush is used for MANY other areas than just lugs:
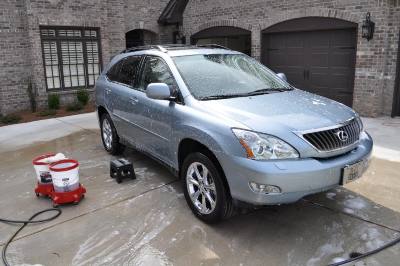
All done washing:
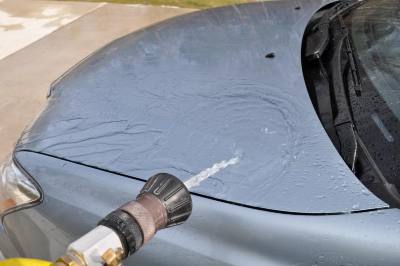
Ready for a pool rinse, let the car help dry itself:
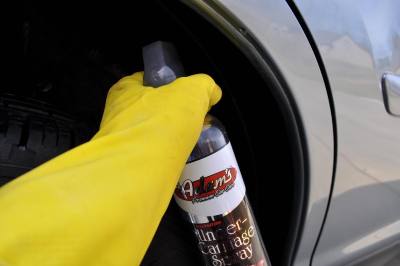
Hittin' those fender wells before moving forward, in case any overspray gets on the car, I have a few steps after, to remove it.
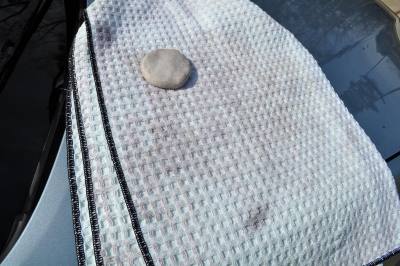
I don't dry the car beforehand, when I clay. Any water left on the car after rinsing (ALWAYS DO THIS IN THE SHADE OR GARAGE) acts as lubricant for when I clay, and then I use the Great White Drying Towel to absorb what's left behind. I took this pic, so you can see all the dirt and junk left behind, EVEN AFTER a wash, absorbed into the towel. This is after just the roof.
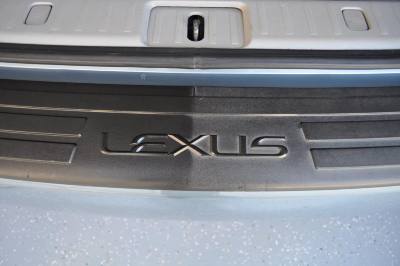
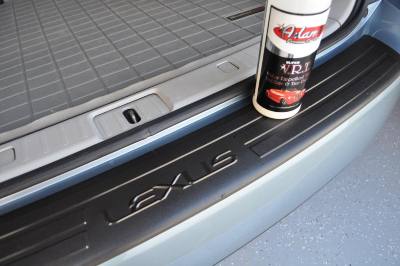
I always like to dress all areas with SVRT & In/Out Spray BEFORE I apply my LSP or do my IPA wipedown, because I'll remove any accidental messy areas, in the steps to come. Here's a 50/50 of the rear step pad, after 1 coat of SVRT:
Buttoned up after 3 coats absorbed:
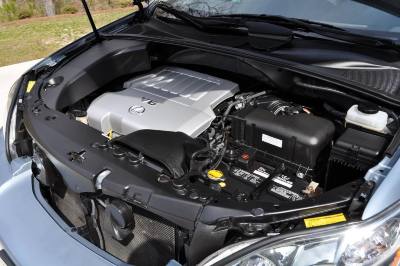
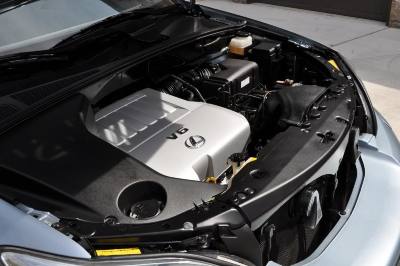
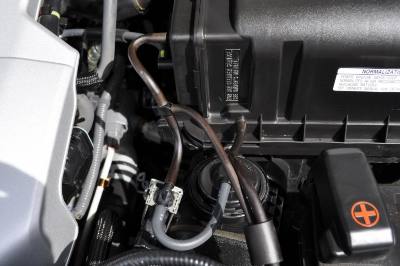
Engine bay afters:
I always love these jobs. This is the wife, of the client I did the Cayman for. GREAT people, and they've seen what my hands can do. This is her daily driver, and I think they'll order up a polishing package in the summer, but for now it was just a wash, clay, sealant, interior job. I'm always very grateful for return clients like this, and furthering our relationship. I went to the client's house for this one, here's how things went down:
- Adam's Deep Wheel Cleaner, Wheel Woolies, Boar's Hair brush, & New Lugnut Brush on wheels
- Adam's All Purpose Cleaner & Fender Brush on tires & wheel wells
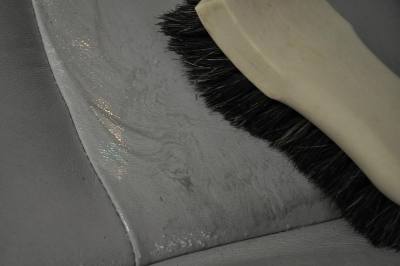
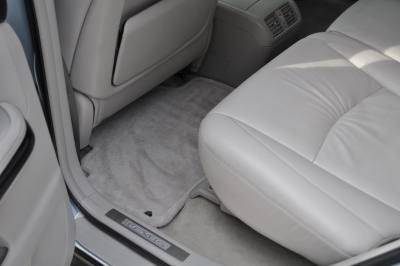
- Adam's All Purpose Cleaner & Fender Brush to clean floormats
- Adam's All Purpose Cleaner, Wheel Woolies, & Boar's Hair Brush to clean the engine bay
- Blow dry engine bay with MetroVac Sidekick & one of my "dirty job" towels
- Full two bucket wash with Adam's Firehose Nozzle & shutoff valve, Adam's Jumbo Wash pads, & Adam's Car Wash Shampoo
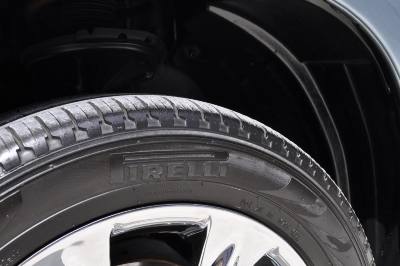
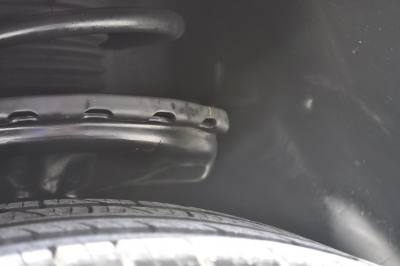
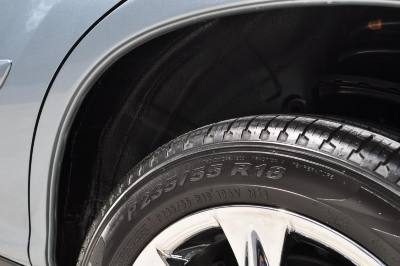
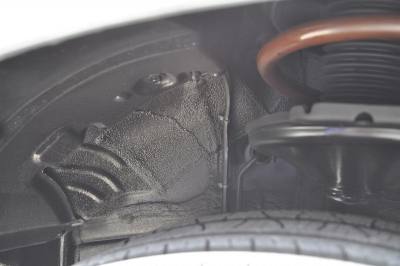
- Dress wheeel wells with Adam's Invisible Undercarriage Spray
- Adam's Clay Bar, Adam's Detail Spray, & Adam's Great White Drying Towel to decontaminate the surface
- Blow dry cracks & crevices with MetroVac Sidekick
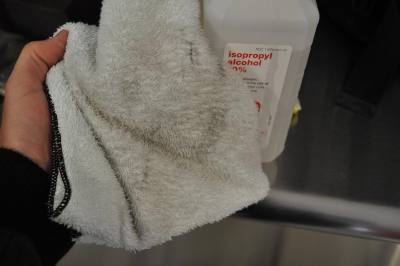
- 70/30 Alcohol wipedown with Adam's Singlesoft Microfiber Towel
- Adam's Quick Sealant Combo to protect this baby
- Nourish engine bay, tires, & all exterior plastics with Adam's SVRT, Adam's In/out Spray, and a Block Sponge
- Vacuum interior with my Shop Vac
- Dust dash with small brushes, Adam's Detail Spray & "dirty job" towel
- Scrub seats and door areas with Adam's Leather/Interior Cleaner, Adam's Horsehair Interior Brush, & one of my "dirty job" towels
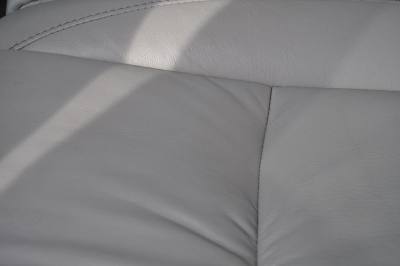
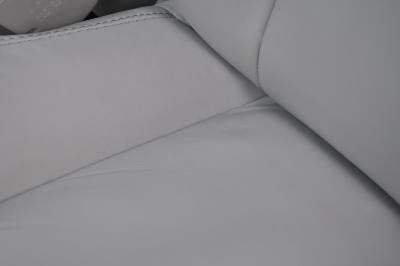
- Nourish seats & door areas with Adam's Leather Conditioner
- Clean interior & exterior glass with Adam's Glass Cleaner & towel
- Dress roof rack with Adam's SVRT

Lettin' the DWC & APC get right down to work:

Engine bay before:


Washed & Blow dry:

Always check this area during a wash. The lugnut brush is used for MANY other areas than just lugs:

All done washing:

Ready for a pool rinse, let the car help dry itself:

Hittin' those fender wells before moving forward, in case any overspray gets on the car, I have a few steps after, to remove it.

I don't dry the car beforehand, when I clay. Any water left on the car after rinsing (ALWAYS DO THIS IN THE SHADE OR GARAGE) acts as lubricant for when I clay, and then I use the Great White Drying Towel to absorb what's left behind. I took this pic, so you can see all the dirt and junk left behind, EVEN AFTER a wash, absorbed into the towel. This is after just the roof.

I always like to dress all areas with SVRT & In/Out Spray BEFORE I apply my LSP or do my IPA wipedown, because I'll remove any accidental messy areas, in the steps to come. Here's a 50/50 of the rear step pad, after 1 coat of SVRT:

Buttoned up after 3 coats absorbed:

Engine bay afters:


