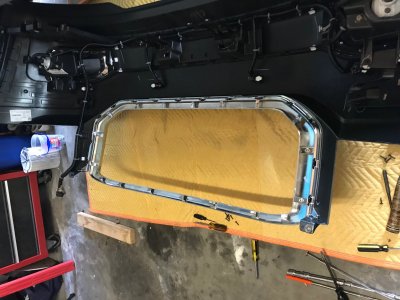
Although a number of us have done it, I thought it might be useful to show some additional info to consider when I installed a Denali grille on my 2015i SLT.
These instructions do a great job of showing you the majority of the bolts that need to be removed.
https://www.realtruck.com/shared/pdf/manufacturers/2/270519b.pdf
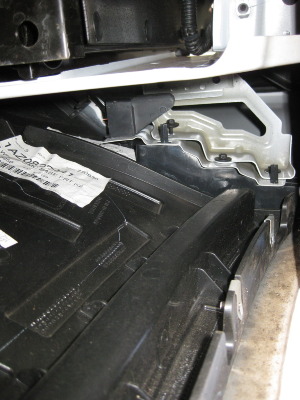
However, I found there to be less of a chance of damaging the bumper if you loosen these three 7mm screws that attach the bumper cover guides on each side. Ask me how I know...
Looking up from behind the bumper and in front of the wheel well liner (pulled back).
Outside view.
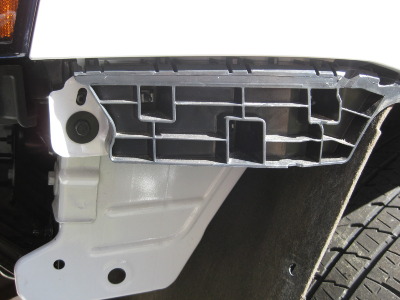
Loosened. Notice how it's rotated outboard.
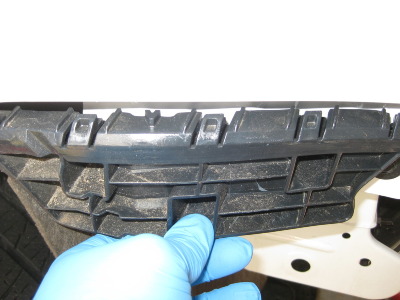
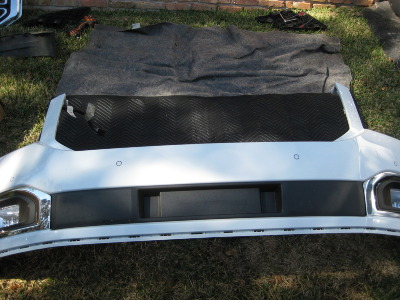
Bumper assembly removed.
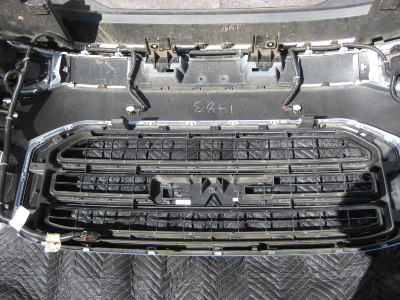
There're two rivets that need to be removed before separating the grille from the bumper. One on top of each vertical part of the bumper that comes up on both sides of the grille.
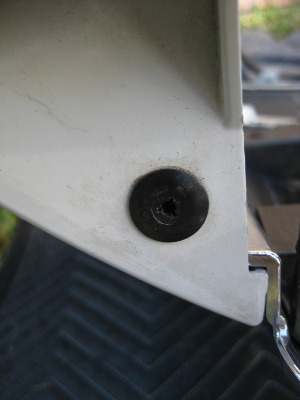
Bottom view.
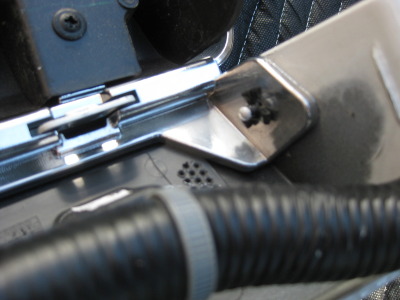
I used a pair of side cutters to remove them without damaging the plastic. If you want to replace them, they are the same rivet used with the front license plate bracket. None of the bumper/grille parts diagrams showed them.
Now separate the grille from the clips that surround it's perimeter.
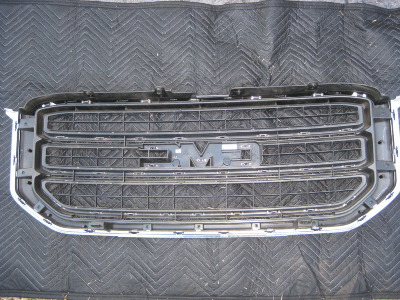
Voila!
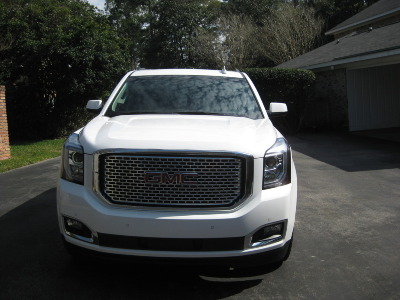
All buttoned up.
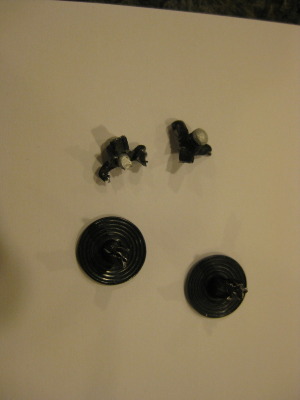
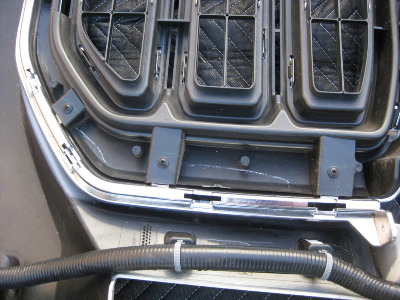
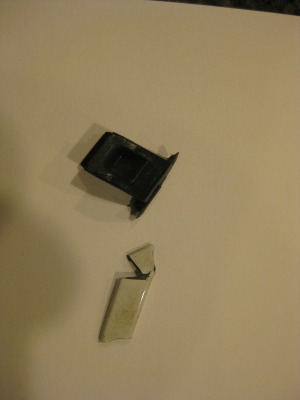
Clips I broke when removing bumper.
Sent from my iPad using Tapatalk
These instructions do a great job of showing you the majority of the bolts that need to be removed.
https://www.realtruck.com/shared/pdf/manufacturers/2/270519b.pdf
However, I found there to be less of a chance of damaging the bumper if you loosen these three 7mm screws that attach the bumper cover guides on each side. Ask me how I know...
Looking up from behind the bumper and in front of the wheel well liner (pulled back).

Outside view.

Loosened. Notice how it's rotated outboard.

Bumper assembly removed.

There're two rivets that need to be removed before separating the grille from the bumper. One on top of each vertical part of the bumper that comes up on both sides of the grille.

Bottom view.

I used a pair of side cutters to remove them without damaging the plastic. If you want to replace them, they are the same rivet used with the front license plate bracket. None of the bumper/grille parts diagrams showed them.

Now separate the grille from the clips that surround it's perimeter.

Voila!


All buttoned up.

Clips I broke when removing bumper.

Sent from my iPad using Tapatalk
Last edited:

