W8TVI
Full Access Member
This write up is how to replace the latches on the 2nd row bucket seats (the latches that hold the panels to the back of the seat that make the "load floor" when folded down)
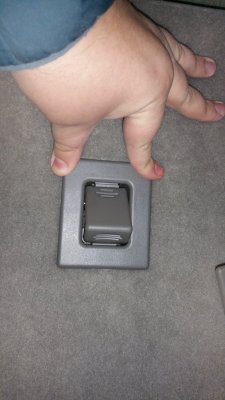
First off, you need to buy new latches like these ones on Amazon.
I needed GM part number 12477414 to match my gray carpet, but I found ones on Amazon for tan and black carpet, also.
To start off, you will need to fold down the seat to work on it.
Whats this? A VCR?
Ignore the old technology if you have a 2000 like mine:
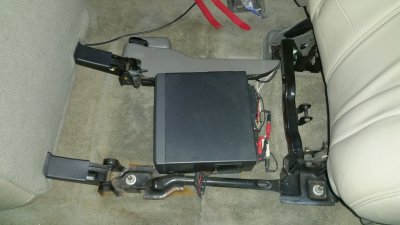
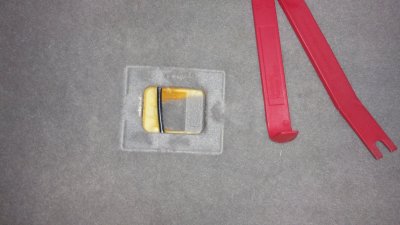
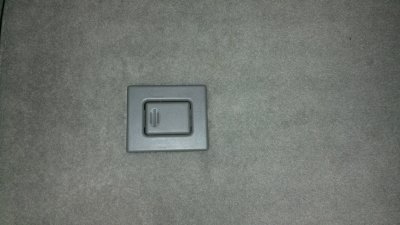
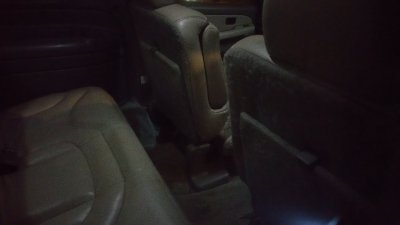
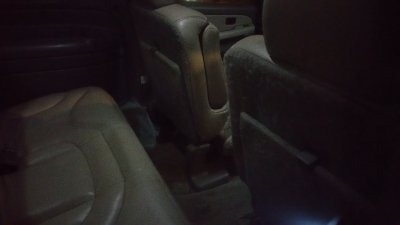
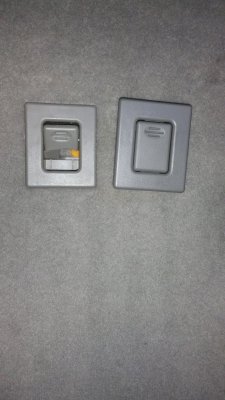
So here is what you see with the seat folded down. I placed the new part next to it.
(remember to keep the top of the latch to the top of the seat as shown)
Old and busted, new hotness:
First, you will need a couple of spudgers (something thin to that can be pried with), and something like a flat bladed screw driver.
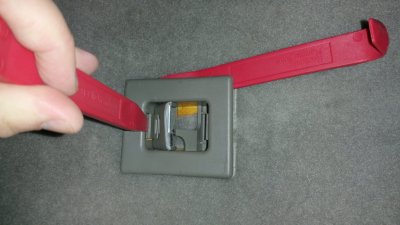
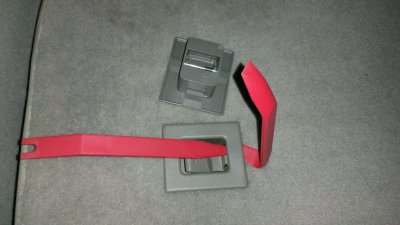
First, take your thin spudger and get in the gap at the top of the retaining clip and pry it out:
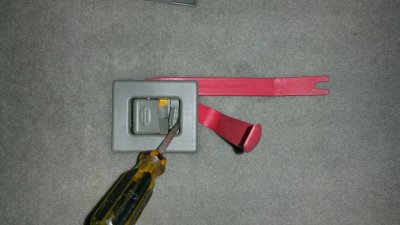
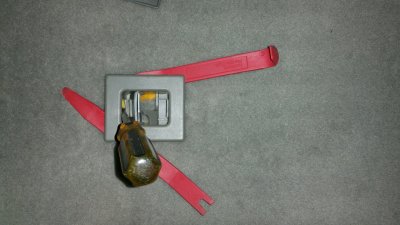
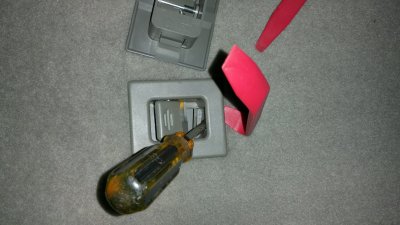
Next while you have the clip pried out, shove your screw driver into the gap far enough to disengage the clip from the seat back:

First off, you need to buy new latches like these ones on Amazon.
I needed GM part number 12477414 to match my gray carpet, but I found ones on Amazon for tan and black carpet, also.
To start off, you will need to fold down the seat to work on it.
Whats this? A VCR?
Ignore the old technology if you have a 2000 like mine:

So here is what you see with the seat folded down. I placed the new part next to it.
(remember to keep the top of the latch to the top of the seat as shown)
Old and busted, new hotness:

First, you will need a couple of spudgers (something thin to that can be pried with), and something like a flat bladed screw driver.
First, take your thin spudger and get in the gap at the top of the retaining clip and pry it out:

Next while you have the clip pried out, shove your screw driver into the gap far enough to disengage the clip from the seat back:


