RST Black Trim

Disclaimer: Links on this page pointing to Amazon, eBay and other sites may include affiliate code. If you click them and make a purchase, we may earn a small commission.

belmont

TYF Newbie
Joined
Jul 23, 2010
Posts
5
Reaction score
17
Location
AZ
So, I did the RST trim swap today. Cheapest place I could find the parts from was Tasca. Their price was better than GMPD by maybe $20-30 shipped to AZ. I found very little info online about the removal and installation of the pieces, so I thought I'd share my findings...


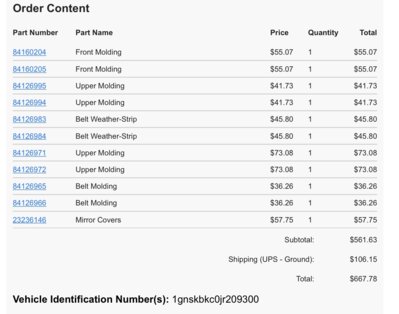
Here's the legit actual part numbers needed. The VIN at the bottom is from a black RST.
_0.JPG


Starting from the back, this piece is the easiest. Four clips hold it in. You're bound to break at least one of them so don't plan on salvaging the original. The new piece is on the left.
_01.JPG


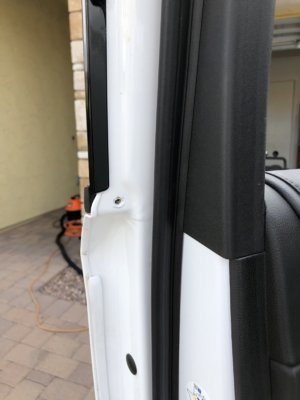
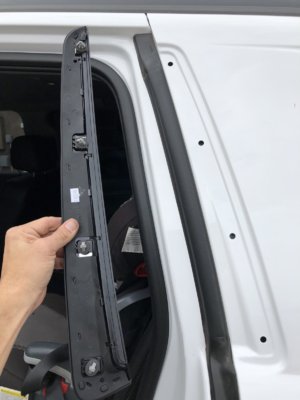
Rear door: you need to remove this screw. It's a T-15 torx.
_02.JPG

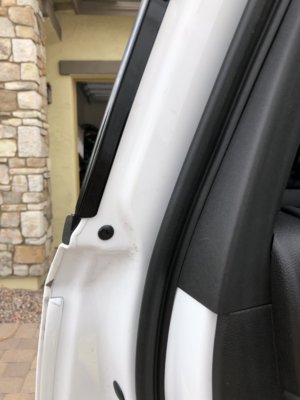
Same for this one on the inner part of the door.
_03.JPG


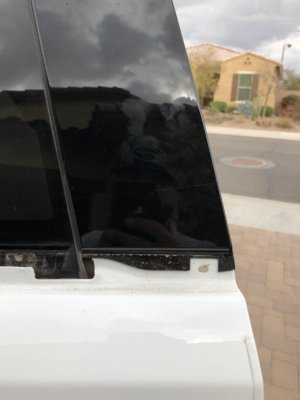
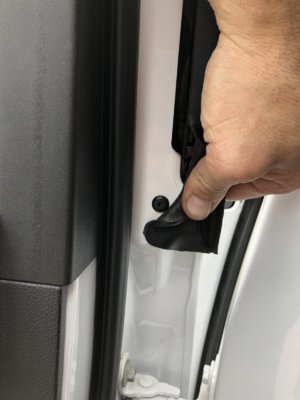
Remove the phillips screw here. It is for the vertical black piece, which needs to be removed to access the upper molding.
_04.JPG
 

belmont

TYF Newbie
Joined
Jul 23, 2010
Posts
5
Reaction score
17
Location
AZ
Same for this one on the inner part of the door.
_05.JPG


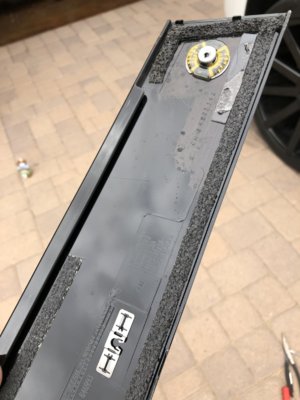
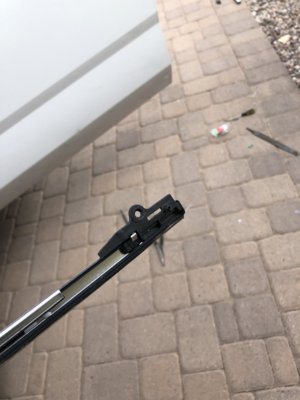
Pull straight up on the lower molding. This is what the back of it looks like.
_06.JPG


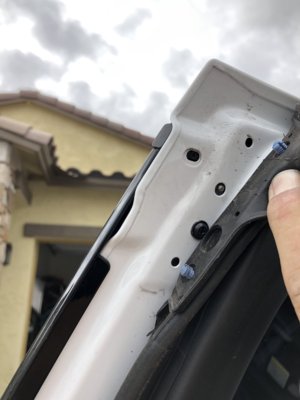
Now is when it gets a little tricky. GENTLY pull the very bottom of the vertical trim piece outward to release the bottom clip, and rotate it from the bottom away from the car. It won't move easily so be careful and once the bottom is released, keep it as close as possible to the door. The phillips screw which you took out earlier holds the top of it, and there are two clips in the middle which you'll see in the next couple pics.
_07.JPG


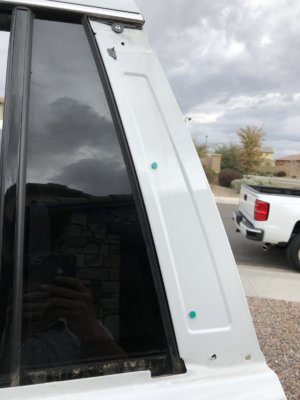
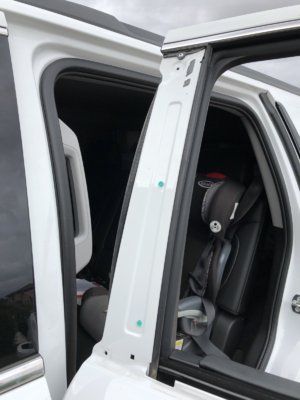
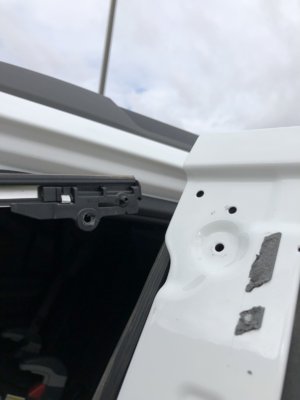
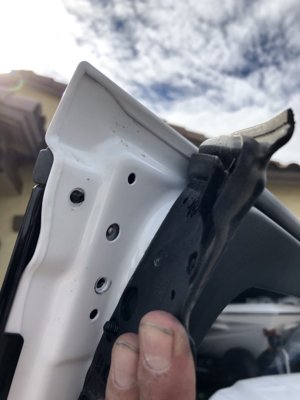
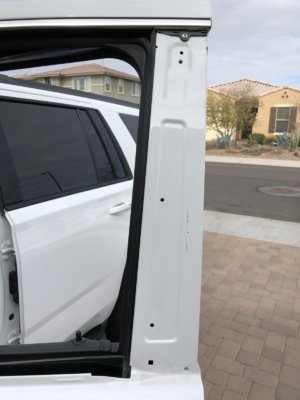
If you did it successfully, you will leave two green buttons on the door. (this is the only door I managed to leave both of them in BTW). If you break one or both, don't sweat it. One will work just fine and if both are broken just use some 3M molding tape when you reinstall it (the red backed tape not the foam stuff). Notice the upper molding rivet at the top which you will have to drill out (it's easy).
_08.JPG

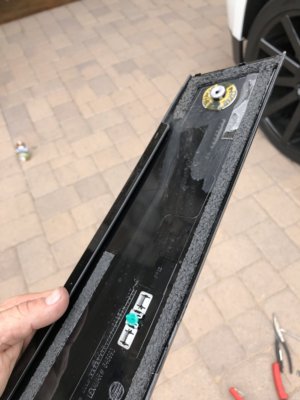
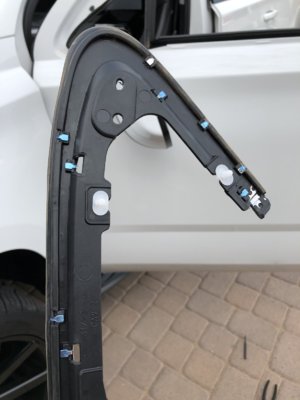
Here is the back of the vertical piece that was just removed. Those green buttons slide into the claws. I had one or two claws break off, but that was remedied by the 3M tape.
_09.JPG
 

belmont

TYF Newbie
Joined
Jul 23, 2010
Posts
5
Reaction score
17
Location
AZ
Remove the green buttons from the door and slide back into the claws.
_10.JPG


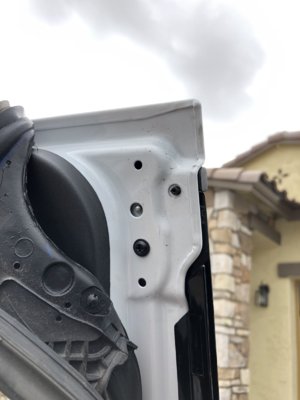
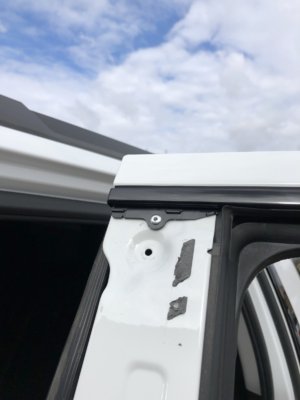
Do the same routine for the inner vertical trim price. Just rotate it the opposite way. You'll see another rivet at the top that needs to be drilled out.
_11.JPG


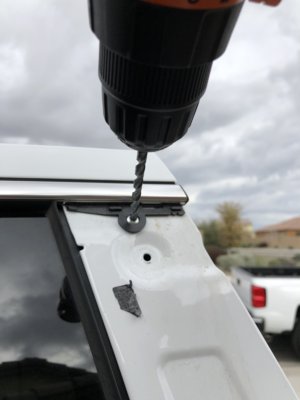
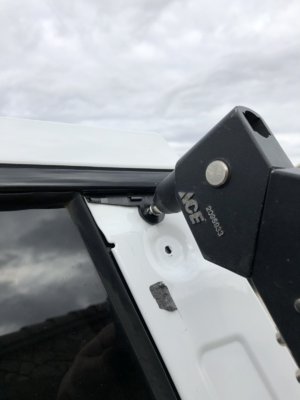
Drill em.
_12.JPG


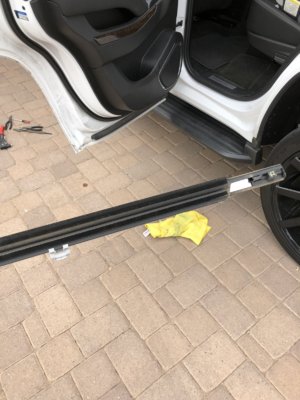
When installing the new trim piece, start from the car side. There is a nipple that will align it. Push the trim piece upward to seat it in the door. The tricky part here is getting it past the vertical trim for the window piece that does not move. You'll have to manipulate the weather strip to get it past, but be careful not to rip it. Also don't over-stretch the rubber because it will become wavy.
_13.JPG


Once you get it into place, pop a rivot in. 5/32" is what I used. Get some rivets with a short shaft or else you will need to cut the excess material on the backside.
_14.JPG
 

belmont

TYF Newbie
Joined
Jul 23, 2010
Posts
5
Reaction score
17
Location
AZ
Rivet installed on the inner hole. Replace the vertical trim pieces and move to the front door. Don't forget to put the phillips screws back in at the top, and the torx screws at the bottom.
_15.JPG


Front door. Remove lower trim screw from outer edge of door.
_16.JPG


Remove phillips screw from top.
_17.JPG


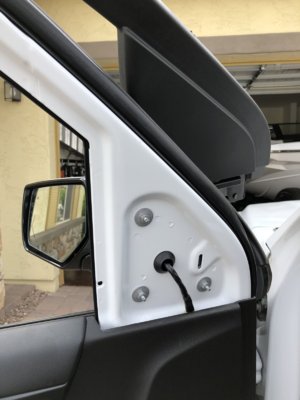
Finagle the interior window trim to reveal the mirror bolts. Loosen with a 10mm.
_18.JPG


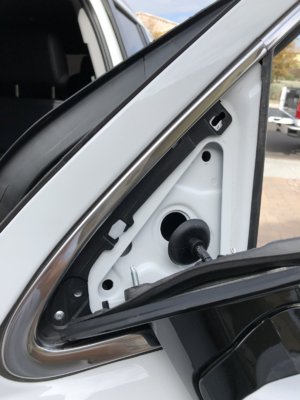
Aside from the three bolts, the mirror is clipped in at the top. Gently pry it to release. Here you'll see a rivet that needs to be drilled. There are also two clips holding the trim piece on.
View attachment 215569 _19.JPG
 

belmont

TYF Newbie
Joined
Jul 23, 2010
Posts
5
Reaction score
17
Location
AZ
Pull up on the lower trim and release it from the other trim piece by the mirror.
_20.JPG


Here you'll find the same scenario as the rear door with the vertical trim piece, green buttons, and a rivet to be drilled out.
_21.JPG


When installing the new piece, start by snapping in the two clips by the mirror.
_22.JPG


For the upper portion, start from the outside edge of the door by aligning the nipple. Then work your way towards the mirror - pushing up to seat the trim. Pop in the two rivets and reinstall the upper and lower screws.
_23.JPG


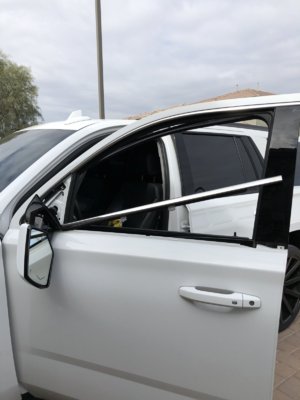
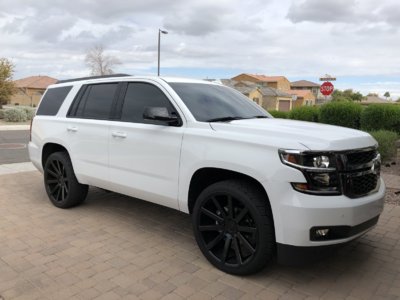
And you're done. Grab another beer, you've earned it.
_00.JPG


I did black mirror caps too. I want to do the white RST grille but the white headlight trim is part of the actual headlight and the OEMs are super spendy. I suppose I could wrap them or get painted. Otherwise I'm thinking of aftermarket black headlights and a black RST grille. I'd also love to go lower but 1) I tow and 2) my wife drives it. I should also lose the giant airdam or get the police edition one. Work in progress...
 

Azervos3

TYF Newbie
Joined
Jun 2, 2018
Posts
16
Reaction score
0
Great write up but very pricey... Any do wrap and how much was it to wrap??
 

Forum statistics

Threads
132,384
Posts
1,867,183
Members
97,030
Latest member
pipehand903
Top