Tonyrodz
Resident Resident
I 2nd that emotion.Always exciting to see a project in motion like this no matter how long it takes.
Disclaimer: Links on this page pointing to Amazon, eBay and other sites may include affiliate code. If you click them and make a purchase, we may earn a small commission.
I 2nd that emotion.Always exciting to see a project in motion like this no matter how long it takes.
Good deal cause it won't be fast, lolAlways exciting to see a project in motion like this no matter how long it takes.
I was going to look up those emails as I want quite sure on that pulley.LS engines snap exhaust manifold bolts by themselves, mostly the ones on the ends. But that rocker cover gasket is some straight up BS.
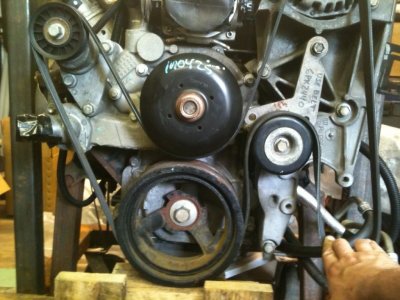
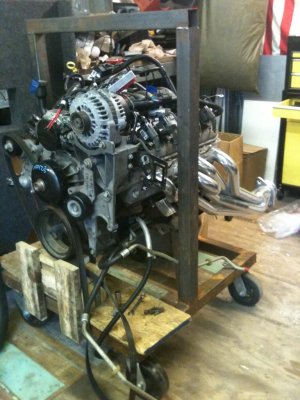
Speaking of, and I don't know if I ever sent these to you, but I found two (old!) pics I had of my modded accessory bracket:
View attachment 220995
View attachment 220996
Disregard that pulley bracket hanging under the alternator. There's a bolt boss behind it that you can bolt that idler pulley directly to- no relocator bracket necessary. You can see the location of the TB (covered in black tape) mounted to the LS6 intake. If you compare your bracket to the first pic, you should be able to see where I cut it. I smoothed down the cut edge with a flap disc so, other than the shiny fresh-cut metal, you'd never know it was modded.
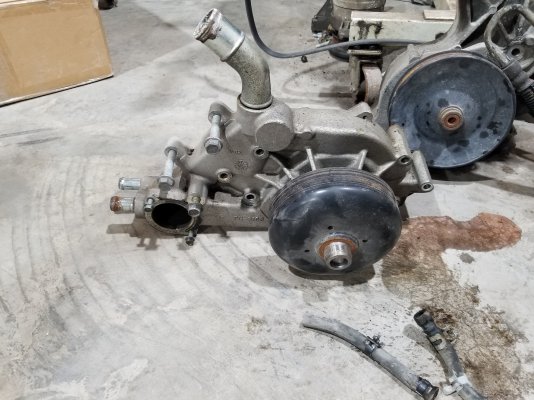
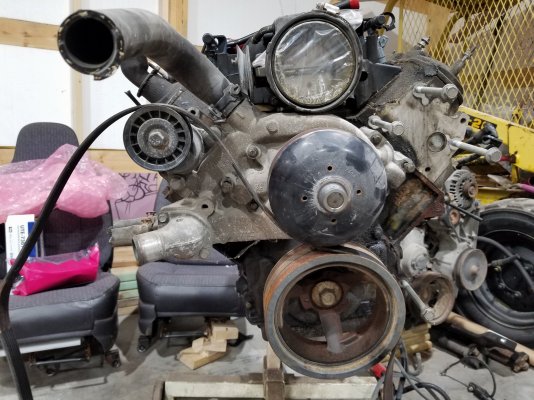
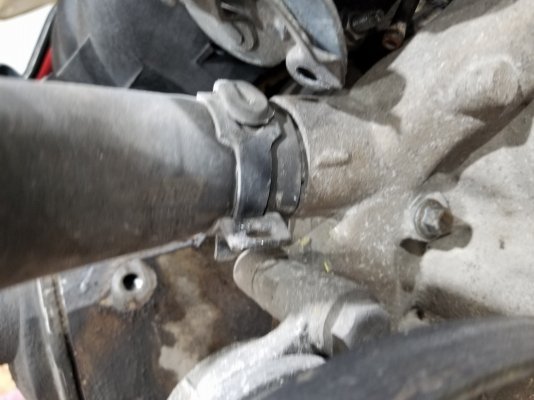
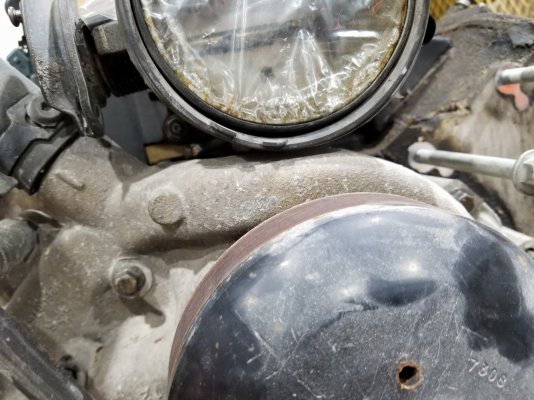
You can also get an idea of the water pump outlet arrangement. That's the stock truck WP and, in the first pic, you can kinda see the outlet neck and how it goes up and very close to the throttle cable wheel on the TB. I think that was the 80MM BBK TB, which came with a 1/2" thick spacer/adapter, so that is probably how that cable wheel clears. The round blank on the front of the WP is where the outlet is on the LS1/F-body WP, but the LS1 accessory spacing is closer to the motor than the truck's. The L99 (2010+ Camaro) WP has the truck accessory spacing AND the front-firing outlet AND it's on the driver's side of the pulley which, as you can see in the first pic, would clear the belt just as well. So it's an OEM bolt-on solution for everything.
I was going to look up those emails as I want quite sure on that pulley.
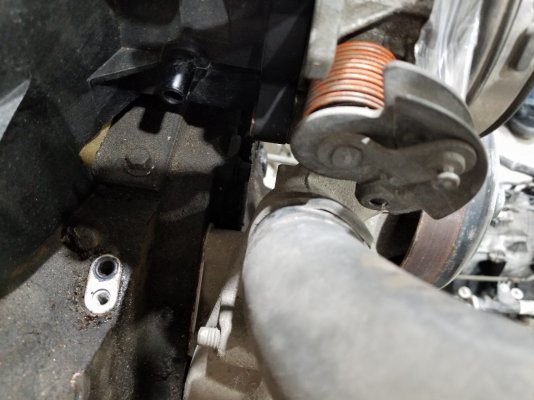
Will have a spacer made. Thanks again for the pics.IIRC, the pulley just needs to be spaced out about 32 or 33mm. Either have a spacer made (I had one cut from a chunk of aluminum rod with a 33mm diameter and a hole drilled through the center) or use a stack of washers. You'll need a bolt of the same dimensions as what's currently going through that idler pulley plus 32 or 33mm.
Barely even started. Planning on going over tonight and trying to get a few things done.is this done yet?
