ScottyBoy
Full Access Member
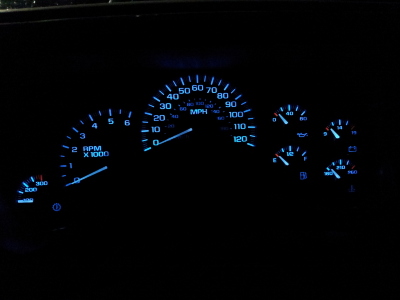
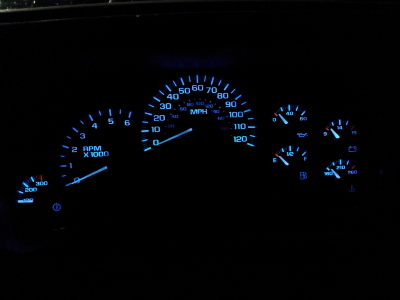
The NBS 03-06 SUV's were plagued by defective stepper motors in the instrument cluster. GM's only solution for this is to replace the entire cluster at a cost upwards of $300 or more. Plus additional costs to have your mileage programmed into the new cluster, which can be another $100 or more. Your other option is to send it off to a shop that specializes in speedometer repairs, yet that will still cost you about $200 or more. If you know how to solder, you can replace the stepper motors very easily on your own. You can find replacement stepper motors on Ebay or Amazon for around 30-40 bucks. Once you get your new stepper motors, heres how to swap them out. I just replaced the stepper motors in a 2004 Denali cluster (DenaliAK's cluster) and took lots of pics.
First, you need to remove the cluster from the truck. If you don't know how to do that, CLICK HERE for instructions.
Then you need to lay the cluster on your table or workbench to take it apart.
First, you need to remove the lense/cluster bezel by unclipping the tabs around the cluster to pop it off. There are several clips across the top and two on the bottom. Unclip the top ones first and the bottom ones will come off a LOT easier.
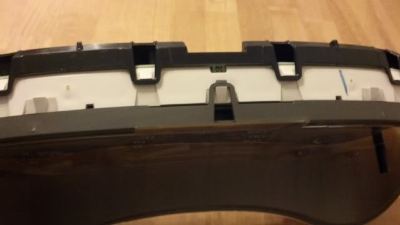
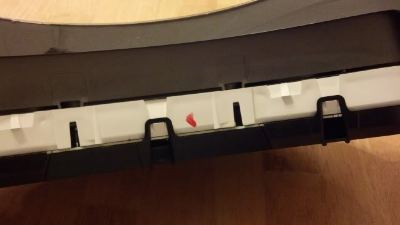
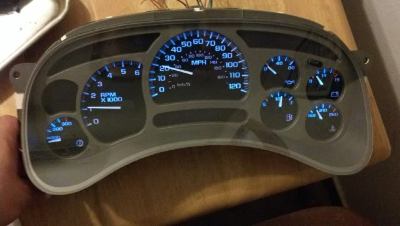
Here is the cluster with the bezel removed.
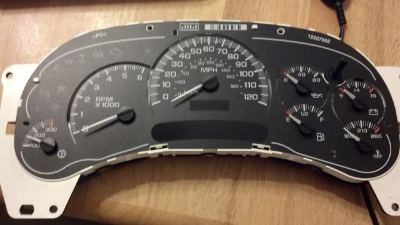
Once the bezel is removed, you need to mark the setting for your needles. put a piece of tape to the left of each needle. Then rotate each needle as far to the left as it will go, and mark a line on your tape with a pen or marker.
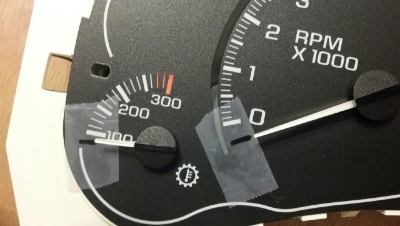
After each needle position is marked, you need to pop the needles off. This is most easily accomplished by using a dinner fork. Cover the fork with tape if you are worried about it scratching your gauge face overlay.
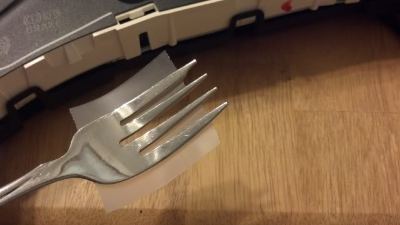
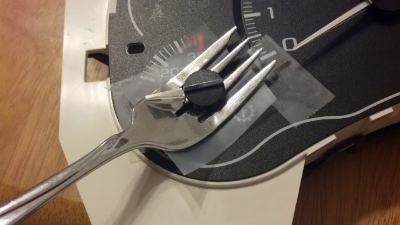
After all your needles are removed and safely set aside, you can lift off the gauge face/overlay. It is only fastened by some small tabs, just pop it off these tabs and lift it off and set it aside.
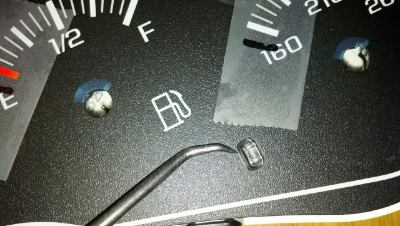
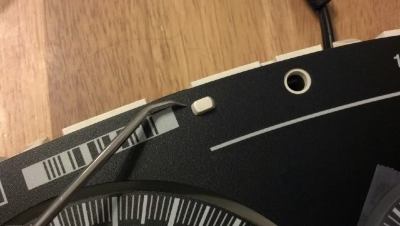
Don't forget to lift out the trip odometer button after you lift off the overlay.
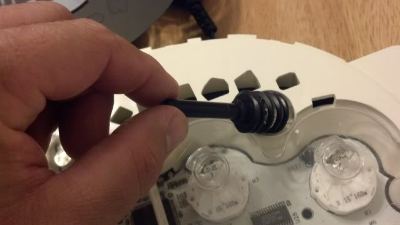 [/QUOTE]
Now you have to lift out the clear light diffuser that is laying inside the cluster. Just carefully lift it straight up, it isnt secured to anything.
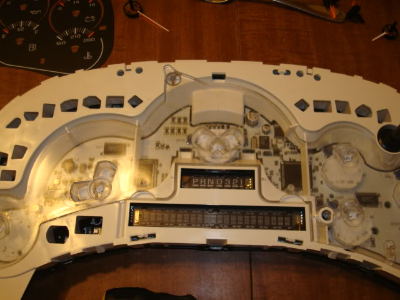
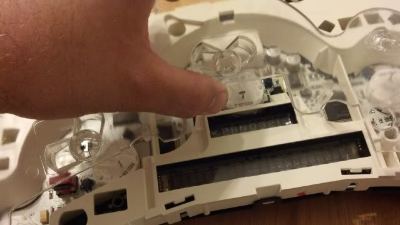
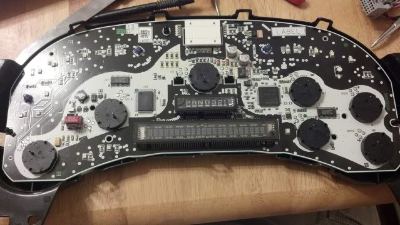
The little white motors are the stepper motors that you need to replace.
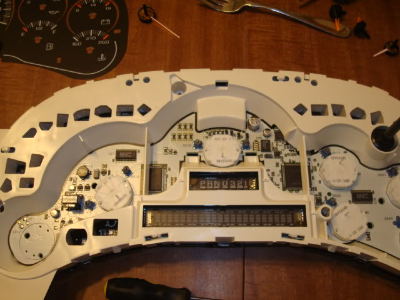
You need to remove the board completely from the rest of the cluster housing to unsolder the stock stepper motors and solder the new ones in.
Just unclip the back cover to seperate it.
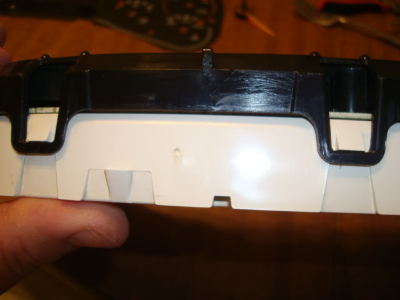
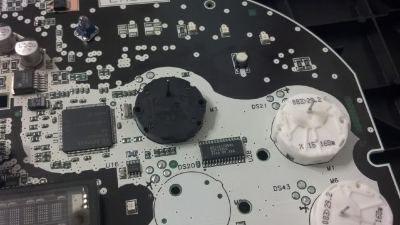
The white motors are the original motors and the new motors are black and slightly thinner. Here are a few shots comparing the two. The
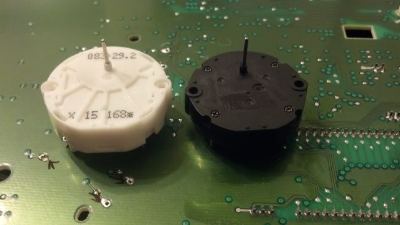
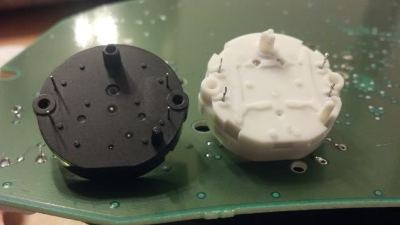
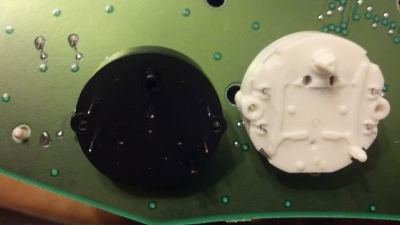
The motors have 4 solder pins, and 2 plastic locator pins, so they can only go in one way. The factory motors have the pins bent and soldered. You can either melt the solder and bend them back up to remove each motor, or snip them off as close to the board as possible, then melt the remaining solder to get the motor off. Desoldering wick can come in handy during the desoldering part.

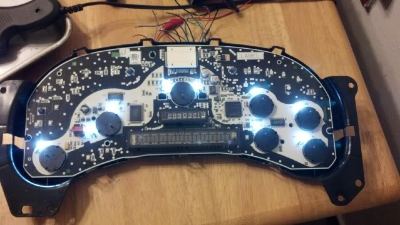
Now get the new stepper motor seated in place. Press it firmly against the board as far as it will go. The plastic pins might hold it in place during soldering, but you can also bend the pins down to help hold it too.
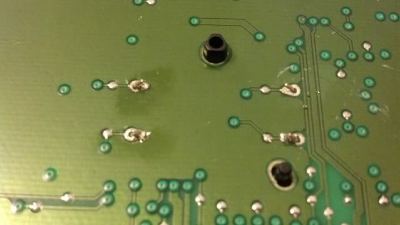
Now just solder these 4 pins and you are good to go, now move on to the next stepper motor.
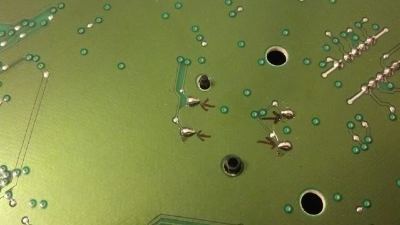
First, you need to remove the cluster from the truck. If you don't know how to do that, CLICK HERE for instructions.
Then you need to lay the cluster on your table or workbench to take it apart.
First, you need to remove the lense/cluster bezel by unclipping the tabs around the cluster to pop it off. There are several clips across the top and two on the bottom. Unclip the top ones first and the bottom ones will come off a LOT easier.


Here is the cluster with the bezel removed.

Once the bezel is removed, you need to mark the setting for your needles. put a piece of tape to the left of each needle. Then rotate each needle as far to the left as it will go, and mark a line on your tape with a pen or marker.

After each needle position is marked, you need to pop the needles off. This is most easily accomplished by using a dinner fork. Cover the fork with tape if you are worried about it scratching your gauge face overlay.


After all your needles are removed and safely set aside, you can lift off the gauge face/overlay. It is only fastened by some small tabs, just pop it off these tabs and lift it off and set it aside.


Don't forget to lift out the trip odometer button after you lift off the overlay.
 [/QUOTE]
Now you have to lift out the clear light diffuser that is laying inside the cluster. Just carefully lift it straight up, it isnt secured to anything.


The little white motors are the stepper motors that you need to replace.

You need to remove the board completely from the rest of the cluster housing to unsolder the stock stepper motors and solder the new ones in.
Just unclip the back cover to seperate it.

The white motors are the original motors and the new motors are black and slightly thinner. Here are a few shots comparing the two. The


The motors have 4 solder pins, and 2 plastic locator pins, so they can only go in one way. The factory motors have the pins bent and soldered. You can either melt the solder and bend them back up to remove each motor, or snip them off as close to the board as possible, then melt the remaining solder to get the motor off. Desoldering wick can come in handy during the desoldering part.

Now get the new stepper motor seated in place. Press it firmly against the board as far as it will go. The plastic pins might hold it in place during soldering, but you can also bend the pins down to help hold it too.

Now just solder these 4 pins and you are good to go, now move on to the next stepper motor.


