07-10 Yukon projector Retro build

Disclaimer: Links on this page pointing to Amazon, eBay and other sites may include affiliate code. If you click them and make a purchase, we may earn a small commission.

vietcu

Member
Joined
Aug 29, 2010
Posts
59
Reaction score
0
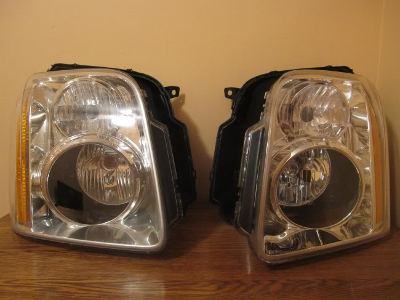
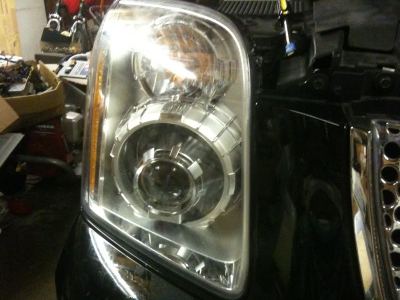
I am in the process of attempting my first Projector HID retro to my headlights. It has been done before and there are some vendors online that can do it, but they want way too much IMO to do a retro that I am pretty sure I can do by myself. So I am attempting to do this, but it will take some time as I don't have a lot of free time, and also doing research throughout the whole process. So this is going to be a while before I complete the project. Attached are some pictures of headlights for the Yukon that has already been done with the retro, the first one is from BlackFlameCustom that I happen to run across on the net. His setup is using the Morimoto Minis
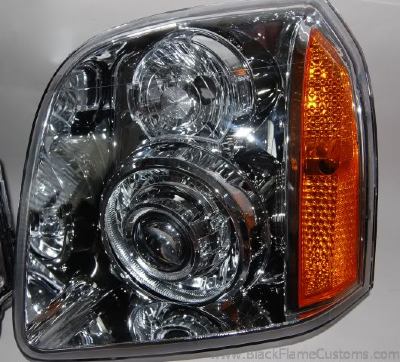
yukon8.jpg

This other setup is from a guy who responded to my thread over on the HID forum, and he has the TL projector in his headlights.
IMG_1225.jpg

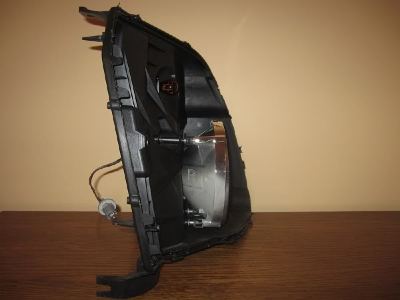
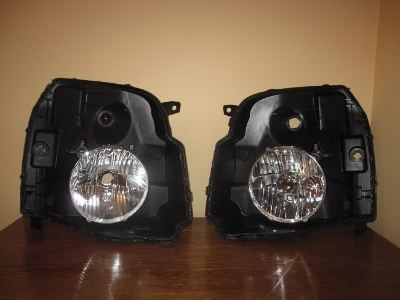
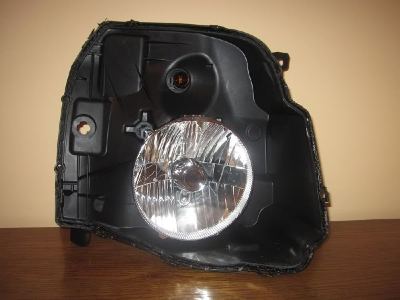
This is what I have done so far as of tonight. I purchased the R headlight on ebay for a whopping $20 shipped :), was too scared to mess with the stock as I wasn't sure how easy it was to open. Turns out to be a piece of cake really. I got a heat gun and set it on high, work one section of the headlight at a time (this sucker is huge). To whoever say that the glue used is harder to remove, it was a piece of cake, took me a little less than 15 minutes to fully remove the two piece. Started first with removing 2 screws from behind the headlight, then heated 3 tabs at a time and popped them up once they got flexible being careful not to break it. I would use a larger flat pry piece rather than a screw driver as it is too small. put the pry in the crack and turned clockwise or counter, once you feel it opening move to another spot. Work your way around the whole headlight heating up one section at a time, it is really easy to open.
IMG_1484.jpg
IMG_1485.jpg

That is all I have so far, right now just doing some measurements so I can figure out which is the best projector to get. Any feedback will be read and appreciated, as I will be learning and doing it at the same time.
 

Maggy

TYF Newbie
Joined
Oct 10, 2010
Posts
9
Reaction score
0
Location
Alberta
Finally, "Reality TV" ...kinda...that I'll enjoy tuning into.
 
OP
OP
V

vietcu

Member
Joined
Aug 29, 2010
Posts
59
Reaction score
0
I will try to make it as detailed as possible so if anyone else wants to tackle this project they can. I think I am going to go with FX-R projectors and some Morimoto ballast and bulbs. Will post up pictures once I get them in.
 
OP
OP
V

vietcu

Member
Joined
Aug 29, 2010
Posts
59
Reaction score
0
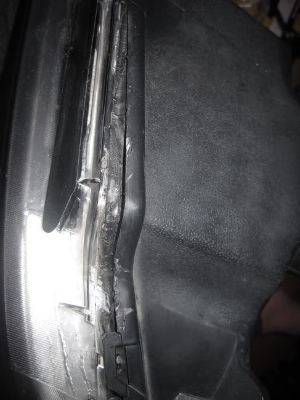
Got in the Left headlights today so was able to take that apart tonight as well. I managed to get some more detailed pictures while taking this headlight apart, it was a little harder than the Right headlight but was pretty much the same process.

Once you can get it to crack this much you should be set to get the rest of the headlight to follow, take it slow and don't rush as you will crack it by forcing it open.
IMG_1505.jpg
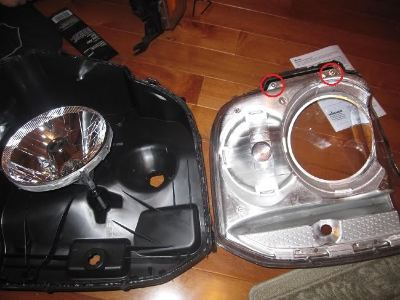
For those who are interested in taking the orange side marker out, you can check this picture out and see that I marked the 2 screws you need to remove before taking off the chrome plastic piece from the headlight.
IMG_1508.jpg
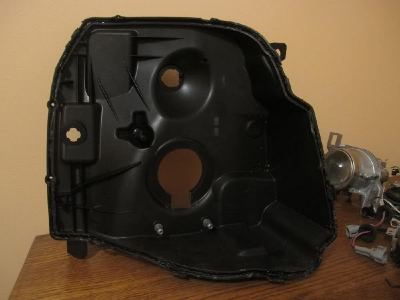
the 2 back piece
IMG_1509.jpg
and the whole package sitting apart from each other
IMG_1511.jpg
Ordering my Projectors tonight, so prob won't be able to mess with this anymore until I get them in.
 
OP
OP
V

vietcu

Member
Joined
Aug 29, 2010
Posts
59
Reaction score
0
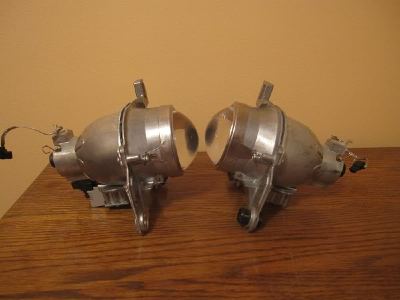
Here are the updates to what I have done so far. I went with Murano projectors and a pair of Porsche Cayenne projector shroud.
pics of the projector. I ordered some clear lens also to get a better cutoff than the stock lens.
IMG_1515.jpg
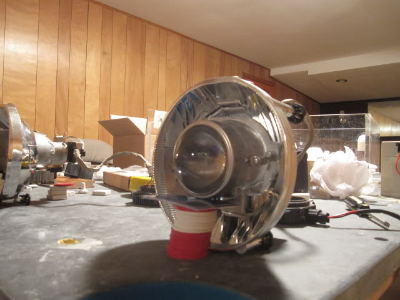
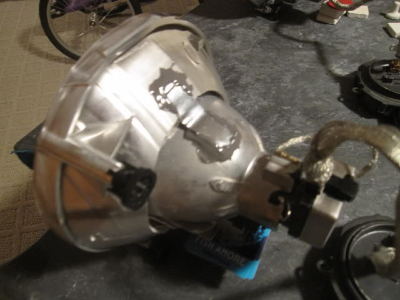
Light reflector removed, tips is to use some type of plyers and place under each tab and undo one at a time. I broke the inner most tab on both reflectors but was able to glue it back together and is holding up just fine. Learned the hard way I guess. Had to cut out that notch to get the projector to fit OK.
IMG_1516.jpg
here is the reflector cut open in the back so the projector could fit in it. In order for the projector to fit inside the housing it can only stick out a maximum of 1.5" from the front of the reflector.
IMG_1535.jpg
Using JB weld to hold the projector in place (Don't do it this way as you will see why a few pics down)
IMG_1542.jpg
test fit with the housing on.
IMG_1531.jpg

---------- Post added at 08:58 PM ---------- Previous post was at 08:48 PM ----------

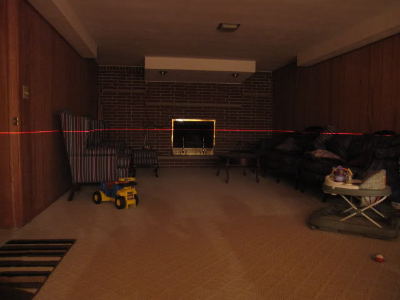
Using a laser leveler I managed to be able to mount the projector straight on the driver side light, Passenger side however was crooked by a tad but it looks horrible once projected on the street.
IMG_1545.jpg
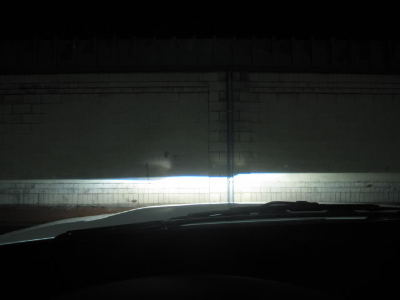
Output of one light level with the laser line
IMG_1547.jpg
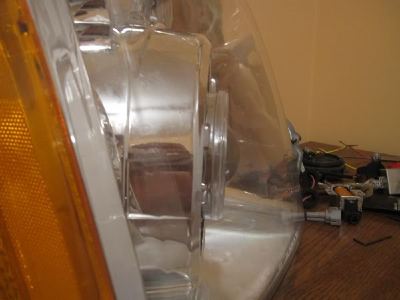
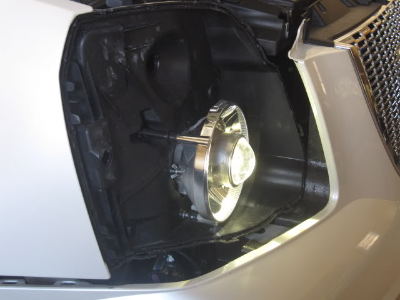
Test fit on the Yukon. Just a reminder there is a metal bar going vertical in the back of the housing that is used to hold the radiator. So if you are planning on doing this keep that in mind as my projector is almost flush with the metal bar.
IMG_1553.jpg
side shot of the fitting, Here is where the JB weld does not work. Noticed I have reverted to using screws and a wing nut behind the reflector to adjust the light. Once it heated up the JB weld just came right off the projector.
IMG_1554.jpg
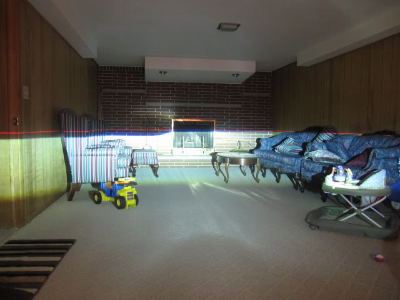
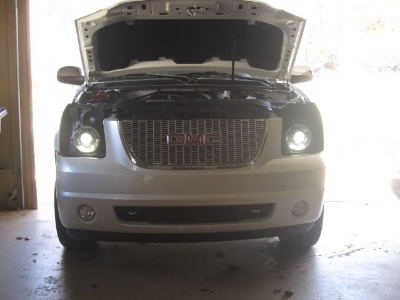
Here is a output shot of the lights on the Yukon. Will post a comparison picture once I have the stock lights back on. This picture is after I adjusted both lights so that they are both level. Trust me if you do this and don't take the time to do this it will annoy the heck out of you if the lights are not level with each other.
IMG_1556.jpg
http://i298.photobucket.com/albums/mm262/vietcu/IMG_1556.jpg
 

Zed 71

Full Access Member
Joined
Sep 30, 2009
Posts
1,229
Reaction score
12
Location
Pacific NW
How do you adjust the level of the lights? Does the Porsche shroud have adjustment points?

Thanks for taking the time to post :).
 
OP
OP
V

vietcu

Member
Joined
Aug 29, 2010
Posts
59
Reaction score
0
How do you adjust the level of the lights? Does the Porsche shroud have adjustment points?

Thanks for taking the time to post :).

The Porsche shroud is just to cover the projector for aesthetic reasons only. I bolted the projector on the reflector from the headlight itself on the left and right side. What I eventually did was bolted one bolt on first, then while it is on the vehicle turned on the light and made sure the projected light was level with my laser level. At that point I held it in place and drilled the other hole, then took the light back off the truck to bolt it in. Once it is bolted securely on the reflector, you can use the stock adjuster to tilt the light up and down so that it does not blind oncoming traffic.
 

BAMA_LTZ_HOE

Member
Joined
Oct 26, 2010
Posts
46
Reaction score
1
Location
Winfield, AL
That looks really nice. I did a retrofit on my 05 Tacoma Double cab and it turned out nice. I would love to do the same to the wife's LTZ.
 

Forum statistics

Threads
132,199
Posts
1,863,881
Members
96,725
Latest member
CBB0005
Top