Tiki
Full Access Member
- Joined
- Jun 4, 2013
- Posts
- 640
- Reaction score
- 321
Some Tahoes, Suburbans, and Yukons did not come equipped with a factory third row seat. I just so happen to own a 2007 Z71 Tahoe that fits this description. While I rarely ever have the need to use a third row, it does come in handy when company is in town. so I did some researching on the old interwebz to see what options I had. I cam across several half helpful posts regarding this situation and thought I would document my findings.
Yes, you can add a third row seat. There are threaded holes in every vehicle and the ones that were ordered with no third row simply have plastic plugs where the seat brackets would go. There also was some discussion regarding if the earlier GMT-800 (00-06) vehicles with barn doors not being able to accommodate a third row. Yes, even barn door vehicles can fit a third row. There are several examples on YouTube and various web forums that have documented they do in fact fit.
Below is the process of adding a third row on a GMT-900 (2007-2014) vehicle. It is fairly straight forward and something that a novice should be able to complete in a couple of hours. The same instructions apply for the previous GMT-800 (2000-2006) vehicles as well.
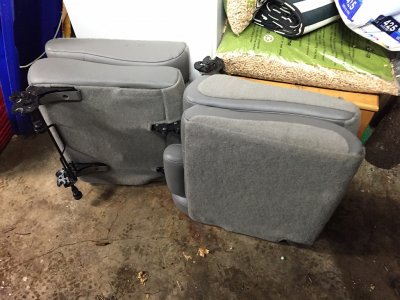
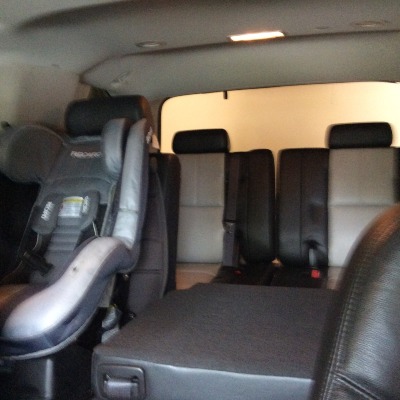
After finding some rare 2007 Z71 seats (black with silver inserts) on a web forum, I picked up the required brackets and go to work.
Tools:
Ratchet
50 Torx
18 MM socket
Utility Knife/Shears
Parts:
2000-2014 third row seat brackets and bolts (they are all the same) I picked mine up of EBay for $100 (outrageous price tbh).
A set seats from a local TYF member (score)
1) Remove the cargo tie down straps. These are 50 Torx
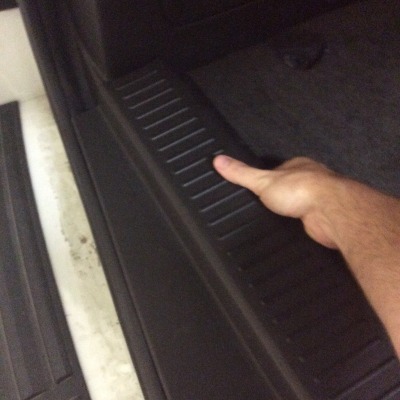
2) Remove the back trim piece. It pulls straight off.
3) Fold back the carpet and insulation. What your looking for is the 14 little plugs on the floor board. If you have these your good to go.
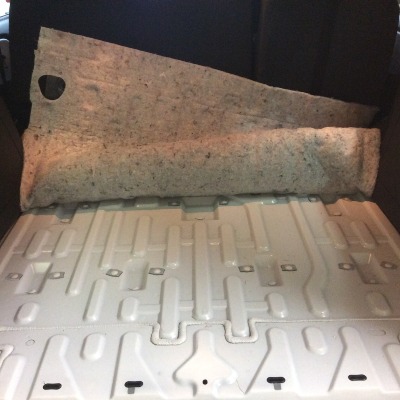
4) Remove the plugs with a flat blade screw driver. Once all the plugs have been removed make sure that the floor is scrapped clean so your brackets can sit flush on the floor.
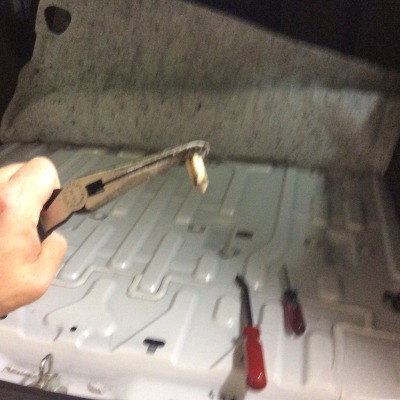
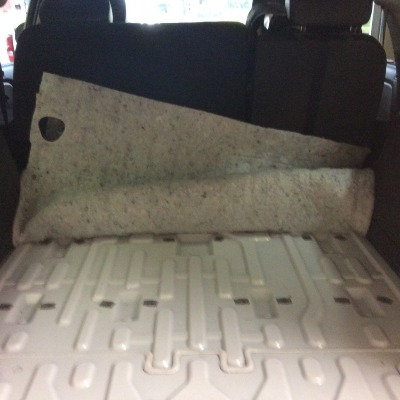
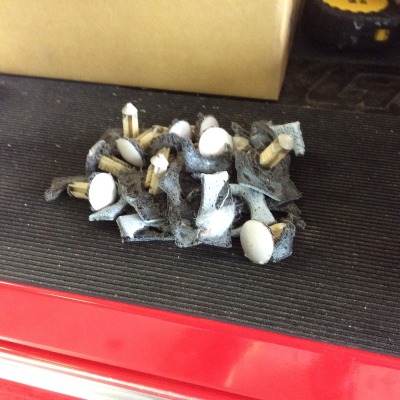
5) You'll be left with a pile of junk, you will not be reusing it.
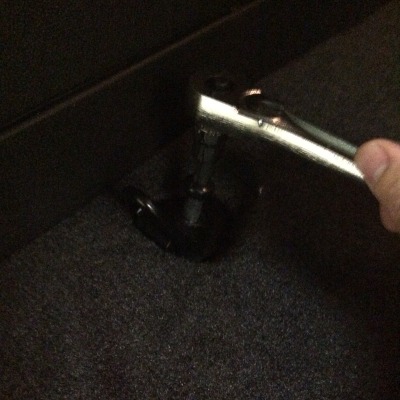
6) Next step is installing the seat brackets. You'll need a 18mm socket and ratchet. Power/Air tools just make it go faster.
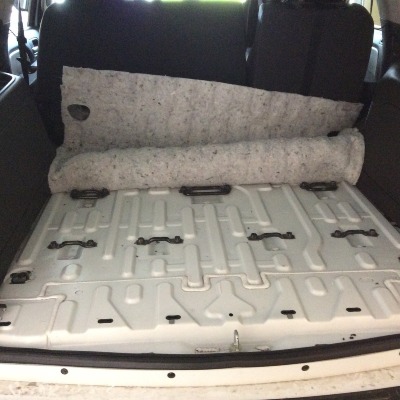
7) Before moving forward make sure your seats fit and everything is lined up.
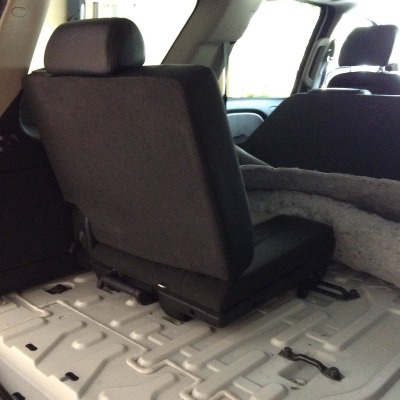
8) Now it's time for trimming. The insulation is stringy so make sure you are using a sharp knife/shear. You need to cut out the insulation that would sit above the brackets. Fold the insulation down over the brackets. You'll be able to feel the brackets and trim around them. Make sure you trim around the bolt heads and the "valley" as the seat brackets actually are recessed into the floor and won't really fit without it.
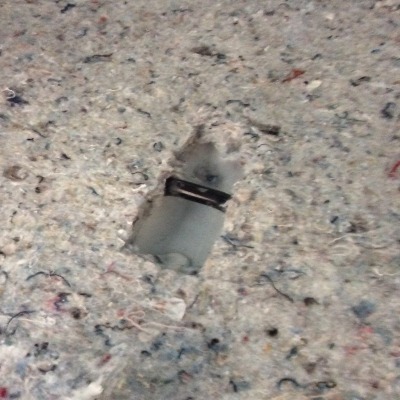
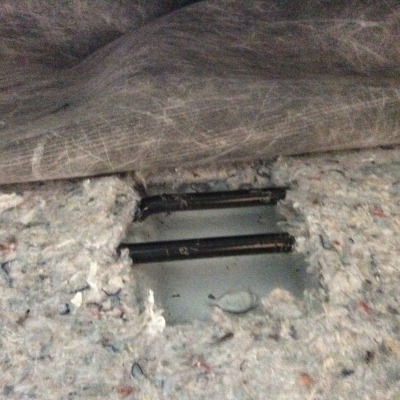
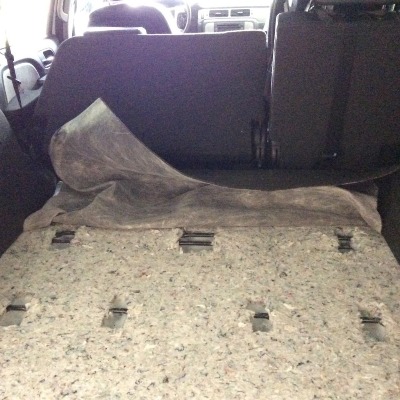
9) Insulation trimmed. You'll see in my picture that I did not trim around he bolts. To make sure your carpet lays flat make sure your bolts don't have insulation on top of them.
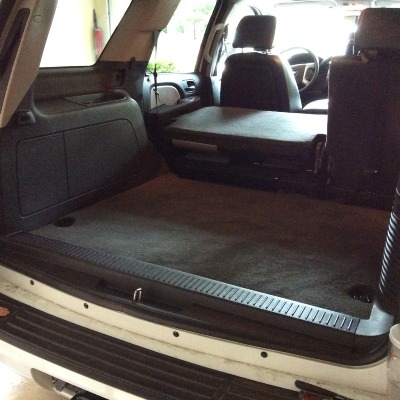
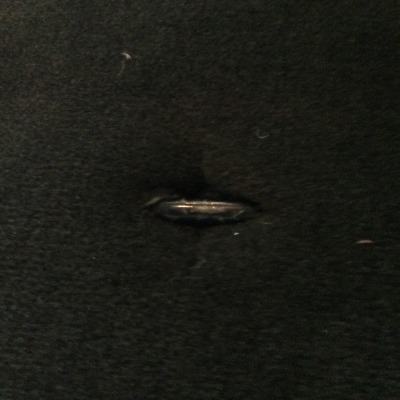
10) Now the fun part, cutting the carpet. Fold the carpet over the brackets just like you did for the insulation. You'll be able to feel the brackets under the carpet don't worry. Tuck the carpet back under the trim pieces and reinstall the cargo tie downs. There are a couple of ways to cut them but we chose to cut the rear strikers in an x pattern. One cut straight down the middle of the striker and another down the valley in each direction. These turned out pretty good.
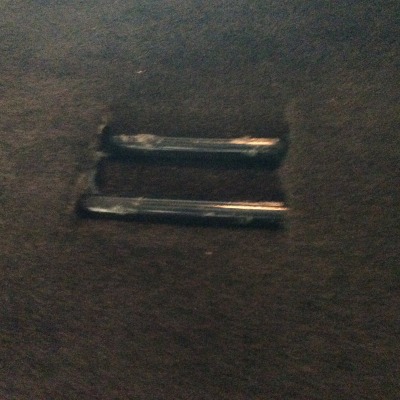
11) The big brackets are a little more tricky. We chose to cut these in an H pattern. One cut down the middle of the two bars, then two more cuts down the valley.
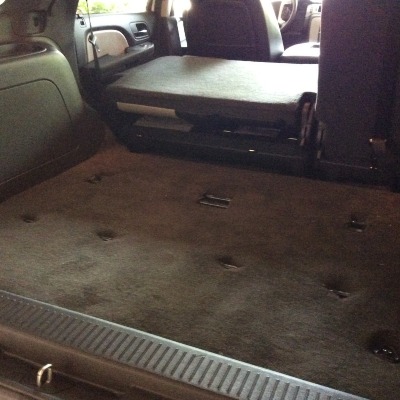
12) All cut and ready for seats
13) Up
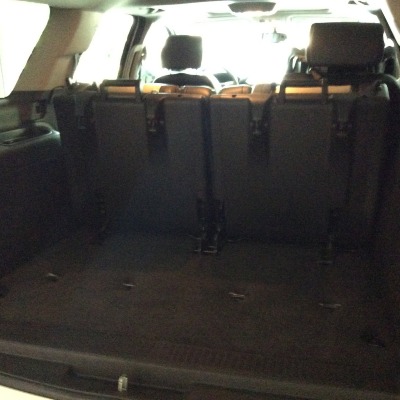
14) Down
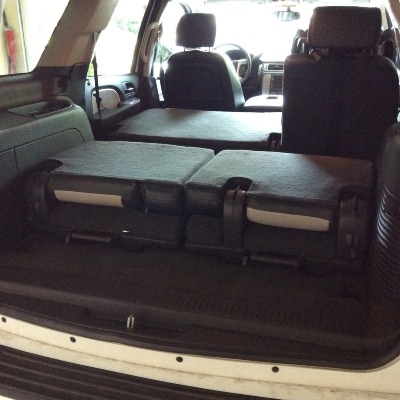
15) Ready to roll
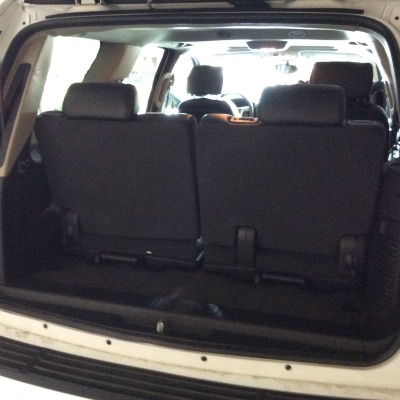
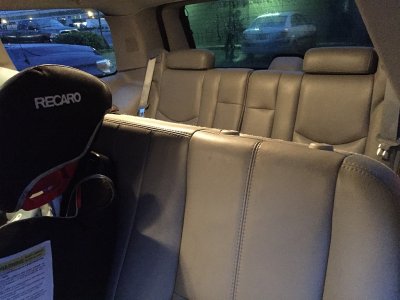
16) Enjoy seating for 8 and your new third row!
It's worth pointing out that GMT-900 vehicles come with plastic trim to go around the brackets. While I was doing my research I found people often left them off to keep the floor level for sliding loads in and out. I also plan on getting a matching weather tech rear cargo liner to keep things neat.
Yes, you can add a third row seat. There are threaded holes in every vehicle and the ones that were ordered with no third row simply have plastic plugs where the seat brackets would go. There also was some discussion regarding if the earlier GMT-800 (00-06) vehicles with barn doors not being able to accommodate a third row. Yes, even barn door vehicles can fit a third row. There are several examples on YouTube and various web forums that have documented they do in fact fit.
Below is the process of adding a third row on a GMT-900 (2007-2014) vehicle. It is fairly straight forward and something that a novice should be able to complete in a couple of hours. The same instructions apply for the previous GMT-800 (2000-2006) vehicles as well.
After finding some rare 2007 Z71 seats (black with silver inserts) on a web forum, I picked up the required brackets and go to work.
Tools:
Ratchet
50 Torx
18 MM socket
Utility Knife/Shears
Parts:
2000-2014 third row seat brackets and bolts (they are all the same) I picked mine up of EBay for $100 (outrageous price tbh).
A set seats from a local TYF member (score)
1) Remove the cargo tie down straps. These are 50 Torx

2) Remove the back trim piece. It pulls straight off.

3) Fold back the carpet and insulation. What your looking for is the 14 little plugs on the floor board. If you have these your good to go.

4) Remove the plugs with a flat blade screw driver. Once all the plugs have been removed make sure that the floor is scrapped clean so your brackets can sit flush on the floor.


5) You'll be left with a pile of junk, you will not be reusing it.

6) Next step is installing the seat brackets. You'll need a 18mm socket and ratchet. Power/Air tools just make it go faster.

7) Before moving forward make sure your seats fit and everything is lined up.

8) Now it's time for trimming. The insulation is stringy so make sure you are using a sharp knife/shear. You need to cut out the insulation that would sit above the brackets. Fold the insulation down over the brackets. You'll be able to feel the brackets and trim around them. Make sure you trim around the bolt heads and the "valley" as the seat brackets actually are recessed into the floor and won't really fit without it.


9) Insulation trimmed. You'll see in my picture that I did not trim around he bolts. To make sure your carpet lays flat make sure your bolts don't have insulation on top of them.

10) Now the fun part, cutting the carpet. Fold the carpet over the brackets just like you did for the insulation. You'll be able to feel the brackets under the carpet don't worry. Tuck the carpet back under the trim pieces and reinstall the cargo tie downs. There are a couple of ways to cut them but we chose to cut the rear strikers in an x pattern. One cut straight down the middle of the striker and another down the valley in each direction. These turned out pretty good.


11) The big brackets are a little more tricky. We chose to cut these in an H pattern. One cut down the middle of the two bars, then two more cuts down the valley.

12) All cut and ready for seats

13) Up

14) Down

15) Ready to roll

16) Enjoy seating for 8 and your new third row!

It's worth pointing out that GMT-900 vehicles come with plastic trim to go around the brackets. While I was doing my research I found people often left them off to keep the floor level for sliding loads in and out. I also plan on getting a matching weather tech rear cargo liner to keep things neat.
Last edited:

