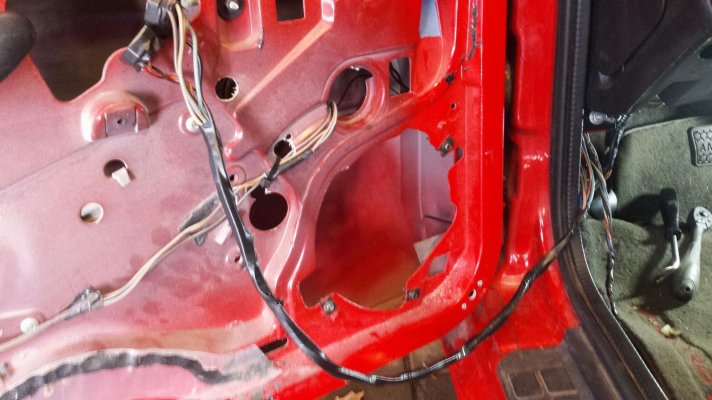
Got a little done this weekend. Basically started with this:
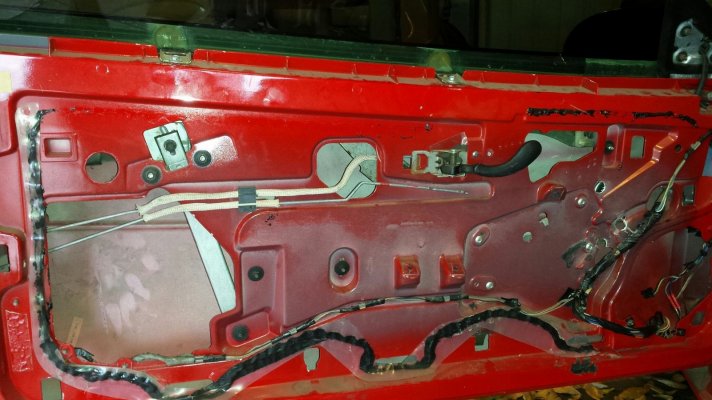
Realized right off the bat, the hole they cut for the door handle was a courtesy cut, and nowhere near correct for install.
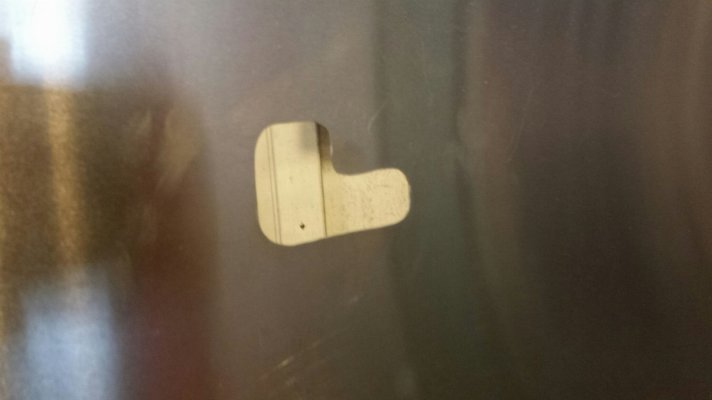
This was my initial thinking, but ended up about doubling it due to me wanting the lock lever to be exposed.
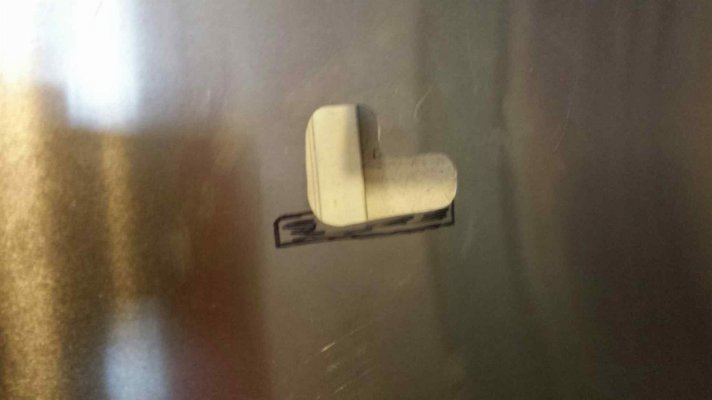
The original mounts for the stock door panel need to go bye bye.
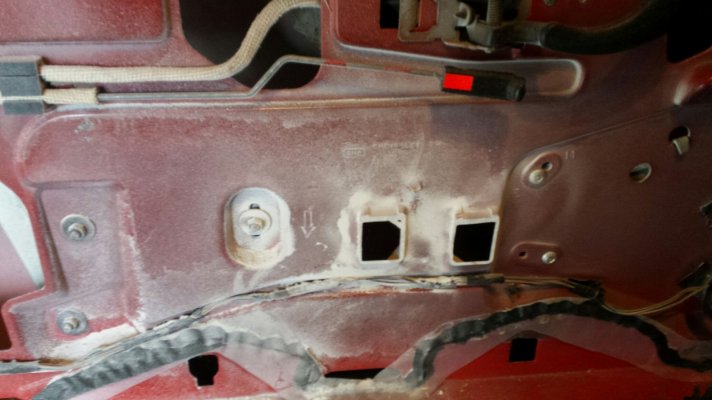
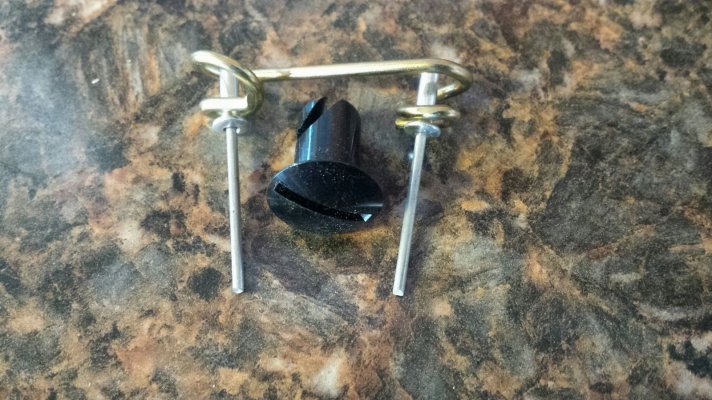
The plan is to use dsus or 1/4 turn fasteners, I want to be able to easily remove the panel if needed. Here's how they go together, the gold spring goes inside the door, riveted, and the black fastener is what you see on the outside of the door panel.
Here's one installed:
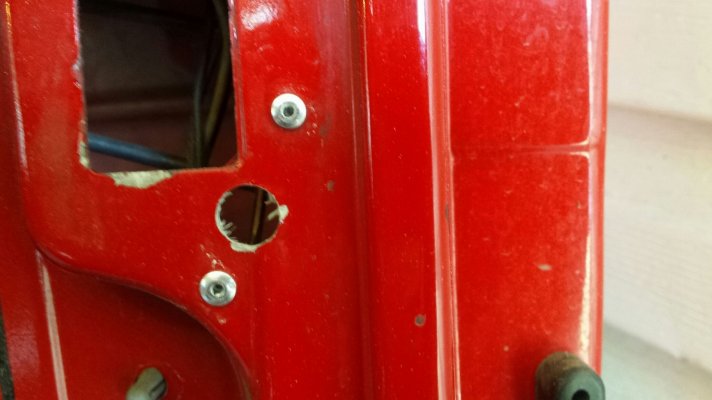
There are lots of things around the perimeter of the door that will obstruct placing your springs inside. I went around the door and marked Xs anywhere where there was something in the way. Along the bottom of the door there is ribbing/reinforcement every few inches.
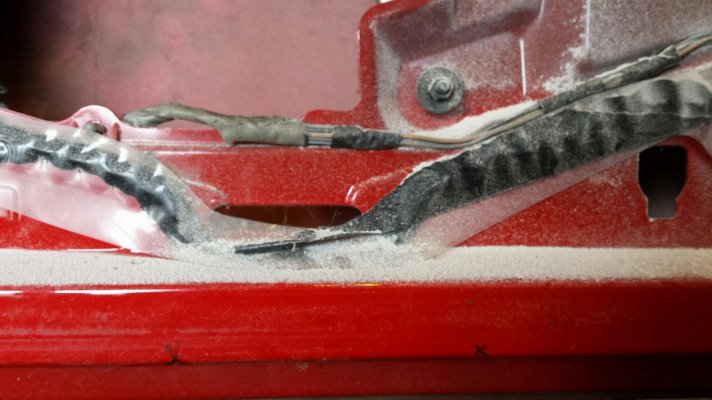
Here's where i selected the 5 could go with the least amount of issue:
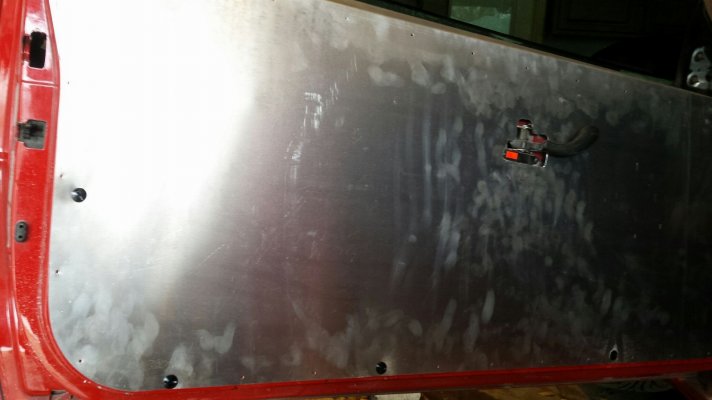
Here is my final passenger door cut for the handle and the lock lever:
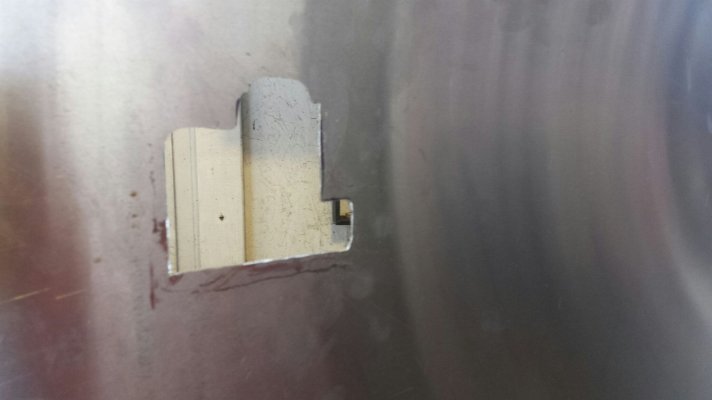
Lay out your wrap. Once it was on i hit it very quickly with a heat gun on the low setting.
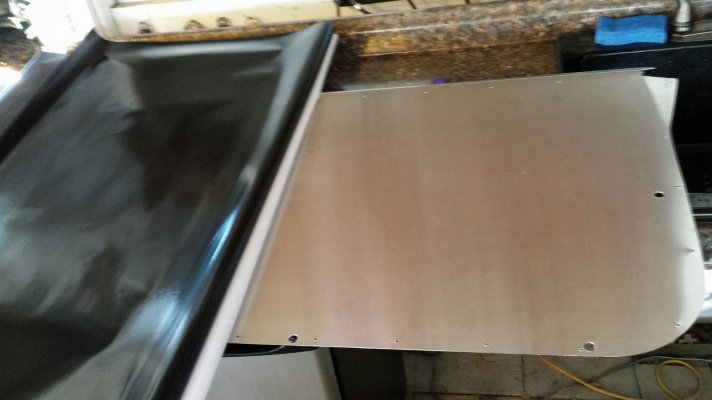
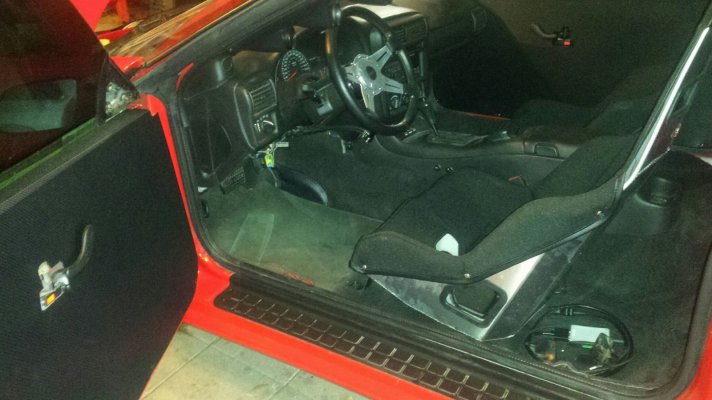
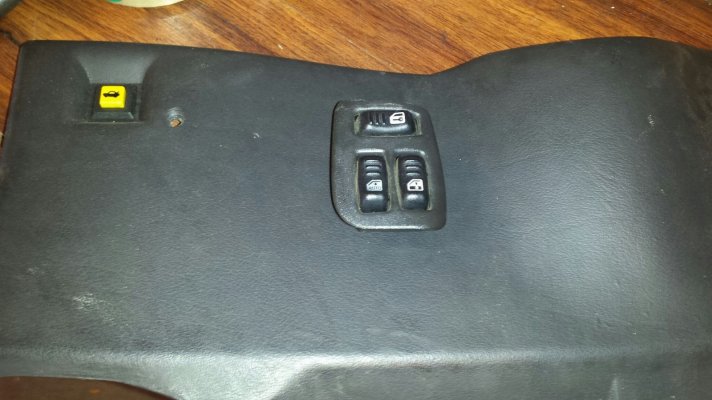
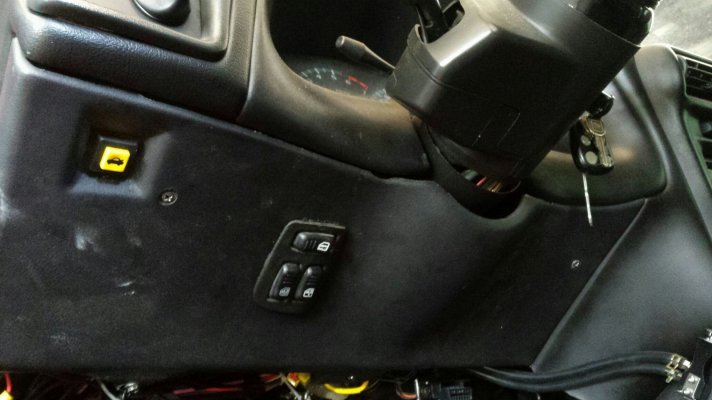
Driver door mock up, no trim, and need to put the switches somewhere, may extend them to the center console.
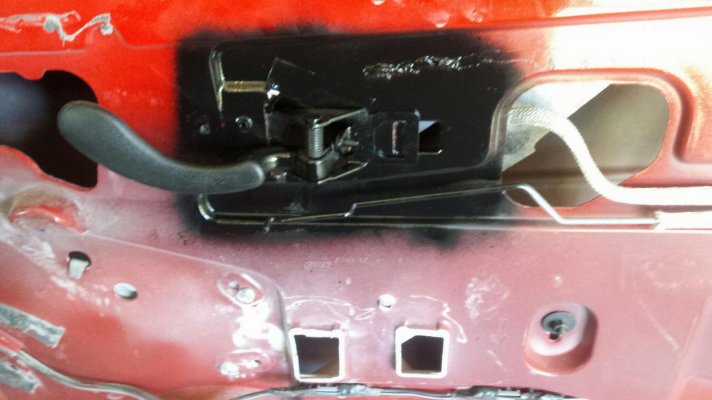
Add a little black paint around the handle:
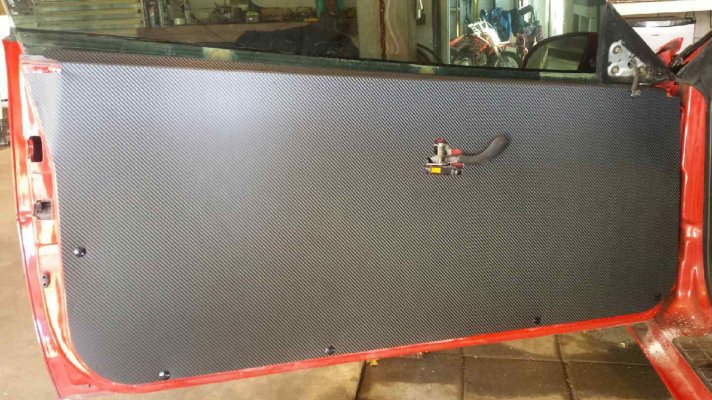
Passenger door with trim installed. The rubber at the upper front of the door requires minor trimming, the rubber at the rear of the door does not.
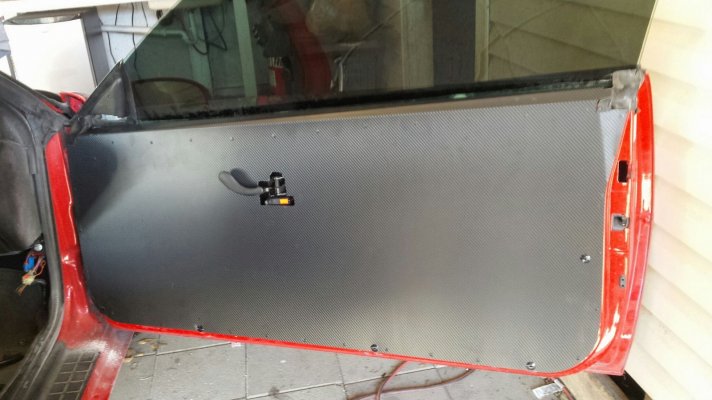
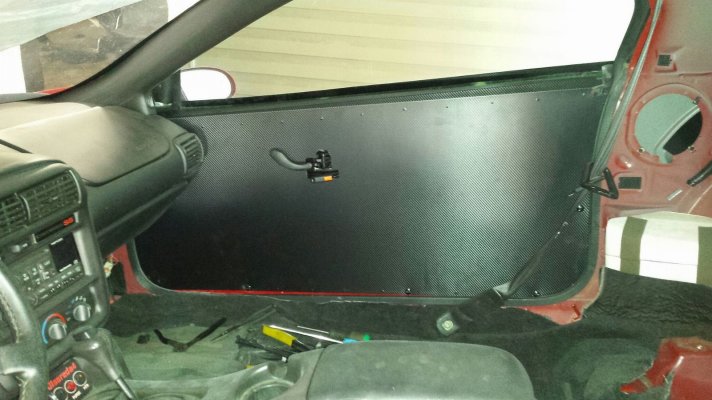
Pic looking from the inside...
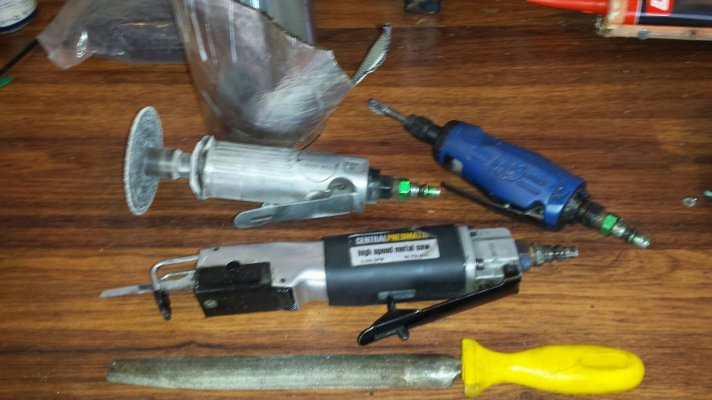
I used the cutoff wheel to cut off the mounts, the bodysaw to trim the handle holes, the carbide grinder to finish them out, the file to take the ridges off my cuts, and the silver tar tape (roof repair) on the rear of the panel to give it a little weight so it wont rattle against the door, this step optional.
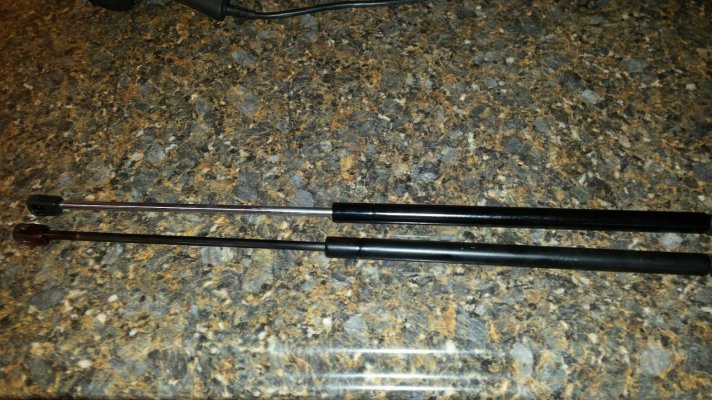
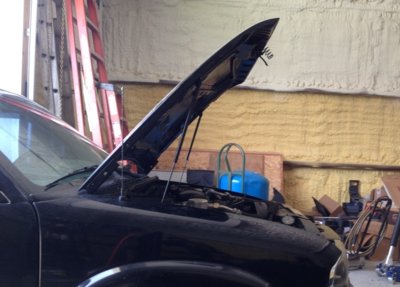
Random pic, Im trying to do racecar stuff and got the hood wanting to fall on my fingers. After 17 years the stockers gave up the ghost. New one on bottom.
