Camaro SS, track trips, build pics etc.

Disclaimer: Links on this page pointing to Amazon, eBay and other sites may include affiliate code. If you click them and make a purchase, we may earn a small commission.

OP
OP
0

01ssreda4

Full Access Member
Joined
Feb 28, 2014
Posts
1,124
Reaction score
487
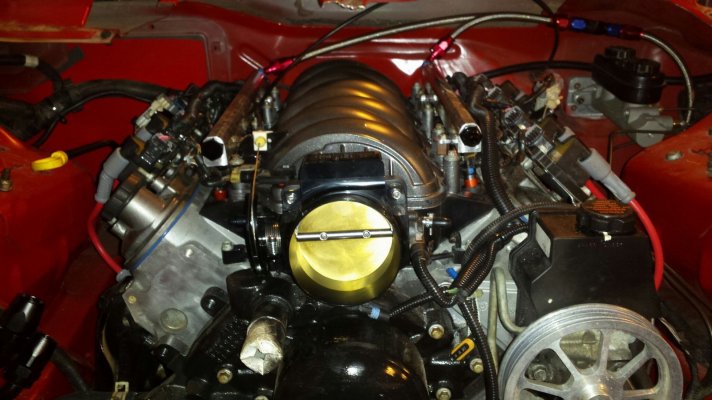
Quick update, I was on the hunt for an intake and my buddy (thanks Randy C) had an LS2 laying around for cheap so I went and grabbed it. I decided to give it a "fast" type look and only paint the upper shell. Just went with the same graphite color i been using.
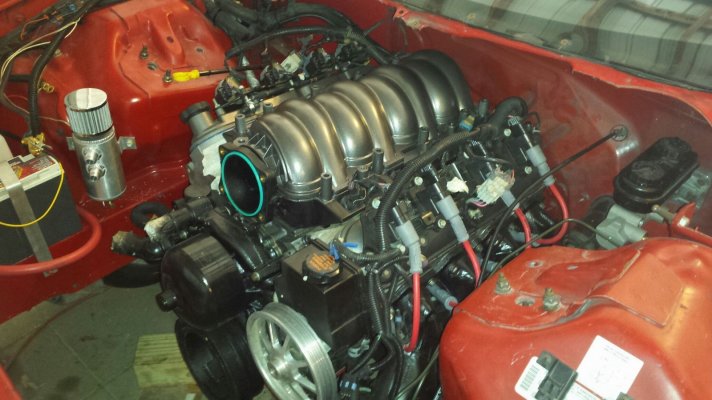
20170823_155630_zpsi39m4350.jpg

Had to use an alternative set of fuel rail brackets and trim my spacers down by about 1/3 but everything seems to fit nice. Also, I ordered the FAST fat orings for the bottom of the injectors since everything LS2 and later have bigger injector holes then LS1 stuff. 146020COR is the part number. 3 bar MAP sensor is in place, and the stock wiring is gonna have to be extended.


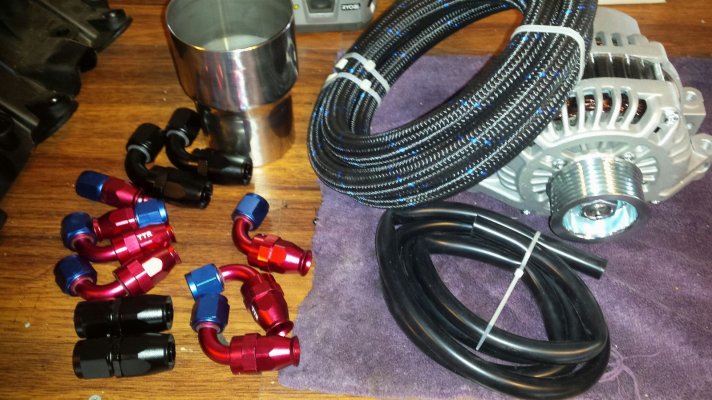
The black fittings are -10 for the catchcan to valve covers, along with matching -10 black nylon lined hose, and the rest of the fittings are the elbows to come off the rails, then random vacuum line, an exhaust reducer (more on that later) and the Honda alternator. Yep my daily is down so I will be fixing it instead of doing race car stuff.
20170824_142725_zpsmw2jq522.jpg

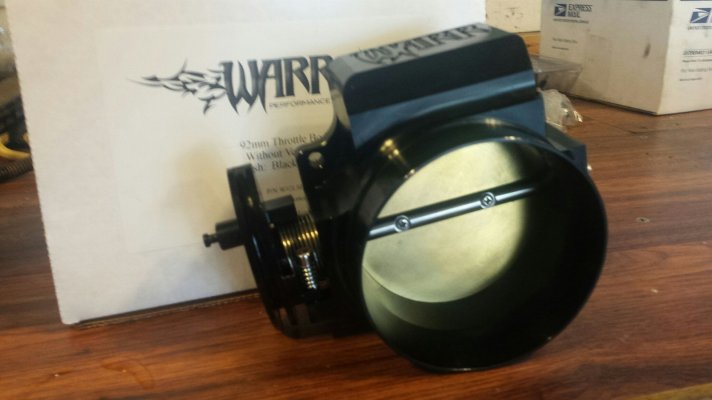
Super fast delivery....this is the PCV delete model, no vent tube. 92mm.
20170825_112844_zpspg8uebhd.jpg

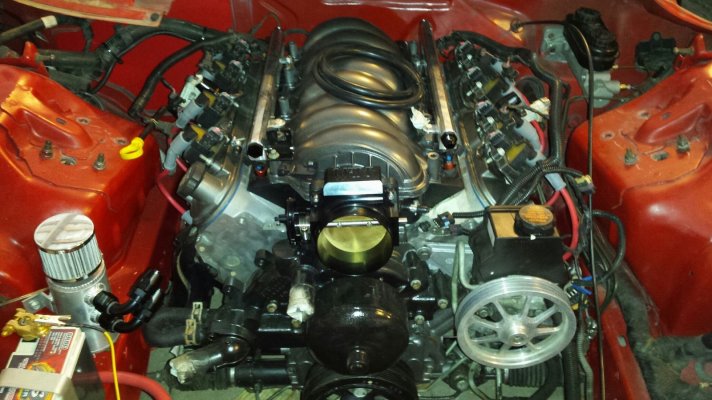
But that intake has no provisions for a cable throttle body, what do you do? You make one, no other choice. Also, I installed a car oil pressure sending unit and attached the main vacuum line to the rear of the intake. After I swap the injector orings we are ready to do a final install on the intake. I've got the elbows on the catchcan in this pic, but until I see where the alternator is gonna end up I can't exact figure out the routing. Come on Huron Speed!!!!
20170825_171504_zps9bjgi2kt.jpg
 
OP
OP
0

01ssreda4

Full Access Member
Joined
Feb 28, 2014
Posts
1,124
Reaction score
487
Don't have a lot of pics this update but I did get some stuff done on my two days off. Basically I started with the intake, I scrapped my L shaped throttle cable bracket and made a new one that utilized the front two intake bolts instead of the previous one. It is also as far over as it can be to help keep the cable better lined up with the throttle body. After that I did the final bolt down of the intake, I added about 12 inches (solder and heatshrink) to the MAP sensor wires since it is now on the front of the intake, can see it right under the throttle cable. Ran the main vacuum line to the vacuum block that's where the wiper motor used to sit. I did have to grind the water pump, which i previously did not have to do for my fast 92 or 102 setup. The entire harness is basically hooked up, trans stuff from Nelson performance worked great and fit perfect. I had to lower the rear of the trans to get the back cooler line on but that was no big deal. Other then a dipstick (cover that soon) it is ready for trans fluid, which i purchased monday. Installed the Kent Moore flywheel tool and tightened the ARP crank bolt until the 24" breaker bar was making a smiley face. Then installed the block ground on the starter side and installed the starter. I have been trimming the harness like crazy, cutting off everything thats not present anymore (like rear 02s, wiper motor, ac stuff, abs plug etc). I ran feed and return fuel lines under the hood and also the hot wires for the pumps. Mounted them on the driver inner fender and they will power off that 12+ stud that's by the fuse block. I got the feed line ran to the rails, which you can see in the pic, there is a y split by the brake booster, and i will dual feel the lines then return them to the FPR. These feed lines will be hidden by the cowl once its re-installed. This weekends goal is to fill with fluids (solve the dipstick issue), test fit the radiator with fans on the front, flip the pins in the connectors so they push instead of pull, finish the fuel lines, and probably run vacuum lines to the wastegate location and in cab for boost control and boost gauge. I'm also a couple fuel fittings short so i ordered those plus an IAC valve which i dont have. I'm one vacuum port plug short for the intake neck so I ordered that also. I may fire on motor this weekend if all this gets done....Turbo kit is one week out.

20170829_170912_zpsmnkzrt2i.jpg
 
OP
OP
0

01ssreda4

Full Access Member
Joined
Feb 28, 2014
Posts
1,124
Reaction score
487
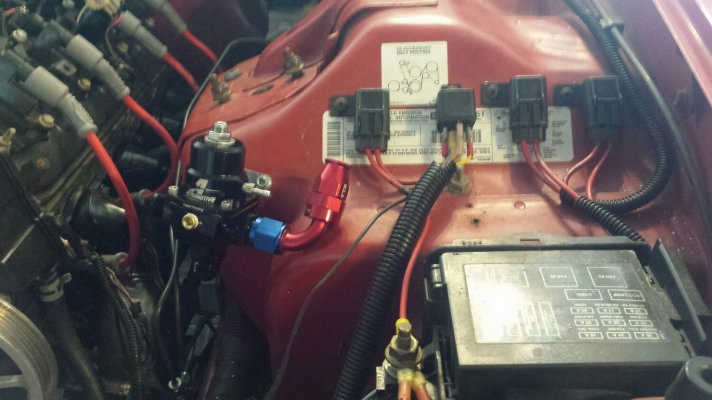
Quick pic of the fuel pump wiring. All the way to the left is a fuse and relay for the trans cooler fan, that's been there. I add the two fuse holders to the right. I also mounted the fuel pressure regulator and am currently waiting on a couple more fittings and that will be 100% complete.

20170902_134200_zpsch7idl7e.jpg

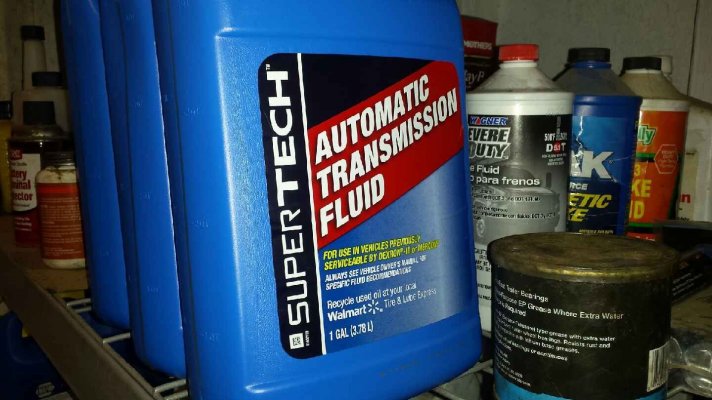
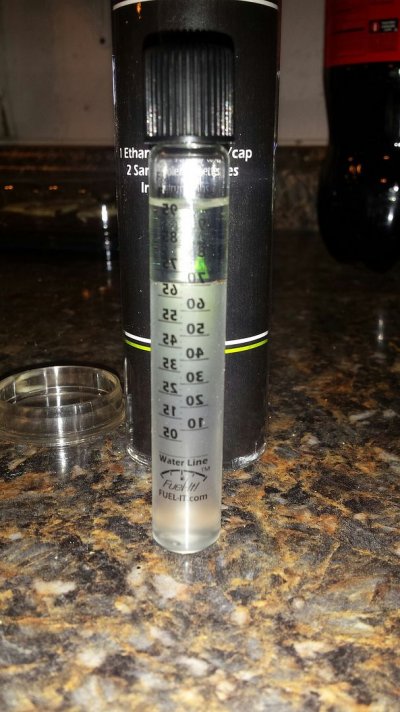
I went and purchased 16.5 gallons on e85 an put some in the tank so I could flush the lines before i do the final hook up to the rail. I didnt get a chance to test the E content but will. Random pic of trans fluid.

20170903_192143_zpsstxkn1ml.jpg

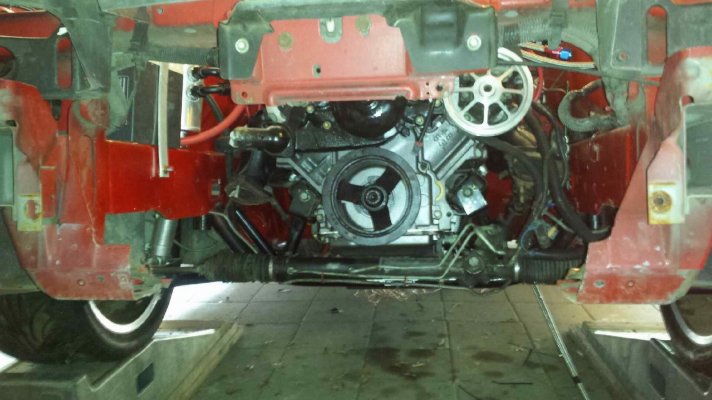
I initially started working on the fan wiring. While reversing polarity on the wires I thought, if the fans are on the front, will this wiring even fit? So I decided to stop, and test fit the radiator, fans, and wiring. Huron speed confirmed this kit will work with the radiator in the stock position, and mid last week i ordered an LT1 radiator cover. On initial fit I could tell clearance to the turbo was gonna be shit, and the stock fans flipped to the front weren't even gonna be close to working, the fan motors were pointed right at the upper radiator support. So i thought im either going to order slimline fans and fab a shroud, or cut the upper support. So I got out the cut off wheels. This is a pic of a previously cut lower support. I cut the entire center section out a year or two ago for weight savings.

20170903_153941_zpsvrnapf2s.jpg

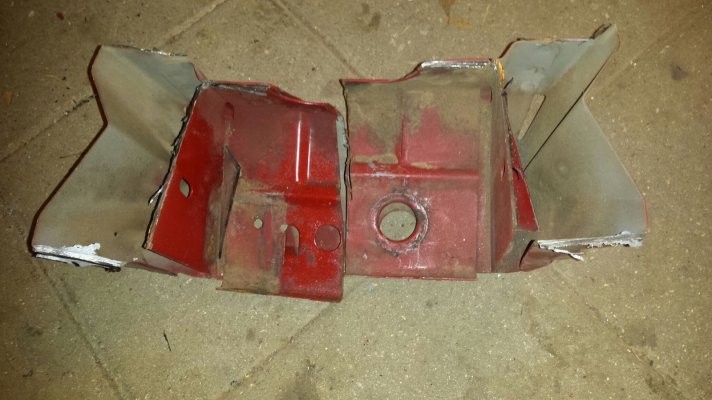
Here's a close up of the lower radiator support. You can see its three full sheets of metal in a triangle. The original piece I cut out of the car was like 6 pounds.

20170903_153919_zps89lc788w.jpg

So just cut those babies off, or the whole thing if you still have it.

20170903_155717_zpslk7zetqh.jpg

Throw these in the bushes.

20170903_155650_zps5eusnp5j.jpg

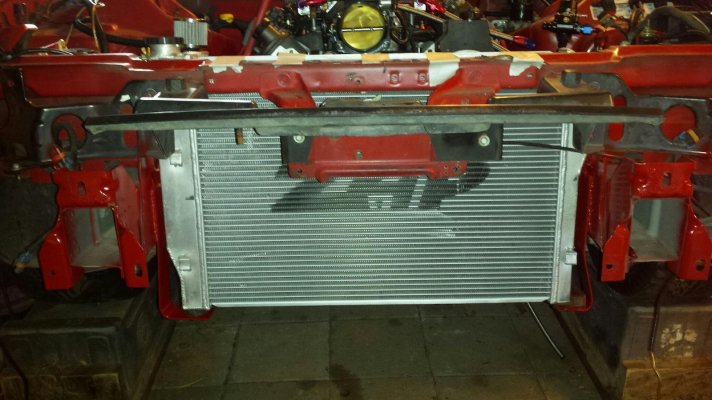
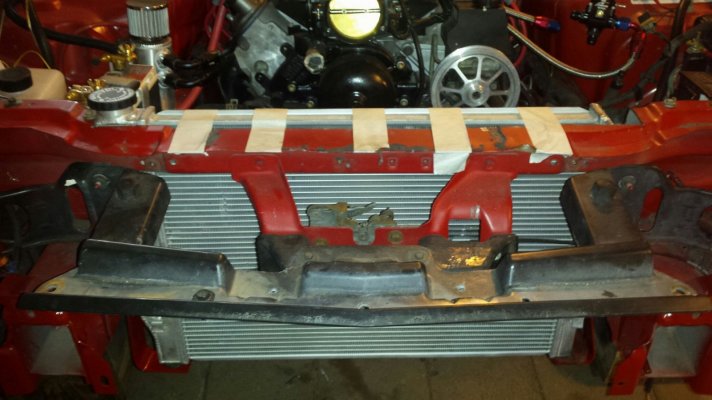
Couple pieces of flat bar, 2 90 degree bends later we have brackets. The drivers side has a flat square rubber bushing and the passenger side has a thick round bushing. They are different thicknesses which is why you can see the height difference in the mounts. Also, this mounts the radiator completely straight up and down with no slant, and approx 2 inches lower then stock. The upper support has to be trimmed in from the rear a full 2 inches. Im not sure if Im going to run the factory plastic air dam anymore, have to see once its all together.


20170903_183556_zpsidfwj9cs.jpg

There she is in place. After I figure our what Im going to do with the top and I get the radiator exactly where i want it, I believe Im going to go back and add some triangle gussets to the brackets.

20170903_184228_zpszjko9vji.jpg

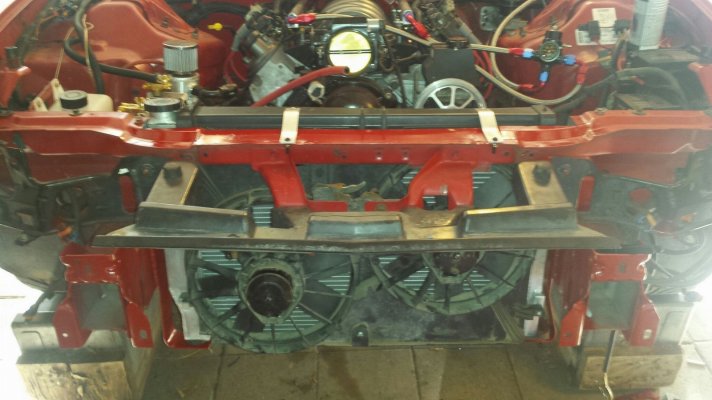
Had to tape it because Im not sure what I'm going to do to the top......and I ran out of daylight. As a sidenote there is tons of room for a turbo now......and even, maybe a bigger turbo down the road (insert evil grin). Quickly fit the fans, wow they almost bolt up with no modification.....and the wiring is going to reach.

20170903_184238_zpswegzniic.jpg
 

iamdub

Full Access Member
Joined
Apr 23, 2016
Posts
20,821
Reaction score
44,943
Location
Li'l Weezyana
It must feel refreshing to be able to just slice out whatever's in your way regardless if it's a major structural component or not. :D
 
OP
OP
0

01ssreda4

Full Access Member
Joined
Feb 28, 2014
Posts
1,124
Reaction score
487
Yeah I've lifted the car many times by that upper support. Don't guess I can do that now.
 
OP
OP
0

01ssreda4

Full Access Member
Joined
Feb 28, 2014
Posts
1,124
Reaction score
487
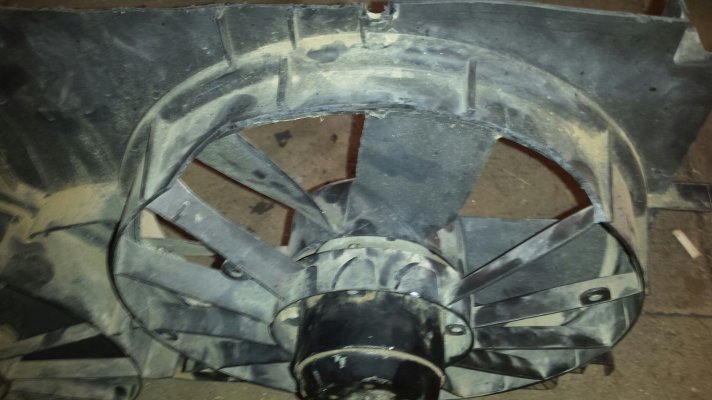
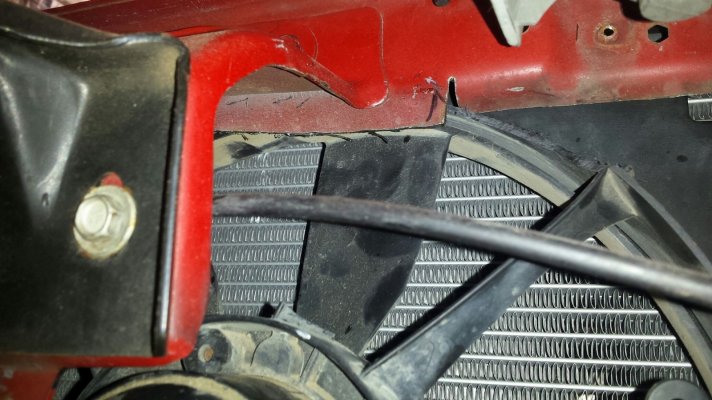
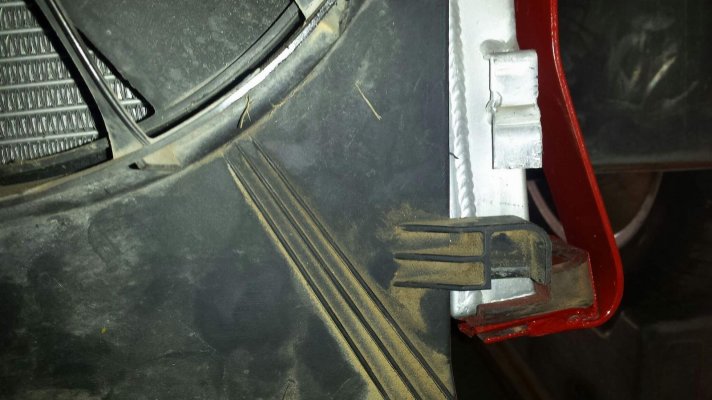
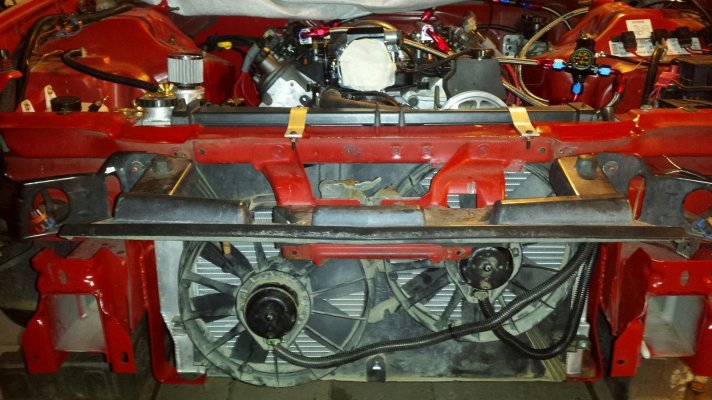
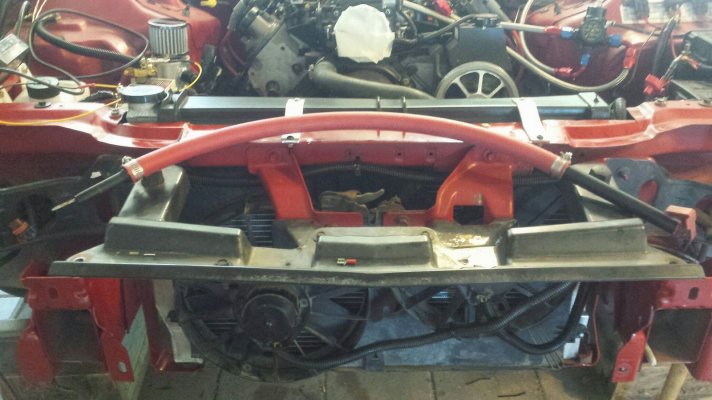
So we left off with the radiator mounted but taped to hold up top. I originally ordered an LT1 top cover because my plan was to keep the radiator in the stock position, and this was the cheapest route to do that. Now that I moved the radiator I had no game plan. The radiator has moved down almost a full 2 inches so there is no bolt on solution here. I started with trying to fit the fans. The shroud above the drivers side fan must be trimmed some. You also must take off about 1.5 inches across the entire top.

20170906_173524_zpstqatcldz.jpg

I had to notch and bend just a tad of the upper support for the fans to slide all the way up in position.

20170906_173855_zpshvbzdezs.jpg

Passenger side tab lines up with the condenser mount, driver side i looked for a simple solution since they didn't line up. I folded the condenser bracket down, then just hold the fan in position, drill a hole through the plastic and aluminum, and put a bolt there. You can see it here folded over.

20170906_173607_zps9sr0cdc0.jpg

That was pretty easy. I decided to trim down the LT1 top cover and make two short aluminum straps to hold it. Turned out pretty good considering.....The brackets are offset because there were holes already in the plastic so i used them instead of drill more.

20170906_174459_zpsjgqetl7l.jpg

Wiring done. It will need to be extended.

20170907_193507_zpsr2ecohzt.jpg

E85=E70

20170906_183418_zpsjisf38qy.jpg

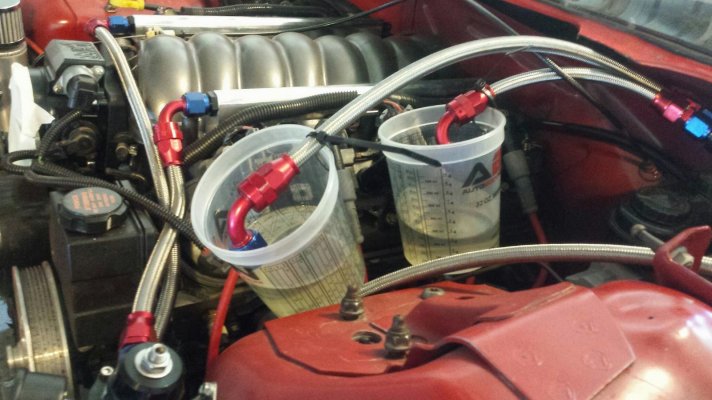
Holy mother these pumps move some fuel!!! Went ahead and mocked this up to do a line flush. Good thing i did cause there was crap down in the cups, dont want that getting into my injectors. Quick math fun, stock pump 190 gph, typical Walbro upgrade 255 gph, these are dual 450s, so at 900 gallons per hour its capable of moving 1 gallon every 4 seconds, wowzers! You dont need the key or PCM installed to prime the pumps, pull the fuel pump relay and jump the corner terminals, #30 and #87.

20170908_120959_zps71suly8l.jpg

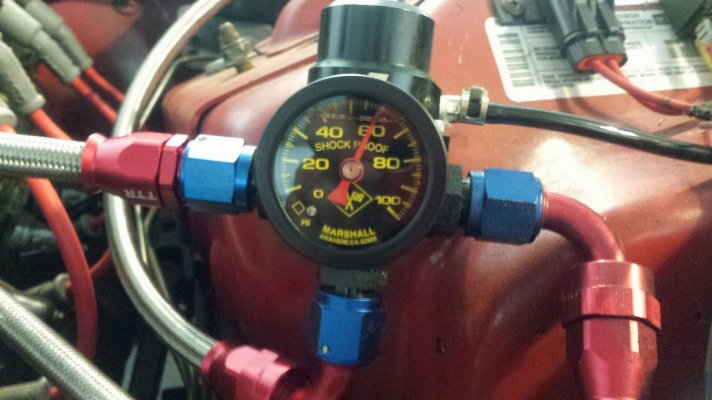
Dialed in pressure to 60psi, and no leaks. I went ahead and hooked up the boost reference line.

20170908_122631_zpsfbmunqt6.jpg

So basically everyone bitches about the Lokar flexible dipstick. My buddy offered a solution (cause there was no way in hell the dipstick and tube was fitting this car), measure stickout, cut the tube, replace with 3/4 hose. So thats what i did. I was able to slide this in and the stick will be hidden under the cowl. I probably wont even make a mount for it.

20170908_140202_zpswr7rvhqv.jpg

I also got some of the wiring cleaned up under the hood, hooked up the trans cooler fan, and decided to redo the coolant crossover line. Turbo kit "should" ship monday, I still need a belt and to add the boost gauge inside the cab. We are getting dang close!
 

iamdub

Full Access Member
Joined
Apr 23, 2016
Posts
20,821
Reaction score
44,943
Location
Li'l Weezyana
I'm picturing a gallon of milk being filled in 4 seconds. Good googely moogely!
 
OP
OP
0

01ssreda4

Full Access Member
Joined
Feb 28, 2014
Posts
1,124
Reaction score
487
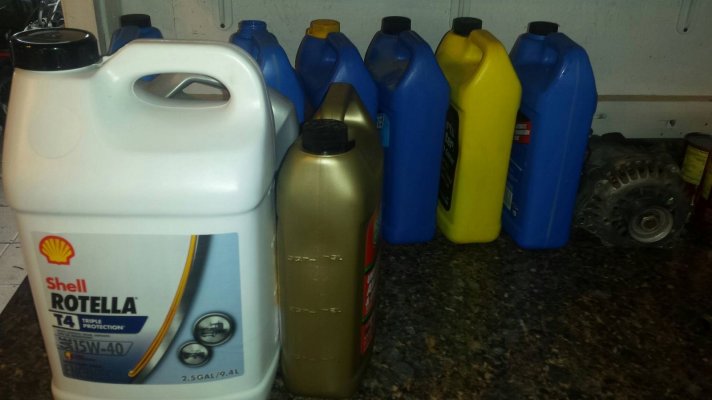
Had to tie up some loose ends, needed some coolant line for the radiator connections but got all that handled so I figured I would go ahead and fill up the fluids since it will be starting up soon enough. I plan to run Rotella oil but went ahead and used some pennzoil this time and i plan on doing the first change pretty quick. Grabbed the Rotella when i saw it at the store yesterday, the rest of the bottles are empty.

20170912_121526_zpsipvnnvf6.jpg

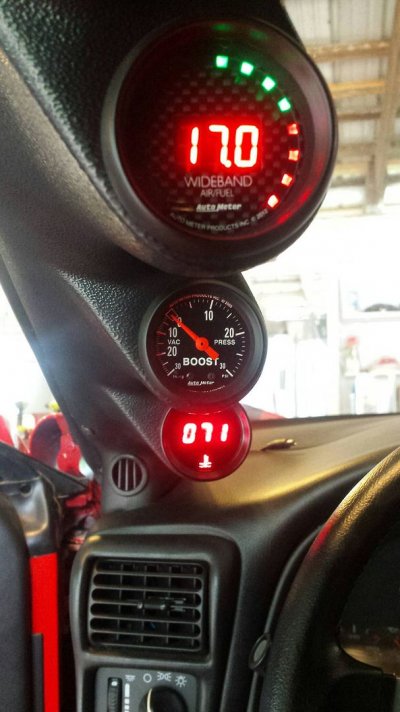
Removed my trans temp gauge from the middle and replaced it with the boost gauge. I hate two are digital and one is analog but i liked the 65 dollar price tag of this analog gauge. Bottom one is engine temp.

20170912_125124_zpsgtkmdvxy.jpg

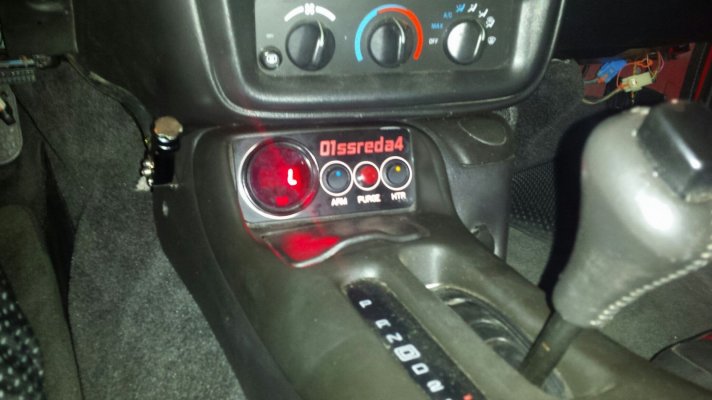
Needed a spot for the trans temp gauge, I had the nitrous panel left over from before so i went ahead and installed it. Its obviously custom made for me, but I may contact the guy and get him to make me a new one with turbo stuff on it, or blank under the switches? Also I got the boost controller mounted where i can reach it.

20170912_124336_zpsvrx979gy.jpg

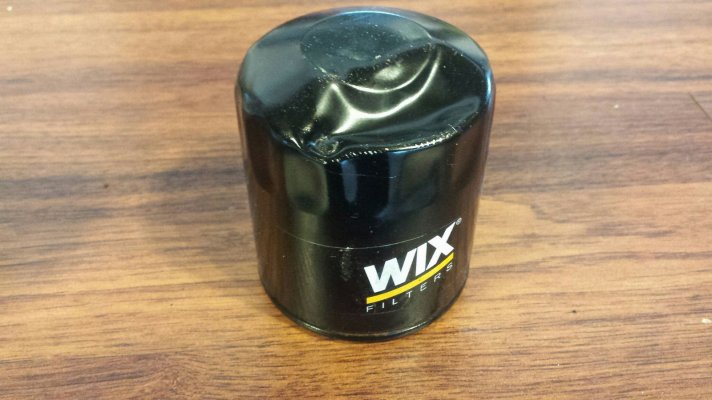
Jack: 1, oil filter: 0. Whoops, minor miscalculation.....I'm building a turbo car I never said I was any good at it!

20170912_155835_zpsnx7sqvbn.jpg

Still waiting on this raggedy ass turbo kit. Starting to get a little irritated. The original estimate was 6-8 weeks and we are now at TWELVE weeks. He says he has the kit in hand but is waiting on a turbo filter and oil lines. I say ship what you got so i can get things fit up and the exhaust made am i right?
 

iamdub

Full Access Member
Joined
Apr 23, 2016
Posts
20,821
Reaction score
44,943
Location
Li'l Weezyana
Sorry to hear of the kit's delay. It sounds like the same old story a lot of aftermarket parts suppliers tell: "It'll ship in X weeks". Then, X weeks later: "It's going out this week". Two weeks after that: "We're waiting on (insert small, usually insignificant part here) to arrive from our supplier", but I have your kit right here in front of me and it'll ship out as soon as we get that part".

I agree, they could send you the main components and not hold you up. That'd be better customer service than yanking you around. I don't mean to be pessimistic, but it sounds like there's more going on than just waiting on a couple of "small" parts. I mean- a turbo filter and oil lines... really? I could order that shit any time on eBay, from Hong Kong, and have it in two weeks at most. If they were solution- and service-oriented, they'd simply apologize for the minor issue (if it is in fact such a minor issue) and send what they do have to at least minimize holding up your project.
 

Forum statistics

Threads
132,332
Posts
1,866,189
Members
96,952
Latest member
tdmcpa
Top