2004 Chevy Tahoe 2WD Differential Maintenance
I purchased this vehicle in September 2013, when I took it in for a multi-point inspection at the dealer, they suggested a differential service.
This is something I can do and I would believe most here at the forum could too, since I didn’t see a write up on the subject, decided to do one.
Identify your differential and fluid capacity so you can buy the right parts.
Start with your owners’ manual to get the basic information about your specific rear end. There’s limited information in the manual, but it’s still useful. These two pages are from my 04 Tahoe manual.
It shows where your filler plug is located as well as the proper fill level. My fill level is 5/8” to 1 5/8” below the bottom of the plug hole.
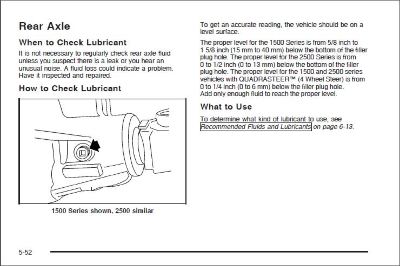
Under the title “What to Use” for the oil, my manual specifies SAE 75W90 Synthetic axle lubricant GM part # 12378261, meeting the GM spec 9986115.
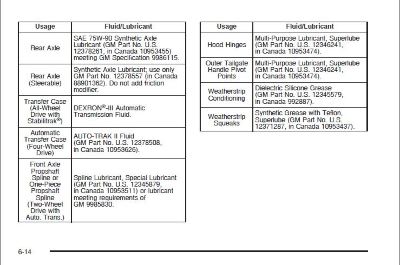
You will also want to identify if you have a limited slip differential or not. If you do have a limited slip, you need a “friction modifier” to add to the oil for proper operation.
According to my internet research, there may be information on a sticker in your glove box that tells you the model of your differential. If it lists a G80, it is a limited slip differential.
When I was at the dealer, the service manager took my VIN and ran the build sheet for my Tahoe (I suggest you get a build sheet for your vehicle). I was given the print out on my build, nowhere in the codes does it mention a limited slip differential, so it doesn’t have one – I don’t need to add friction modifier.
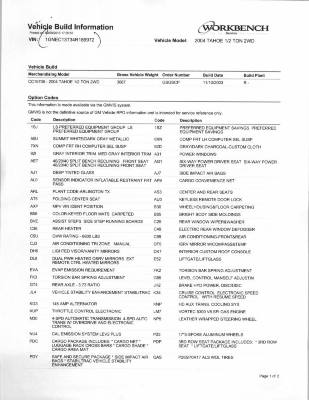
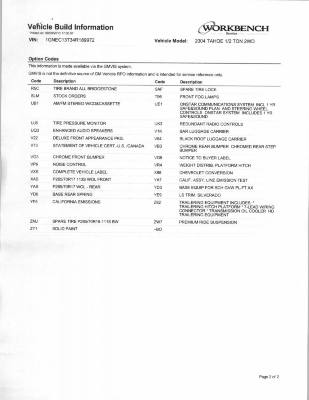
So now let’s talk about what parts you’ll need. A gasket and oil.
To get the right gasket, you’ll need to know what rear end was put in your vehicle.
When I went to
http://www.ringpinion.com/DiffWizard.aspx and plugged in my information, I came up with two different differential possibilities – either an 8.6” or a 9.5”.
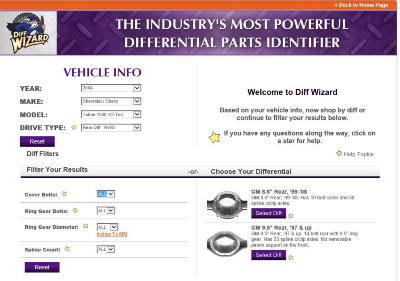
Since the results listed two different potential rear ends, with a different amount of cover bolts, I got under my Tahoe and counted cover bolts – I have 10. The 8.6” has 10 bolts and the 9.5” has 14 bolts, so mine is the 8.6” rear end.
Once you know your differential type, you can get the right gasket for your application.
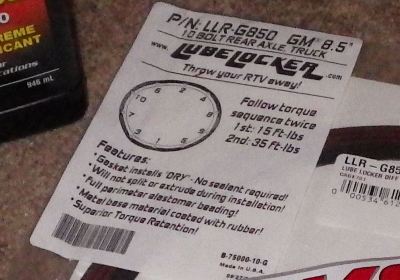
I have used differential gaskets in the past (on my old Jeep) called a “Lube Locker” gaskets and they worked GREAT! No silicone to mess with and the gasket is re-usable. I found the gasket and ordered it online. It’s a little more expensive than a single use gasket, but re-usability and no messy silicone makes it worth it to me.
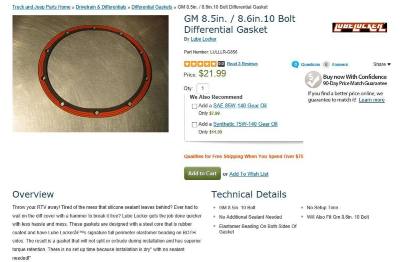
Now you have your gasket and know what differential you have, so you can buy your oil. MORE CHOICES!
NOTE: If you have a limited slip unit, make sure to get the right oil and friction modifier.
The oil GM recommends is big bucks. My owners’ manual lists part # 12378261, it is at least $22.00 per quart and you’re going to need 3 quarts (the differential takes less than 3, but more than 2).
Do your own internet searches and draw your own conclusions regarding what oil you want to run.
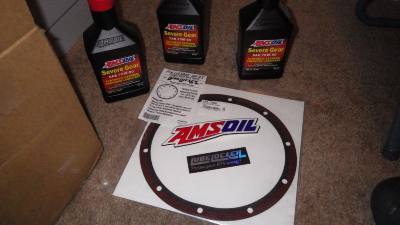
Many are using products other than the genuine GM oil such as Royal Purple Max Gear, Amsoil Severe Gear, Mobil 1 or other GL-5 synthetic. I chose Amsoil Severe Gear and purchased 3 quarts.
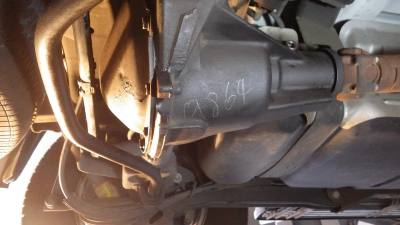
I blocked my front wheels, jacket up the rear end so I could access the differential cover and removed it:
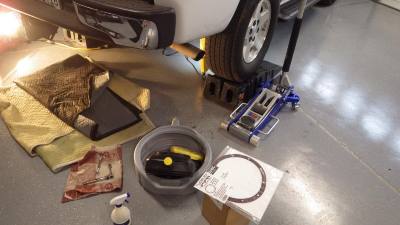
This is a photo before I started cleaning. I sprayed it down with diesel and wiped, then simple green and wiped before I removed the cover to have a cleaner job site to work with.
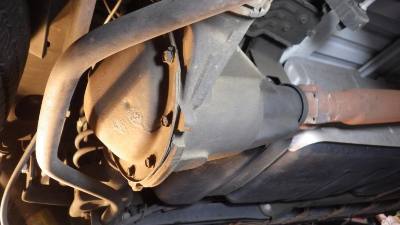
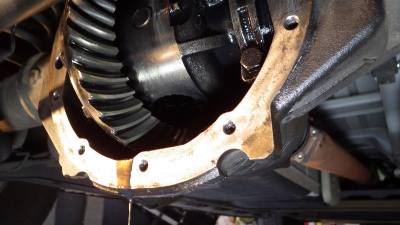
Take the cover off and let it drain. Once I had all of my bolts off, I used a stiff putty knife to break the silicone seal for the oil to drain. Clean up your gasket surfaces with a razor blade, utility knife blade, and/or scraper. Be careful to shield your internals with a rag so you don’t get debris inside.
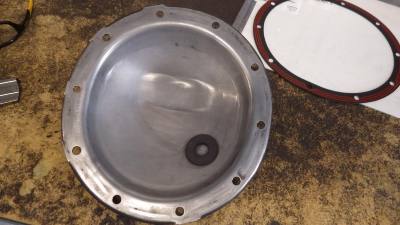
Clean up the cover – I used diesel fuel and a razor blade to get most of the RTV off, and a wire brush to get the rest of the RTV off, simple green and then brake cleaner for final cleaning.
After the oil has drained and your cover and all gasket mating surfaces are clean, put your cover back on using the star pattern for a tightening sequence and torque to specs.
I got my cover back on and tightened and using a transfer pump, I pumped a little more than 2 quarts of the oil into the differential, did a wipe down, and then lowered her to the ground (check oil on a level surface) for a final top off before I sealed her up to finish.
Referring back to my owners’ manual for filling requirements (5/8” to 1 5/8” below the bottom of the filler), I used a couple different methods I read about from other threads.
I used an allen wrench, poking the small end in my filler hole for oil level, then I verified using a pipe cleaner I bent with a 5/8” length to create a “dipstick”, pumped in the right amount of the oil and buttoned her up.
I know this is a pretty simple procedure, but I hope this proves to be helpful to some!


