Growing up doesn't have to suck

Disclaimer: Links on this page pointing to Amazon, eBay and other sites may include affiliate code. If you click them and make a purchase, we may earn a small commission.

OP
OP
iamdub

iamdub

Full Access Member
Joined
Apr 23, 2016
Posts
20,821
Reaction score
44,945
Location
Li'l Weezyana
It does look good dub. Ima gonna try to go up some more but then i need ucas because i dont want to burn through cv’s .....tax time so we’ll see wut happens...
You ever swap your fender out?

Edit ~ nvrmind

The replacement fender has a few chips in the paint and would stand out because the rest of the car has almost no paint damage. I plan to swap it before I take it in to have that fender and a few other small items painted and color-matched. But, there's a chance I may swap it anyway and touch-up paint the chips cuz at least that would look better than the wrinkles.
 
OP
OP
iamdub

iamdub

Full Access Member
Joined
Apr 23, 2016
Posts
20,821
Reaction score
44,945
Location
Li'l Weezyana
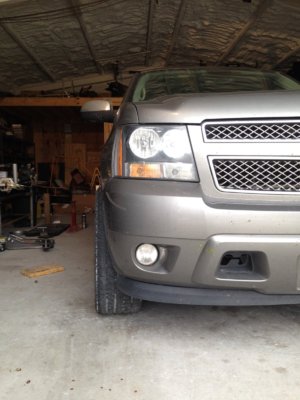
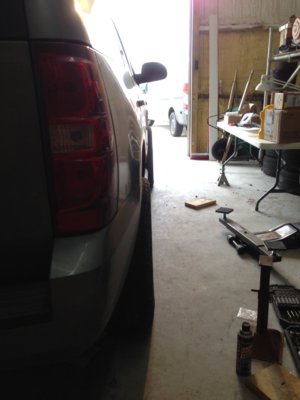
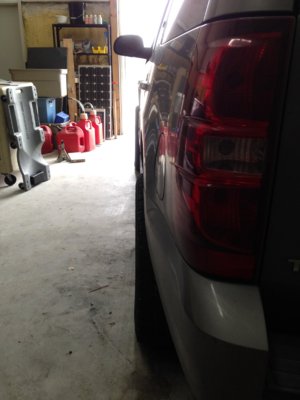
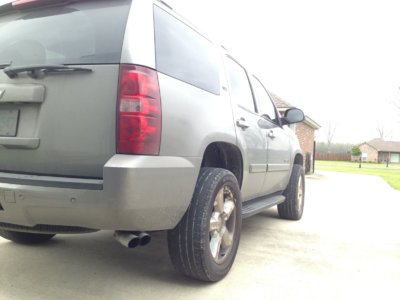
Tire stickage outage pics. I know it's filthy, I'll wash it when it quits raining. It's hard to get the feel for it in the pics, but that back 3/4 view is about the best angle for showing it's new "tougher" stance. More aggressive tires (visible at bottom right of second pic) would compliment and complement the look.

IMG_4280.JPG IMG_4281.JPG IMG_4282.JPG IMG_4284.JPG
 

PG01

Supporting Member
Joined
Nov 6, 2016
Posts
14,911
Reaction score
18,345
Location
Up here to the right
So those are 2” spacers front and back if I remember right. Right? You think 1.5” 0r 1.75” up front and 2” would even up track width?


Btw.. looky goody...i likey
 
OP
OP
iamdub

iamdub

Full Access Member
Joined
Apr 23, 2016
Posts
20,821
Reaction score
44,945
Location
Li'l Weezyana
So those are 2” spacers front and back if I remember right. Right? You think 1.5” 0r 1.75” up front and 2” would even up track width?


Btw.. looky goody...i likey

1.5" at all corners. I think 2" in the back would even it out with the front. I wasn't looking to spend very much since it's temporary and ordering two different sets was a good bit more than one set of the same size.

and im so mad your rims are so dirty....

Meh. They're nothing special, especially since the tire monkeys scratched them all up. I'll give it a good wash when I actually drive it some time.
 
OP
OP
iamdub

iamdub

Full Access Member
Joined
Apr 23, 2016
Posts
20,821
Reaction score
44,945
Location
Li'l Weezyana
I'm not surprised that I haven't updated this in a while. Since those last pics, I had the Eagle LS-2s junked in favor of some 275/55 Wrangler RS-As I scored off CL. They're all-season tires, but they look much better with the lift than the worn LS-2s. They ride smooth with no balance issues, at least to 120 MPH.

We got Jenn another car pretty much a day before I lifted it and it's been spending most of it's time siting in the shop. So, nothing to update until this week:

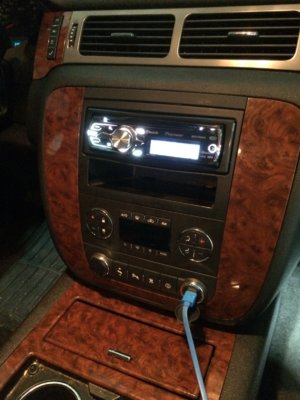
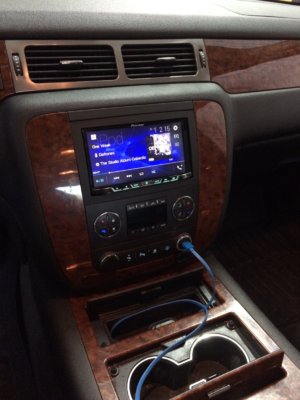
I've always wanted to be able to stream music via Bluetooth so I pulled the factory nav HU to sell to fund a new HU. In the meantime, I was gonna put the original "standard" HU back in. On the shelf next to the original HU was the Pioneer single DIN, dash kit with cubby and interface and antenna adapters I bought for my old Express 2500 work van. The interface is an Axxess GMOS-LAN-01 and Axxess's site says I need the GMOS-LAN-02 for my Tahoe since it has the factory Bose-amplified system. I did a quick twist-n-tape job to test it since I'm considering bypassing the Bose amp and running aftermarket amps. When I plugged it in, everything worked! Volume, fade, balance... everything that should work does. Only the rear seat controls and steering wheel controls don't work, as expected.

Went from this:
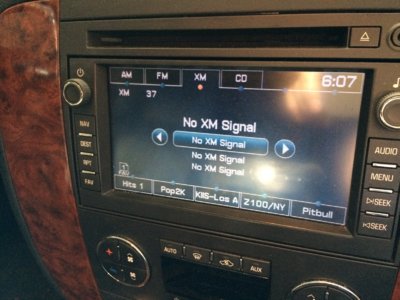
IMG_0675.JPG


To this:

IMG_0680.JPG


Not only is it louder than the Bose HU, I was able to get better sound from it since it has more EQ controls. It working was a pleasant surprise and I finally had Bluetooth. As a bonus, with a data cable from an old Garmin sat nav, I was able to keep the factory dash USB port functional.


I left this hooked up for a few days while I collected more parts to install this weekend. Well, bigger priorities came up so I'm not gonna get to it so soon. In the meantime, I decided to blob some epoxy on the dash cracks to at least keep the separated halves level instead of one sinking down and creating a huge, cracked gap.

This wasn't an attempt to make the cracks disappear, just keep them from worsening. I'm satisfied and, yet again, very happy with this epoxy.

Propped up and epoxied the cracked portions to the left of the gauge cluster hump. I used cut pieces of leaf springs as weights to hold the pieces level while the epoxy cured:
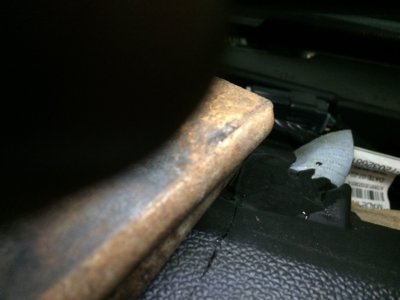
IMG_0748.JPG


This is the one on the left front corner of the passenger airbag:
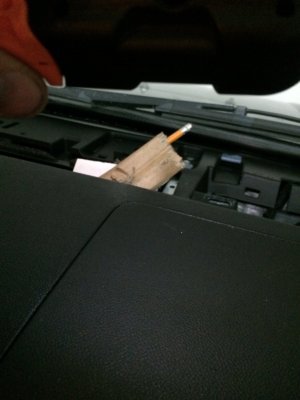
IMG_0751.JPG


More updates to come soon, I promise. :emotions33:
 
Last edited:
OP
OP
iamdub

iamdub

Full Access Member
Joined
Apr 23, 2016
Posts
20,821
Reaction score
44,945
Location
Li'l Weezyana
New HU is in! It's a Pioneer MVH-300EX. It's what they call a "multimedia receiver". It has just the things I want and nothing else: Big screen, fine-tunable button illumination color, radio, Bluetooth, aux input, USB, F/R/Sub RCA outputs, video RCA output, phone mic, 13-band EQ, backup cam capability, video capability from USB, etc. No CD/DVD, no nav, etc. I got the Axxess ASWC-1 steering wheel control adapter but I can't get it to work other than powering up and the LEDs flashing.

The Metra kit matches the dash plastic perfectly and is a really nice fit. It needed only minor tweaking. I still need to work on the top corners cuz the factory burlwood trim piece isn't sitting in all the way. Probably just need to do some minor clearancing with the Dremel.


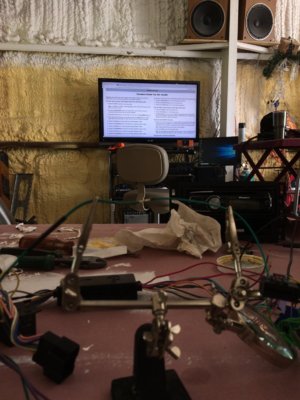
Started by setting up a work area on a table I already had out for another project and pulled up the wiring diagram on the big screen:

IMG_0777.JPG


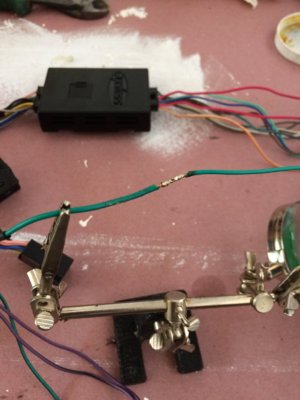
Not gonna twist-n-tape this one! :

IMG_0778.JPG


One down, at least a dozen more to go:

IMG_0779.JPG


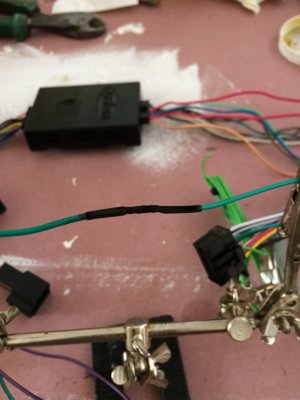
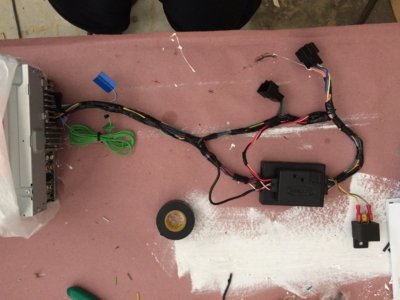
All connections soldered and heat-shrinked. Anyone that's ever dealt with these adapter interfaces knows they can be difficult to make into a clean harness because of all the directions the wires come and go. I applied my best logic... and plenty of Scotch Super 33+! The ASWC-1 is just sitting on top of the GMOS-LAN-01 (It may be a mis-labled 'LAN-02, though.) :

IMG_0781.JPG


Aaaaand the money shot. I like how clean and simple it looks with minimal buttons. I still need to tweak EQ as well as the button color and brightness to perfectly match the mint green OEM color scheme:

IMG_0782.JPG
 

Forum statistics

Threads
132,369
Posts
1,866,863
Members
96,995
Latest member
beachbum15

Latest posts

Top