I just did my front end today. 4 Balljoints, 4 Tierod ends, Pitman Arm and Idler Arm. My entire front end is now Moog.
http://www.tahoeyukonforum.com/forum/showthread.php?t=12523
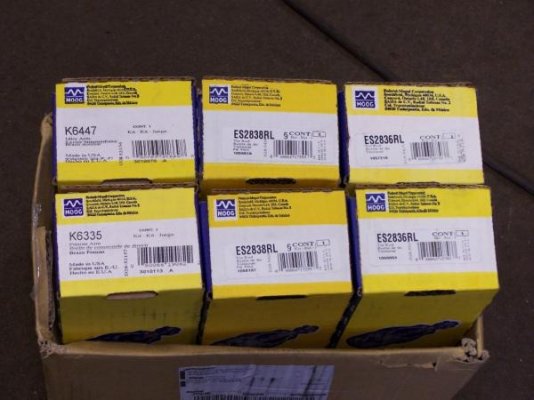
It took me three hours just to do this pitman arm job. RavingMadMan's writeup was perfect. I followed it to a tee. It worked like a charm. I took pictures in case anyone else wants to try this.
So here is the original writeup with pics.
Steps:
- Jack up the front end, far enough that the suspension is fully unsprung, and the tires can rotate freely. Put it on jack stands.
- Remove the plastic splash guard from the front of the truck, exposing the idler arm on the left, the bottom of the enginein the center, and the steering gear on the right. I tried just letting the guard swivel, and spent toooo much time fighting it. Just remove it.
- Turn the wheel (or just push the tires) all the way to the left, which will bring the small end of the pitman arm right to you. Look for the crown nut.
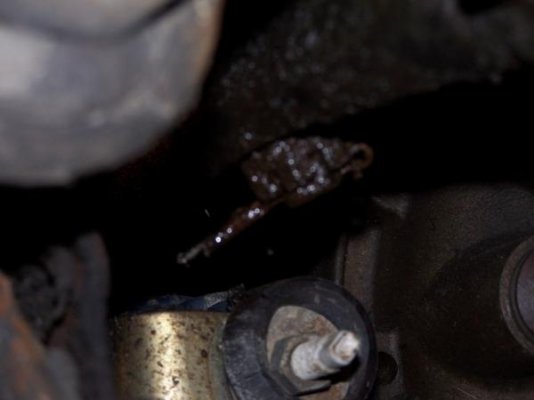
Pull the cotter pin, and remove the crown nut.
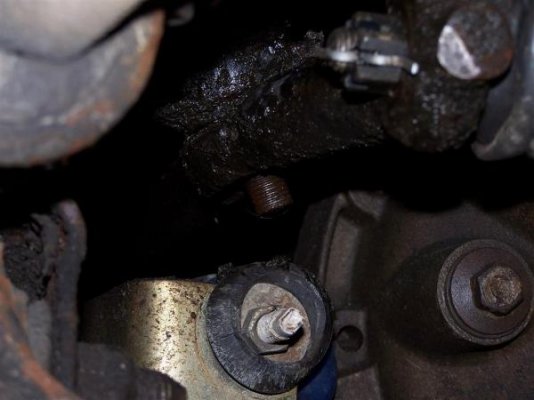
- Use the 1" pickle fork/hammer to separate the pitman arm from the steering linkage. It won't come all the way out yet.
- TURN THE WHEELS TO STRAIGHT FORWARD
- Using the uber crescent wrench, from the front of the truck, strain your back trying, and then eventually succeeding to get the pitman arm nut off of the bottom of the steering gear box. Beer helps numb the pain. There's a little plastic clip that will be right in your way to piss you off, and it is really difficult to get off. It connects to the front brake lines. Don't waste your time trying to get this thing off.
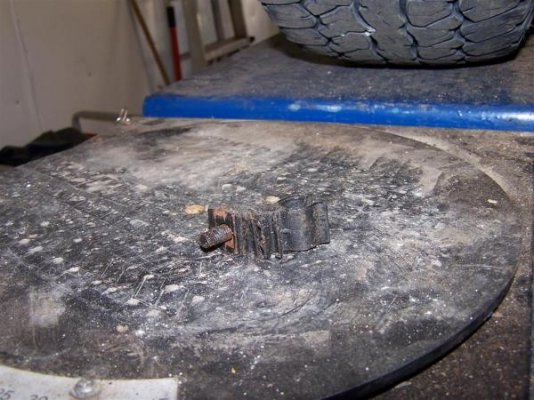 I got really pissed at this stupic peice of plastic, so I ended up removing it.
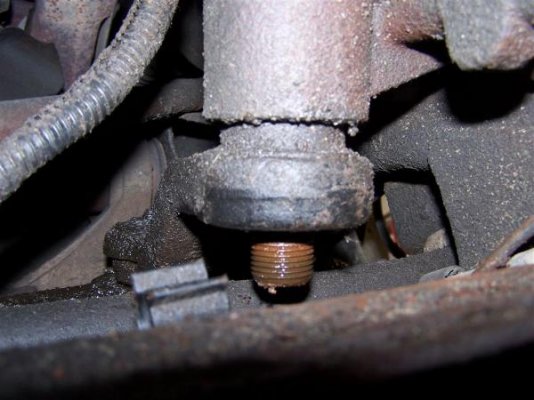
- When you get the pitman arm nut off, use the big pickle fork/hammer to get it loose (it won't come all the way off at this point, no worries).
- Remove the three big bolts holding the steering gear box to the frame. The bolts are available from inside the wheel well, go all the way through the frame, and screw into the steering gear box. Do not disconnect any of the power steering lines, or anything else. It isn't necessary.
- Push the steering gearbox up, and inward, using the big pickle fork to help separate the pitman arm from the steering gear box. You might have to rotate the steering gear box clockwise as well to get the pitman arm completely off.
- Pull the wheels all the way left again, and use the small pickle fork to separate the pitman arm all the way from the linkage. Stand up, look skyward, and hold the removed pitman arm over your head so the steering linkage gods can see your dead sacrifice.
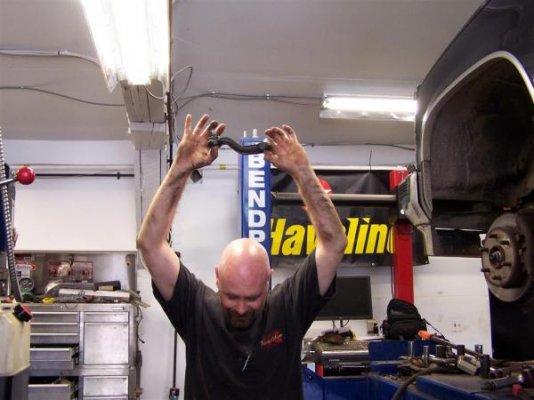 Apprentice, apeasing the steering linkage gods!
- Install the grease fitting on the new pitman arm if you need to, and fill it with grease. You might have a little foam ring, too, it goes on the small end. Slip the small end into the linkage, and put the crown nut on a couple of threads. Slip the big end onto the steering gear box, again, you may need to rotate the steering gear box to get it all together.
- Bolt the steering gear box back into place. These bolts torque down to 100 ft/lbs, so put your back into it. Again.
- Push the wheels to straight, and slip the pitman arm on. The splines will only match up one way, so fiddle with it until you get it right.
- Put the lockwasher and pitman arm nut on, and just about kill yourself getting them good and tight. This torque spec says 186 ft/lbs. Just pull on it until your crescent wrench bends. You'll know you have it right when your knuckles go "clunk" and back goes "bang" with a sharp, burning pain shooting up your neck.
- Pull the wheels all the way left, tighten up the crown nut, put a new cotter pin in it.
- Since you're down there with a grease gun anyway, lube the upper and lower ball joints and the idler arm.
- Drink more beer, call it a night.
 Me drinking Moosehead.
Don't forget to do the wheel alignment. After changing the entire suspension, I had to do two wheel aligments to get it right. One immediately before it left the hoist, and another after a good 1/2 hour run on the highway/gravel roads. It was out again (just a little) after things settled in.
I am so sore, my arms are all scratched up.
Big THANKS TO RavingMadMan!
Too bad you don't have a writeup about changing the idler arm. I didn't know that when you tighten the main nut, the shaft would turn with it. That was a b&tch to get back on! Certainly could have used a trick there! I ended up using an 8 foot pry bar to put upward pressure on the idler arm, while the apprentise wrenched the nut. The upward pressure held the shaft in place.
Next up, try to find those rotors and pads that you guys are talking about (Hawks?), install my new SS brake lines and flush/replace the brake fluid with ATE Super Blue.
http://www.tahoeyukonforum.com/forum/showthread.php?t=15370


