Hey everyone!
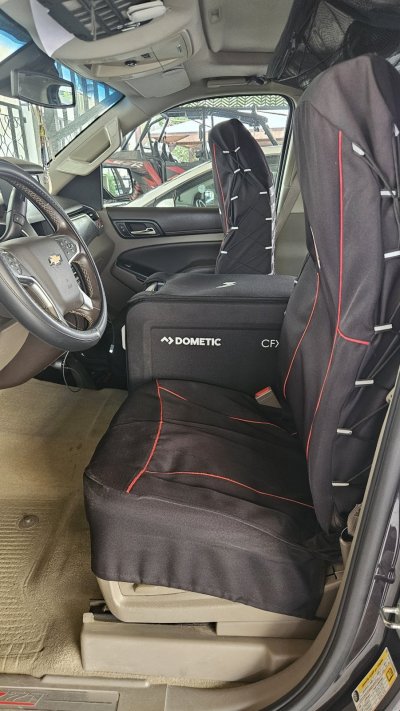
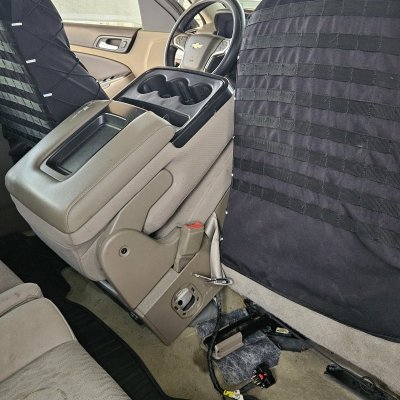
I’d been planning this swap for a while, especially because here in Kuwait , the temperature can hit 55°C (131°F) , so a fridge is essential. When I came across an amazing deal on a Dometic CFX3 25 fridge, I decided it was time to replace the jump seat in my 2015 Tahoe Z71. This mod works for any full-size GM truck with a jump seat (Tahoe, Yukon, Silverado, Sierra, etc.).
Fridge Dimensions:
Length: 21.2 in (538 mm)
Width: 13.5 in (342 mm)
Height: 16.7 in (424 mm)
Steps:
1. Remove the 4 bolts for the jump seat:
Unscrew the four bolts securing the jump seat to the floor.
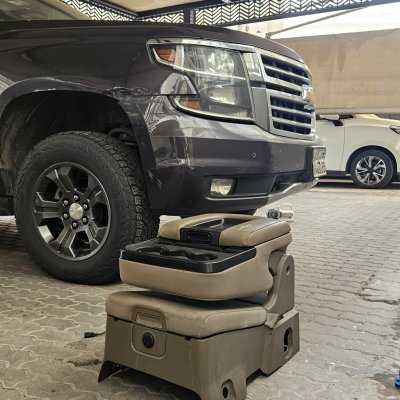
2. Flip the jump seat to the back:
Tilt it backward for access the connectors.
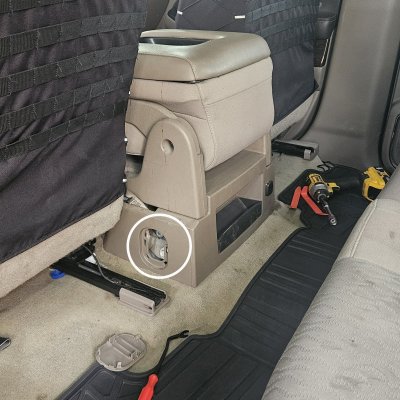
3. Remove passenger seat’s 2 rear bolts:
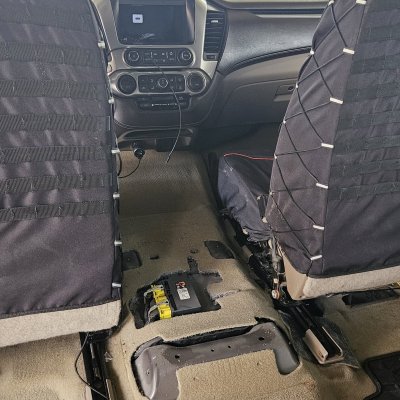
Unscrew these for easier access to the jump seat’s connectors whichis under the carpet. You may need to tilt the seat forward little bit to access the connectors.
4. Disconnect the 2 connectors for the jump seat:
Unplug both connectors to free the jump seat. Beware the connectors locks before disconnecting.
5. Move away the jump seat:
Lift and remove it from the vehicle.
6. Return the passenger seat bolts:
Secure the passenger seat with the bolts.
7. Install the fridge and secure it:
Place the Dometic in the jump seat space and secure it with a couple of bungees (temporary for now).
8. Connect the fridge to the front 12V cigarette socket:
Plug it into the 12V outlet for power, and you’re set!
Notes:
1. Power Consideration: Using the 12V socket means the fridge will only work when the car is on. If you want it running 24/7, I recommend getting a portable power station.
2. Efficiency: Adding the protective cover increases the fridge’s cooling efficiency.
3. Securing Update: The bungees are temporary; I’ll update this thread later with a more secure mounting solution.
4. Harness Removal: I removed the full harness from the jump seat with all usb and 12v sockets
5. Upcoming Mod: Next, I’m planning to customize a charging station in the open area under the AC controller, with a couple of cup holders.
This setup is working great for me so far. Let me know if you have questions or if you've done similar mods!

