ScottyBoy
Full Access Member
How-To: Installing 06 E-fans on a 2001
This is a step by step tutorial on how to upgrade any 00-02 Tahoe, Yukon, or Suburban to the 05-06 GMT800 electric cooling fans. This same setup can be used on 03-04 trucks as well, however the only difference is the wiring that connects to the PCM. I will also add that a custom tune from someone like Blackbear Performance(who is a site sponsor by the way) is also needed, because the pins to control the fans in the PCM need to be turned on with the tuning software.
First of all, you need to measure your radiator to see what size it is. Some trucks came with a smaller radiator, (28 inches wide I think) and some have the larger radiator, which is 34 inches wide. The 05-06 Tahoe/Silverado electric fans can only be used if you have the larger radiator. So if you have the smaller one, you need to upgrade your radiator first. If you have the 34 inch radiator, like I do, the fans will bolt right up as if they were made for your truck. The holes for the fan to bolt on are already in the radiator support. It uses the same bolts as the radiator. So if you didn't get the bolts with your new fan, just go grab some radiator bolts off a truck in the junkyard. I got my fans from a 2006 Chevy Silverado in the junkyard. I was also able to pick apart the wiring harness and get that as well. I even got the pin that needs to be added to the PCM harness. So now I have an OEM wiring harness complete with fan relays. This actually clips right onto the side of your underhood fuse panel once you remove the cover. Here is the fans and the harness that I got.
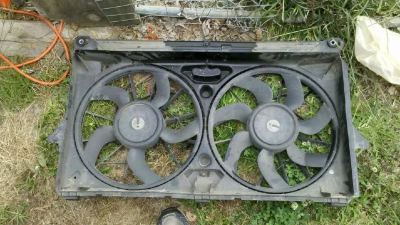
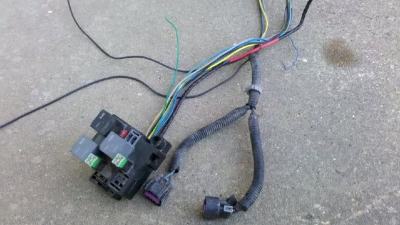
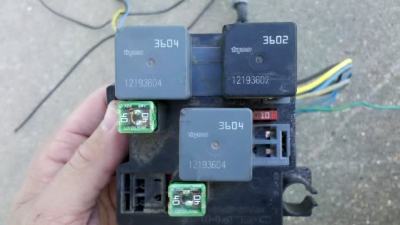
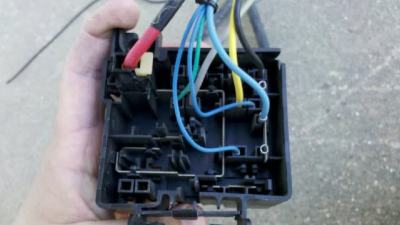
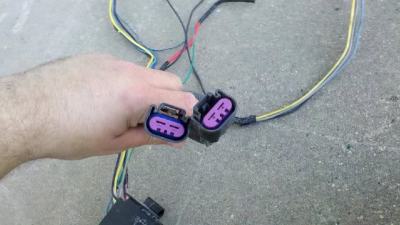
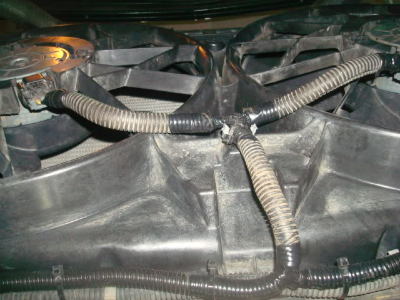
I cleaned up the harness and added some wire loom to it and made it look cleaner, for a cleaner install.
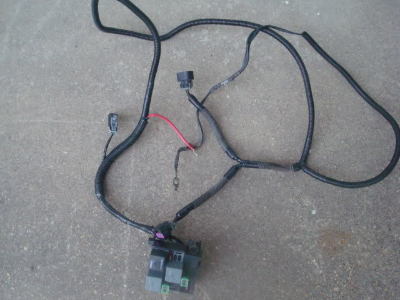
You can buy a pre-made harness from Blackbear Performance for a very easy install. Or if you are able to procure the correct pigtails for the fans and the PCM, you can custom make your own harness. Here is a wiring diagram of how the fans are factory wired on the 05-06 GM trucks.
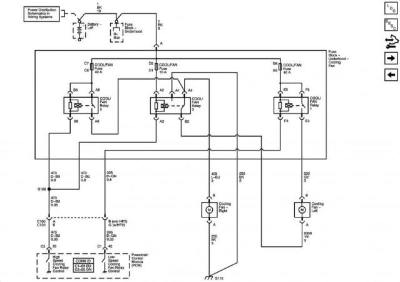
If you have an 03-04 truck, then you will wire it exactly like this diagram shows. But on a 99-02, the PCM only has pin 42 available to use. The other trigger wire has to be connected to the AC compressor clutch relay wire. That wire is positive, so by me using an OEM harness, I had to add a relay to that wire to change it to a negative in order to trigger the fan relay pack, which is set up to be triggered by negative signals from the PCM. This extra relay is not needed if you use the pre-made harness from Blackbear. Thier harness is already setup to use a positive trigger from the AC wire. Now onto the wiring. First you want to remove your underhood fuse panel cover. Not just the lid, the entire cover. You will have to unbolt the corner fender brace in order to get it up and off. Now lift up the fuse junction block to get access to the underside. You will need to splice into the dark green AC clutch relay wire. This is the wire you need.
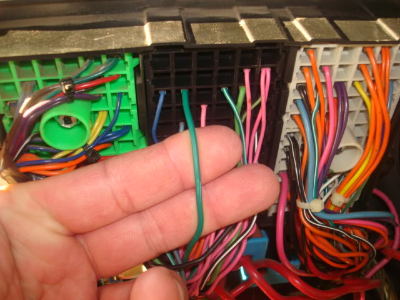
This is where you will tie in your relay (or trigger wire if using a Blackbear harness). The relay needs to be wired as follows:
86-Green AC wire
85-Ground
87-Ground
30-Blue trigger wire on OEM fan relay pack
And here is how your relay should look.
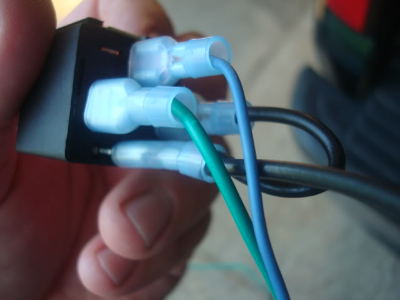
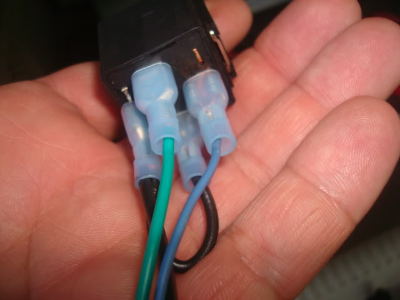
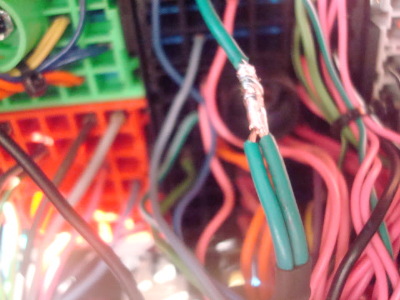
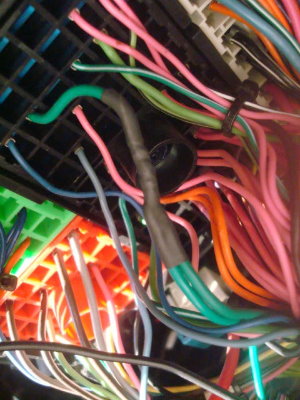
Now take the green wire on your relay and splice it into the factory Green AC wire with solder and heat shrink tubing.
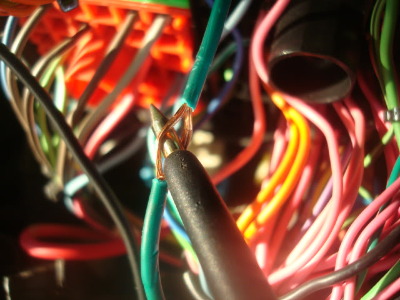
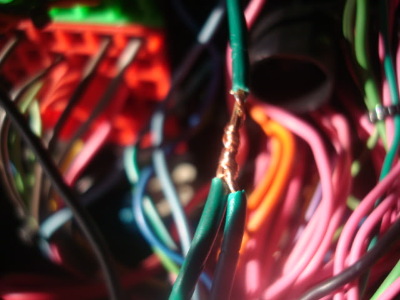
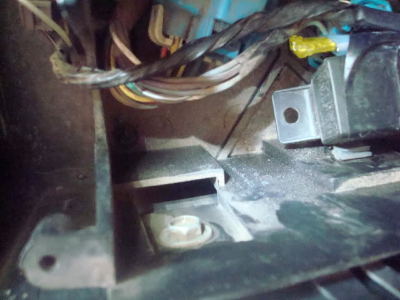
I grounded the ground wire to this bolt on the fender, right below the fuse block.
This is a step by step tutorial on how to upgrade any 00-02 Tahoe, Yukon, or Suburban to the 05-06 GMT800 electric cooling fans. This same setup can be used on 03-04 trucks as well, however the only difference is the wiring that connects to the PCM. I will also add that a custom tune from someone like Blackbear Performance(who is a site sponsor by the way) is also needed, because the pins to control the fans in the PCM need to be turned on with the tuning software.
First of all, you need to measure your radiator to see what size it is. Some trucks came with a smaller radiator, (28 inches wide I think) and some have the larger radiator, which is 34 inches wide. The 05-06 Tahoe/Silverado electric fans can only be used if you have the larger radiator. So if you have the smaller one, you need to upgrade your radiator first. If you have the 34 inch radiator, like I do, the fans will bolt right up as if they were made for your truck. The holes for the fan to bolt on are already in the radiator support. It uses the same bolts as the radiator. So if you didn't get the bolts with your new fan, just go grab some radiator bolts off a truck in the junkyard. I got my fans from a 2006 Chevy Silverado in the junkyard. I was also able to pick apart the wiring harness and get that as well. I even got the pin that needs to be added to the PCM harness. So now I have an OEM wiring harness complete with fan relays. This actually clips right onto the side of your underhood fuse panel once you remove the cover. Here is the fans and the harness that I got.


I cleaned up the harness and added some wire loom to it and made it look cleaner, for a cleaner install.

You can buy a pre-made harness from Blackbear Performance for a very easy install. Or if you are able to procure the correct pigtails for the fans and the PCM, you can custom make your own harness. Here is a wiring diagram of how the fans are factory wired on the 05-06 GM trucks.

If you have an 03-04 truck, then you will wire it exactly like this diagram shows. But on a 99-02, the PCM only has pin 42 available to use. The other trigger wire has to be connected to the AC compressor clutch relay wire. That wire is positive, so by me using an OEM harness, I had to add a relay to that wire to change it to a negative in order to trigger the fan relay pack, which is set up to be triggered by negative signals from the PCM. This extra relay is not needed if you use the pre-made harness from Blackbear. Thier harness is already setup to use a positive trigger from the AC wire. Now onto the wiring. First you want to remove your underhood fuse panel cover. Not just the lid, the entire cover. You will have to unbolt the corner fender brace in order to get it up and off. Now lift up the fuse junction block to get access to the underside. You will need to splice into the dark green AC clutch relay wire. This is the wire you need.

This is where you will tie in your relay (or trigger wire if using a Blackbear harness). The relay needs to be wired as follows:
86-Green AC wire
85-Ground
87-Ground
30-Blue trigger wire on OEM fan relay pack
And here is how your relay should look.


Now take the green wire on your relay and splice it into the factory Green AC wire with solder and heat shrink tubing.


I grounded the ground wire to this bolt on the fender, right below the fuse block.

Last edited:

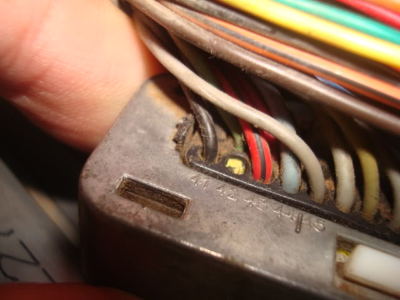
 This is getting added to my to do list.