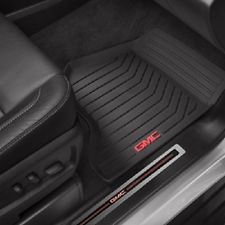
Illuminated Door Sills Installed 15 Tahoe

Disclaimer: Links on this page pointing to Amazon, eBay and other sites may include affiliate code. If you click them and make a purchase, we may earn a small commission.

wu6fiend

Member
Joined
Jul 30, 2016
Posts
85
Reaction score
43
s-l225.jpg

I purchased them at the parts counter at the local dealership. They sold them to me for cost, quite reasonable (about $300 IIRC) Just imagine instead of a silver plate with "Denali" on it, now you have a lighted plate (red) that says "GMC" on it with a red glowing border around the edge. When you close the doors, it slowly dims to black. I've had lots of "Ooooh, cool!" responses from passengers when they first see them. The above shot is from eBay, showing you what they look like.
 

Tregs

Member
Joined
Jan 2, 2016
Posts
35
Reaction score
5
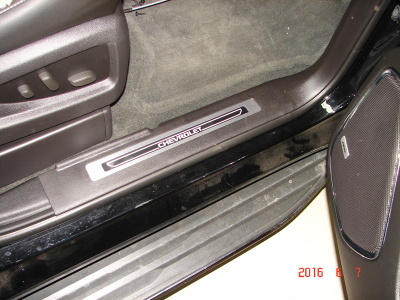
I just installed these Illuminated door sills on my 2015 Tahoe and I seen there was a trend about them so I thought I'd share mine and how easy they were to install. I'll post some pics and try and explain what I did on mine took me about 45 mins to do but that was including me picking up the camera so this should be a pretty simple and quick install for everyone. I bought them off ebay at the link below.

http://www.ebay.com/itm/2015-Tahoe-...600689?hash=item36020c64f1:g:up0AAOSwymxVOTVx

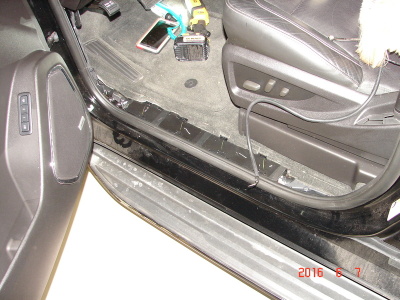
First thing I did was remove the drivers door sill and B pillar panel and pass side door sill.

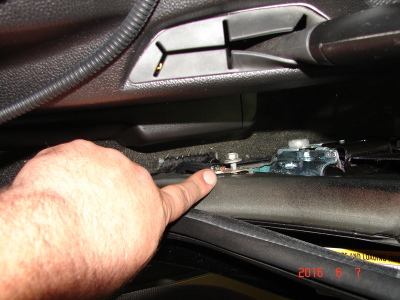
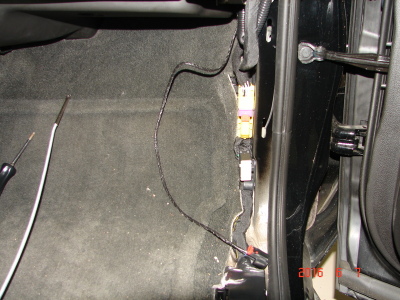
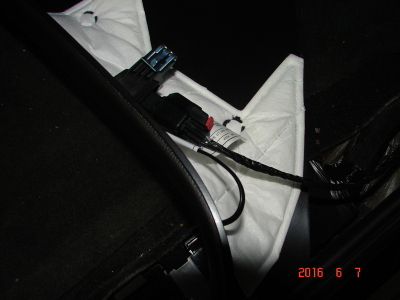
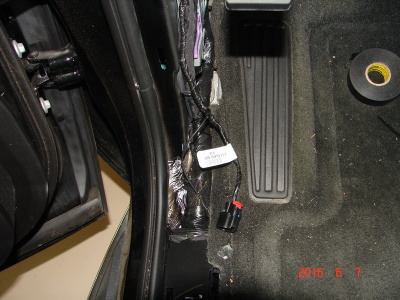
Then I removed the new harness that comes with the sills and started installing it. Starting with the ground wire which mounted at the b pillar with a 10 mm bolt as seen in pics.

DSC03046.jpg

DSC03045.jpg

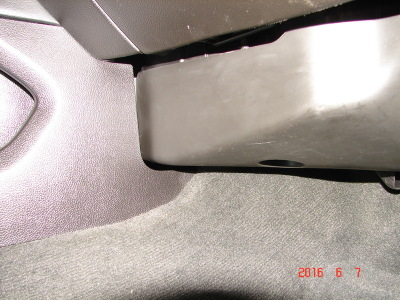
Then I ran the harness up to the drivers side door sill along the factory wiring up the kick panel. Which is were you will get power from the bcm but I first ran the harness to the pass side through the lower dash across the center console to the pass side below the glove box using black zip ties along the way.

DSC03049.jpg

I came out behind this panel and routed the harness over to were the door sill was going to be installed.

DSC03048.jpg

DSC03047.jpg

DSC03050.jpg


DSC03051.jpg

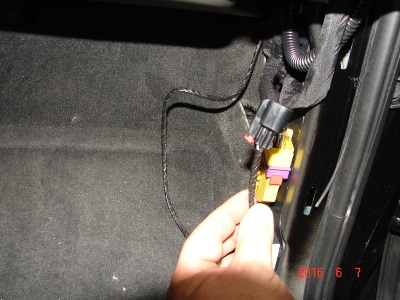
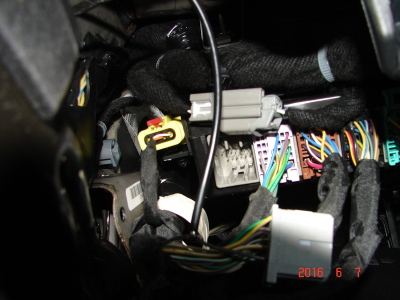
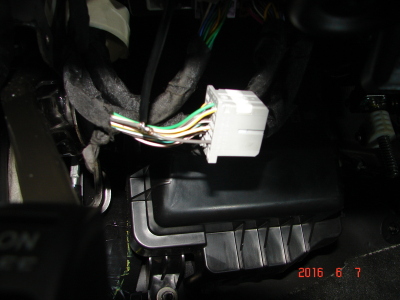
Now back over to the drivers side door sill to get power and put the drivers side on. If you lay in the floor board on the drivers side and look just above the emergency brake you will see the BCM. The plug you need is the gray plug its the left most plug. The wire is the gray wire just below Number 1 if you look at the plug. What I did is different than what is called for but I cut the new pin off the new door sill harness and extended the wire about 5 inches and soldered and taped it due to not wanting to remove the pin and to have a little pig tail for me to get to when I put lighted running boards on later just to make my job easier. Plus I capped off the other side of the new harness. Its all clean and factory looking you would never know anyone had done anything down there.

DSC03053.jpg

DSC03052.jpg

DSC03054.jpg

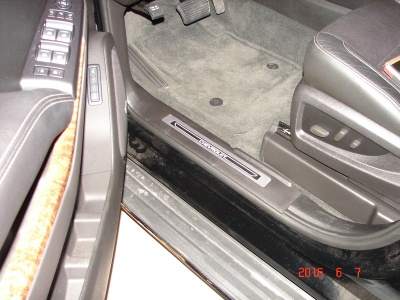
I then installed the drivers side door sill plugged it up and snapped everything back the same way I removed everything.

DSC03057.jpg


DSC03056.jpg

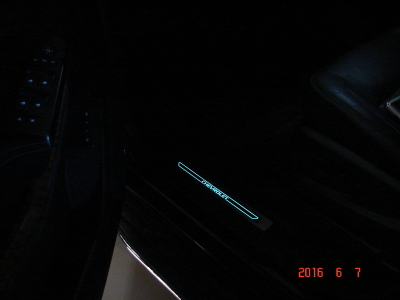
It matches the interior lighting I didn't think that It would match the way it does now if they would only make some for the rear sills. I hope this helps someone out and if anyone has any questions I'd be glad to help. I got the escalade lights all figured out for the 2015 Tahoe Ill be posting on them in the near future.
-----------

Does the door sill light up with an open door or using the dome light switch in the overhead?
 

Tregs

Member
Joined
Jan 2, 2016
Posts
35
Reaction score
5
Better stated, does the door sill light up with any open door as well as the dome light switch in the overhead console?
 
OP
OP
M

mbp1979

Full Access Member
Joined
Mar 13, 2016
Posts
253
Reaction score
115
Location
North Little Rock
Better stated, does the door sill light up with any open door as well as the dome light switch in the overhead console?
Everything works the same as it did before it's tied into the dome light. Open the door and they come on with the rest of the interior lighting.
 

Da Hawk

TYF Newbie
Joined
Aug 26, 2017
Posts
7
Reaction score
7
Kudos to the OP for an excellent write-up and accompanying photos. It really helped me get this job done in under an hour. Thanks again!!

I do want to add a couple of pointers for anyone else that is considering this mod.

First, you will need to remove the driver's side rear passenger sill too. To remove the B pillar, scoot the driver's seat all the way up to get more room to work with. Remove the B pillar by tugging from the bottom and working your way up. Just like the sills, it is held on by clips. There should be 4 of them. Use the ground bolt at the bottom of the B pillar to add your ground wire. You'll notice that there are 2 other electrical wires attached to it from the factory. After adding it, run the ground wire in the enclosed tubing down in between the door weatherstrip and the black cap which houses all the factory wiring on the sill. There is no need to remove that black cap. Tuck it down really good as it will fit. One last thing, use something to fish the wire from the driver's side over to the passenger side under and through the center console. I used a piece of extra irrigation hose to feed it through the small opening and taped the wire to the end using packing tape. Pulled it through and ran it under the glove box and down the passenger kick panel. Also, be certain to use the provided zip ties here and there to prevent the wire from hanging down and becoming noticeable in the future. Good luck!!
 

Forum statistics

Threads
132,953
Posts
1,877,182
Members
97,870
Latest member
jgrundy13
Top