Rc silverado front lift and skyjacker rear lift coils

Disclaimer: Links on this page pointing to Amazon, eBay and other sites may include affiliate code. If you click them and make a purchase, we may earn a small commission.

OP
OP
87carl

87carl

Full Access Member
Joined
Feb 21, 2016
Posts
328
Reaction score
169
@87carl I'm excited for you let us know how it goes, are those lift knuckles?

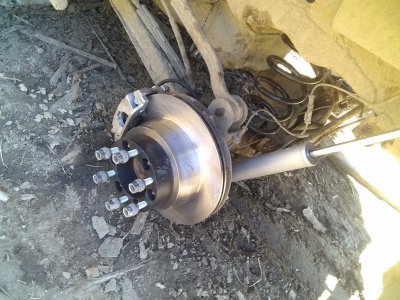
Yeah they are. I wanted lift knuckles to help cv angles with only dropping differential 1 inch and help tie rod angles. front lift is rough country 3.5 inch knuckle lift for 2007-2013 silverado sierra 1500s. They don't sell a knuckle lift for the tahoes and suburbans. Planning to use a truck lift is what led to me looking for lift springs I obviously can't use the kits rear lift blocks lol I'm using the truck rear shocks from the kit. They fit but idk if there valving will be to soft or to firm for the suburban we'll see if I don't like it I can buy suburban 2-4 inch lift shocks when I get the parts to finish the rear suspension.

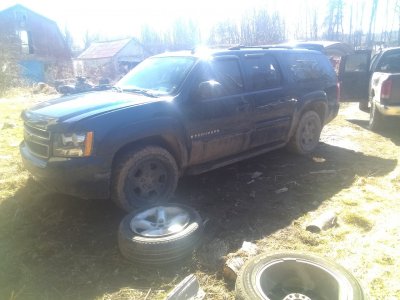
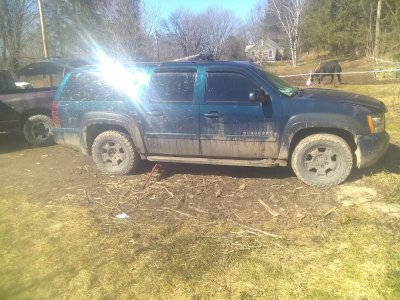
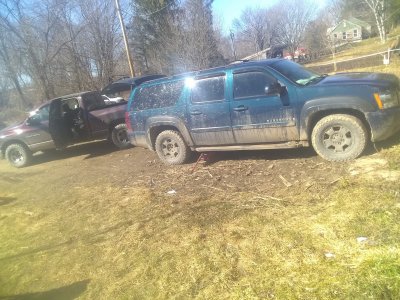
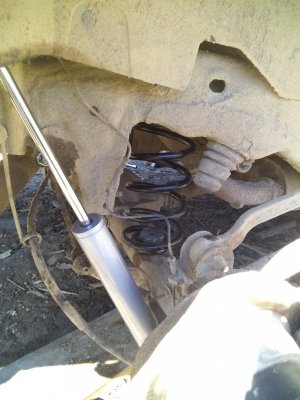
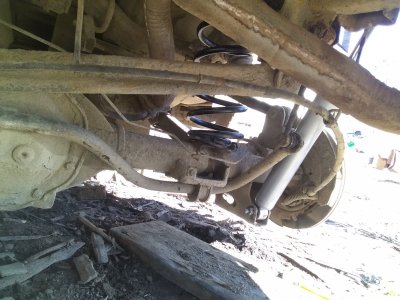
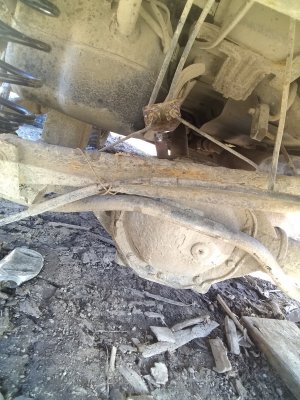
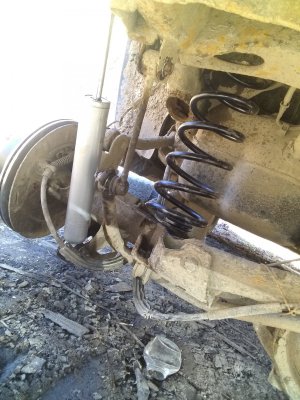
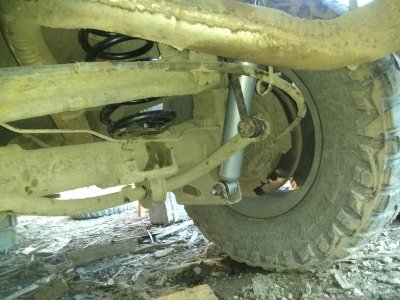
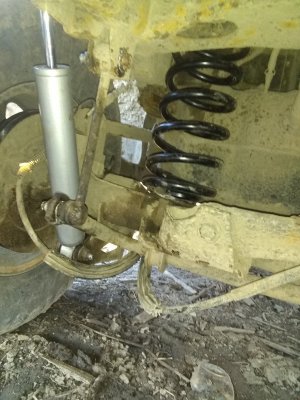
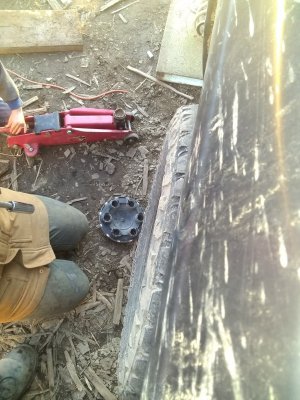
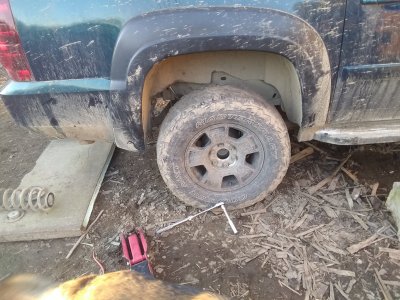
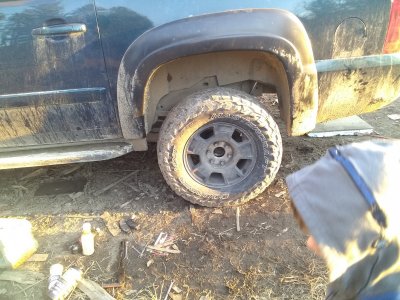
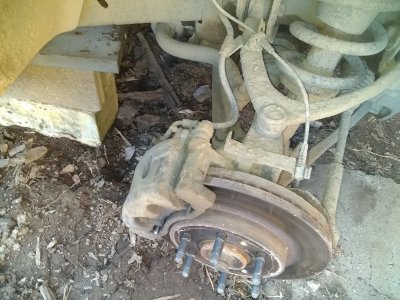
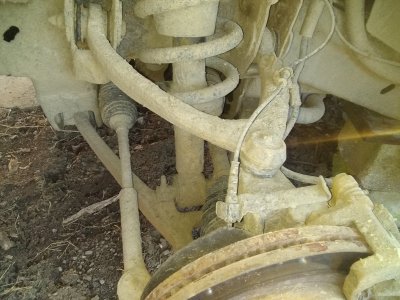
Started doing the rear suspension today it got to cold and dark to finish yet. Gotta bolt the driver side caliper back on and passenger shock and passenger sway link. Then bleed brakes and rear suspension will be done for now. Had hard time getting axle low enough for longer rear spring to go in place. And due to design and geometry of the rear suspension the control arms pull the axle slightly forward and panhard bar pulls axle slightly to the passenger side and my sway bar links are kinda short now. It will be fine like this for a while but I definitely gotta get spohn adjustable control arms and spohn adjustable panhard bar and longer sway bar links to get everything back to proper geometry. That will also be a huge upgrade from the weak stock stamped steel arms and panhard. Also gotta get rear shocks boots rough country shocks don't have boots on them and it bugs me lol new springs unsprung lengths are exactly 2.5 inches longer than stocks so depending on spring rates should lift about that much. Old springs were 17 inches long new ones are 19.5. ignore the mud i may have went through a field couple days ago and haven't had chance to wash it yet I kinda wish I had washed it before working on it lol
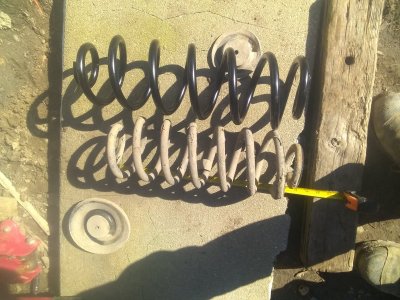
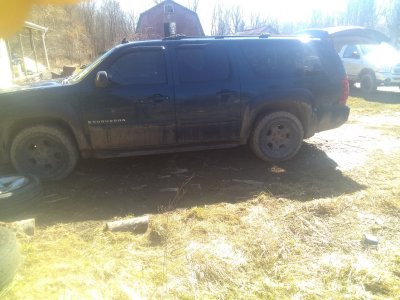
IMG_20210312_145511417.jpg
IMG_20210312_135306968.jpgIMG_20210312_135257632.jpg IMG_20210312_135231694.jpgIMG_20210312_135519434.jpg
 
Last edited:
OP
OP
87carl

87carl

Full Access Member
Joined
Feb 21, 2016
Posts
328
Reaction score
169
And the moog spring isolator pads that said they are for this generation suburban are alot smaller then the originals they fit kinda but not well so I gotta look into that if I can find better ones I will change them when I do rest of rear suspension
 
OP
OP
87carl

87carl

Full Access Member
Joined
Feb 21, 2016
Posts
328
Reaction score
169
Finished the rear end and got it back on it's wheels front is up on blocks and rear suspension needs to settle. so it looks a bit taller than it will be. Wheel spacers made the tires are almost even with the fender flares but rear axle is about an inch off center toward the right because of the stock panhard bar. Which makes passenger tire stick out slightly further that's gonna bug me. I put old front tires on rear so when I get the 2 new tires they will be on the rear. Gotta get longer rear brake hoses they pull a little at full droop so i left the center brake line bracket unbolted for now. And gotta zip tie or get abs wire clips to hold the abs wires in place old clips are to high and make wire short. Also started unbolting some of the passenger front suspension but didn't get alot done with that.
IMG_20210313_145217819.jpgIMG_20210313_145252029.jpgIMG_20210313_145312807.jpg IMG_20210313_145318052.jpg IMG_20210313_145321875.jpg
 
OP
OP
87carl

87carl

Full Access Member
Joined
Feb 21, 2016
Posts
328
Reaction score
169
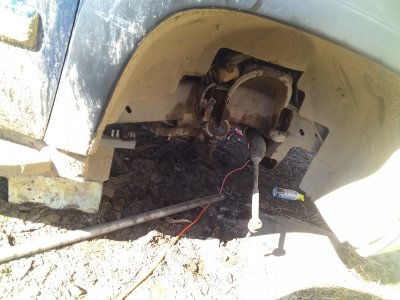
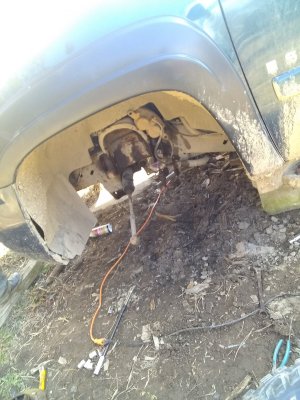
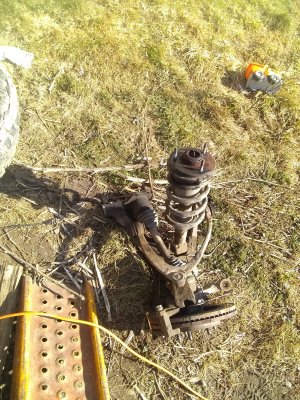
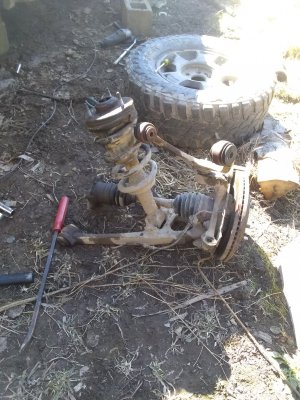
Front suspension out only took about 2 hours to get that far. But then ran into some troubles. trying to remove sway bar bushing bolts 2 of them stripped so gotta fix that. Cut first one gotta cut other one still and gotta get them out after that will have to weld nuts on them. And after putting on new tie rods was having a hard time getting new inner tie rod boots over steering rack was getting frustrated so decided to call it a day it was extremely windy today and I really didn't want to be out there freezing my butt off anyway lol it's nice being able to take everything off in one piece alot eaiser than removing one piece at a time. The passenger side strut was kinda rusted in place. everything was unbolted and hanging off it and still took some beating and prying to get it to drop. Hopefully it ain't so damn windy tomorrow
IMG_20210313_175211352.jpg IMG_20210313_175243294.jpg IMG_20210314_153949990.jpg IMG_20210314_153930851.jpg
 
OP
OP
87carl

87carl

Full Access Member
Joined
Feb 21, 2016
Posts
328
Reaction score
169
Does anyone have a source for extended rear brake hoses haven't been able to find much
 
OP
OP
87carl

87carl

Full Access Member
Joined
Feb 21, 2016
Posts
328
Reaction score
169
Couple of questions.

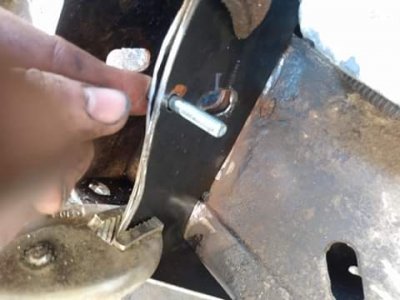
The brake line bracket on the upper control arm mount that holds where hard line connects to the hoses. Can that be flipped to extend front brake lines down? There's two holes in mount one for bolt and one for a tab on the bracket. I will take a close up picture of that today.

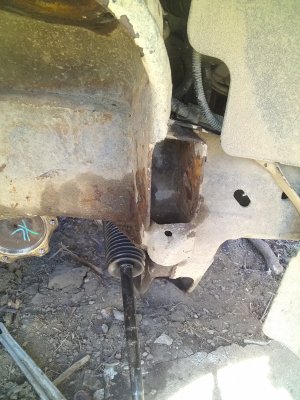
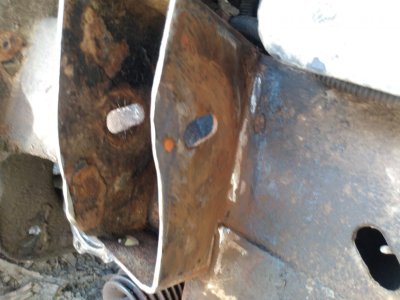
The front upper control arm mounts down travel stop needs to be cut off according to the lifts instructions. Not a bad idea allows for more travel but while prying the suspension off I noticed that all the upper control arm mounts are surprisingly weak and bend easily. Cutting that off the forward mounts will make it even weaker. What have people done to gusset and reinforce them? My first thought was thicken them with 1/16 inch or 1/8th plate on the sides but the nubs for the alignment cams are on the sides and I would have to recreate those nubs on the plates. Could weld small bolts on in that spot. now thinking maybe just some angled gussets top and bottom of each side of each mount might be good enough? Idk yet maybe I'm just overthinking it want to figure that out and decide before I get to putting things back together.
 
OP
OP
87carl

87carl

Full Access Member
Joined
Feb 21, 2016
Posts
328
Reaction score
169
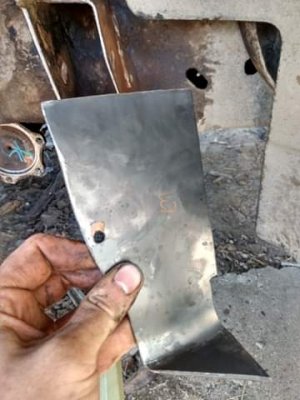
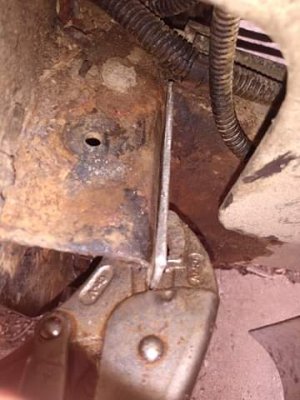
Reinforced the forward upper control arm mount on the passenger side. the side that goes up to the strut mount is 1/8 inch that side I'm leaving alone but the rest of the control arm mount is 1/16 inch plate which had to much flex ability for my liking so welded a piece of 1/8 inch plate over it to strengthen it some. I also removed the down travel stop because the lift kit says to. The original cam alignment plates nub would be to short with this plate welded on so I welded a bolt in it's place and ground the head and threads off the bolt to make a new nub. I dont think I got enough of the undercoating off the frame welding to frame was very splattery and wouldn't hold a steady bead eventually I just turned up the heat and burned through it making a fat ass weld ugly but it's atleast solid I haven't used the old stick welder in few years mostly use mig anymore so surprised it wasn't worse lol hit it with black rust-oleum and some rust-oleum rubber undercoating to seal it. she goes for her annual undercoating in 3 weeks so not to worried about painting everything. I will do the thin side of the other 3 upper control arm mounts the same way. They probably would have been fine but I like over kill and not having to worry lol
IMG_20210315_151206243.jpg received_463430551677499.jpeg received_184319646577784.jpeg received_744469969539181.jpeg received_143096467702239.jpeg
 

Forum statistics

Threads
132,366
Posts
1,866,800
Members
96,989
Latest member
Mreedini
Top