The Plasti Dip Thread

Disclaimer: Links on this page pointing to Amazon, eBay and other sites may include affiliate code. If you click them and make a purchase, we may earn a small commission.

05Single

afraid of the dark
Joined
Feb 26, 2015
Posts
8,186
Reaction score
11,456
Well you shoulda saw this one coming after my plasti dip adventure this past week :rotflmao:

I know theres a lot of hate for this stuff but for those who enjoy it i wanted to make a general thread where people can share their ideas, good or bad....and experiences, success or failed so we can all learn.
Remember it's not my how to thread, it's everyone's how to thread, so post what you did and how you did it if you already have done did it :thumbsup:

This stuff ain't going away anytime soon and it's only getting more popular with more colors and the applications seem to be endless.

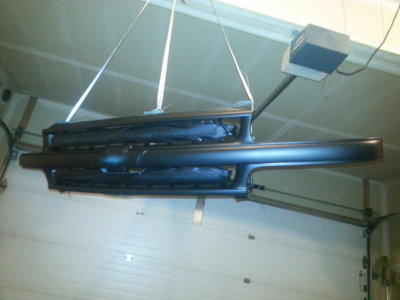
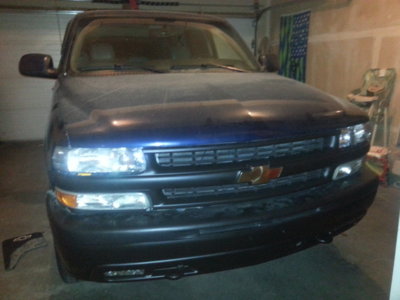
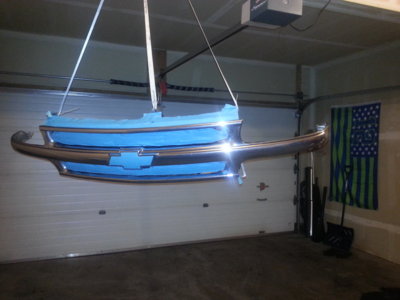
So here goes. I'll start with one of the most popular applications - plastidipping the chrome grille.

First I clay bar the surface to get rid of every spec and debris on the area I'm spraying. Next I remove the left over wax used from the clay bar with dish soap and a rag, then I rinse with a clean water only rag. Let dry then spray.

No matter what always use the recommended 6-7 coats, 30 minutes flash time (dry time) between each coat. Thats almost 1 can for the grille.20151123_142900 (1).jpg 20151123_210922 (1).jpg
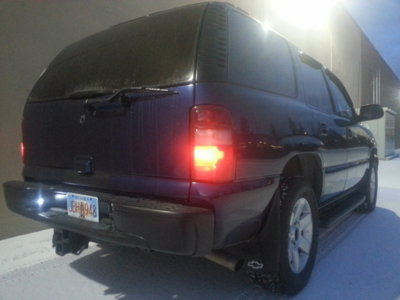
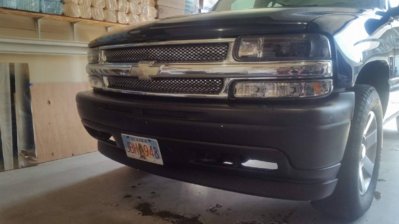
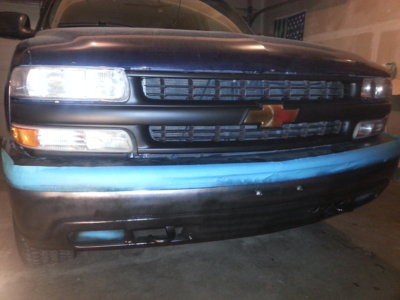
Next was the bumpers. Again 1 can each bumper
20151127_131307.jpg

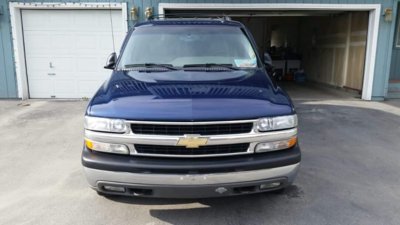
I also went over the gray lower valance to blend in with the front. I highly recommend it because the gray looks like :poop: on any color tahoe.20151128_001937.jpg

Rear bumper
20151202_163153.jpg

This was my first real experience with the stuff. For a beginner it's great and hard to mess up.
 
OP
OP
05Single

05Single

afraid of the dark
Joined
Feb 26, 2015
Posts
8,186
Reaction score
11,456
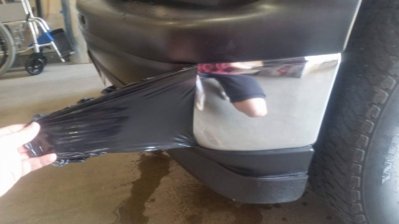
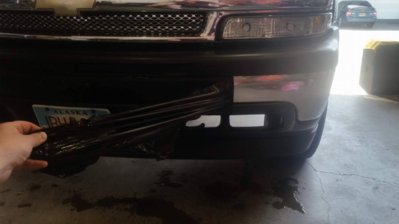
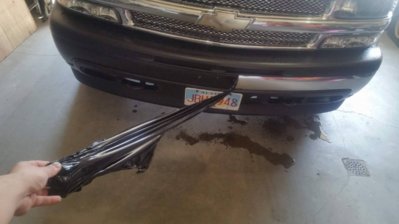
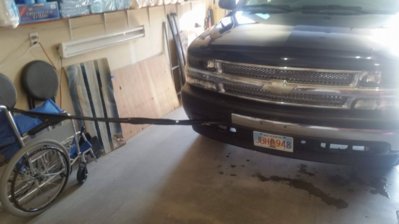
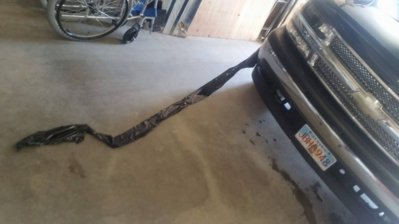
Sold the rear bumper and to my amaze the plastidip peeled right off as advertised. No pics. Same with the grille.
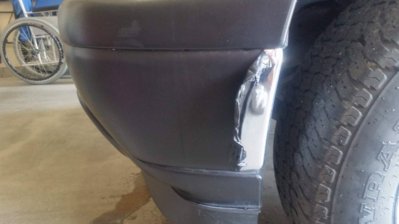
Decided to peel the front and was able to get pics
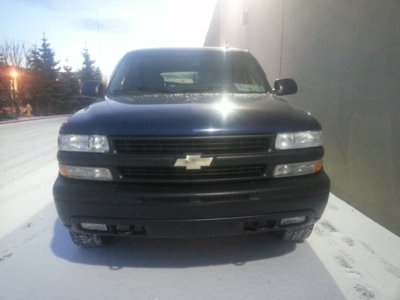
But first here's a before and after
13130907_1146936522003691_2863163685470284403_o.jpg 20151202_163009 (1).jpg

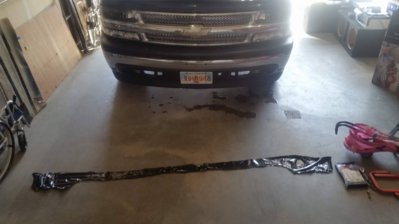
Holding up strong after almost 2 years received_1542673219096684.jpeg

First peeling
received_1542673229096683.jpeg
received_1542673222430017.jpeg
 
Last edited:
OP
OP
05Single

05Single

afraid of the dark
Joined
Feb 26, 2015
Posts
8,186
Reaction score
11,456
Sorry for all the pics, but I wanted to show that if you take your time and follow instructions that this stuff works exactly as advertised. Peeled the entire front bumper off in one piece. :happy107:received_1542673232430016.jpeg received_1542673235763349.jpeg received_1542673245763348.jpeg received_1542673239096682.jpeg received_1542673242430015.jpeg
 
OP
OP
05Single

05Single

afraid of the dark
Joined
Feb 26, 2015
Posts
8,186
Reaction score
11,456
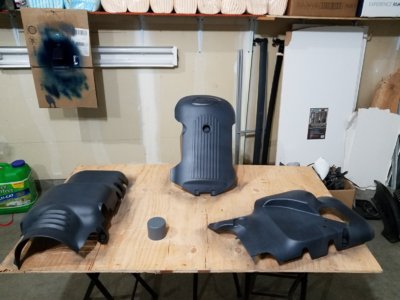
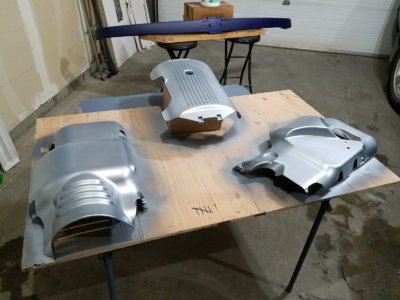
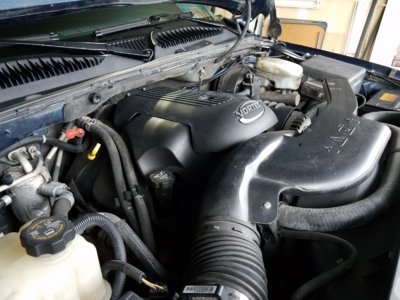
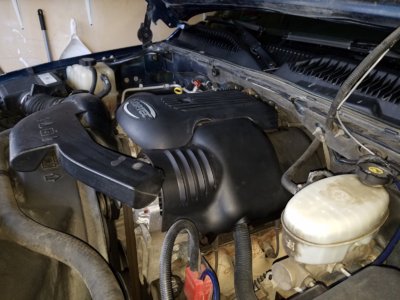
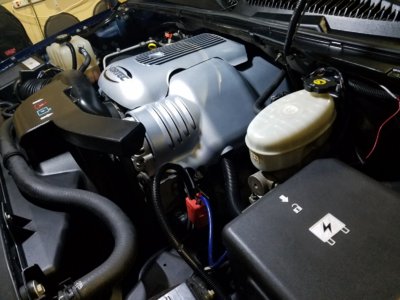
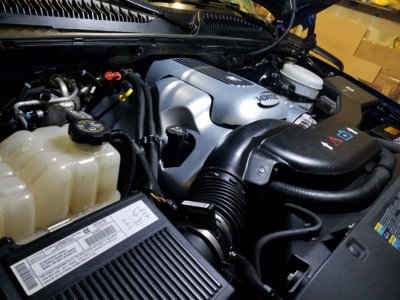
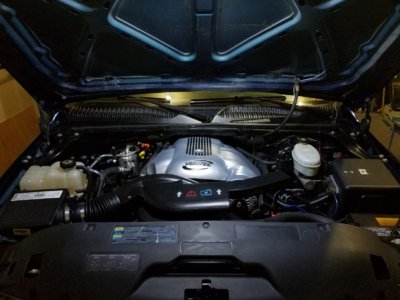
Next I sprayed the 3 piece engine cover. Found a spot locally that sold more colors than just black and white.

Can also apply this to the fuse box cover or air intake and filter box if you wanted to.
No need for clay bar on these as they are slightly textured anyway instead of smooth like paint and chrome. Just clean with dish soap and rinse then dry.

Again 6 coats of base. Used gunmetal gray.
First coat
20171030_025652.jpg
6 coats
20171030_053729.jpg
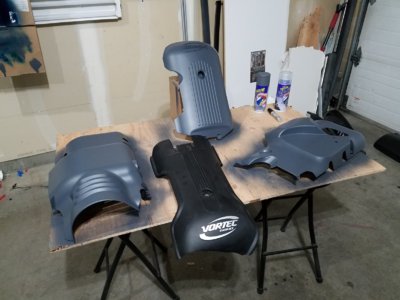
I wasn't pleased with the matte gray, wanted a more brighter raw metal look. So I did some research and they sell a bright aluminum metalizer , but it wasn't available in my local stores and shipping cost double what a can is worth because everything is air freight shipped to Alaska and paint is considered hazmat :(.
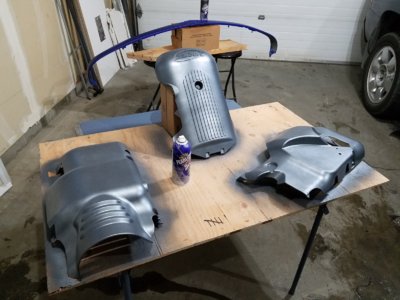
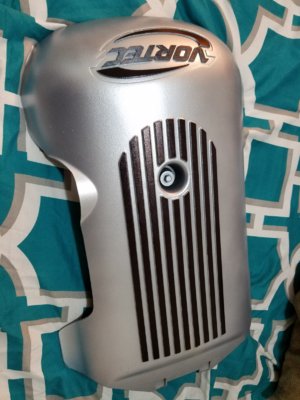
Did some more research and found that pearlizer creates a similar effect and look. I figure it would be a more white than anything. But I had found some locally so I gave it a try. Immediately after the first coat I can already tell it was exactly the look i was going for. Very happy with the outcome of this particular project.
1st coat
20171107_105700.jpg
3rd and final coat.
20171107_132141.jpg
And of course you can add your own designs on top after with paint markers if you so choose.20171111_170237.jpg


Black base will create the same effect and most times black is a few dollars cheaper.
 
OP
OP
05Single

05Single

afraid of the dark
Joined
Feb 26, 2015
Posts
8,186
Reaction score
11,456
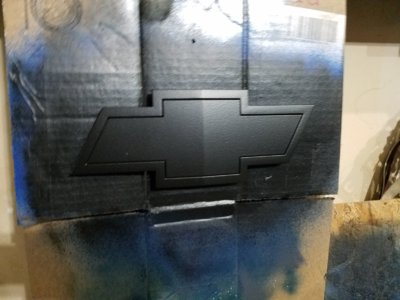
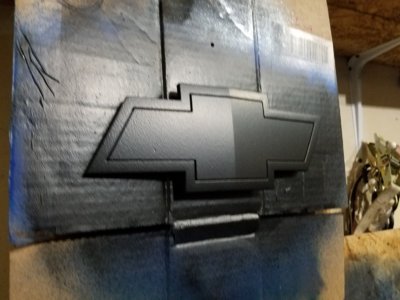
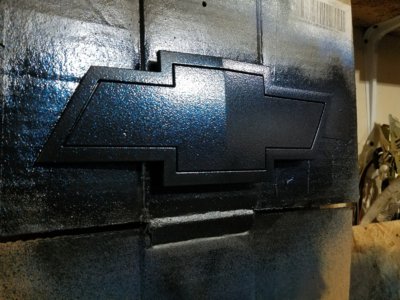
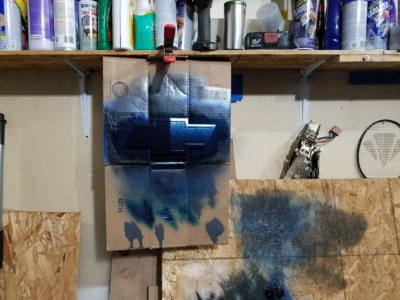
Another popular mod is dippin the emblems/badging
Sprayed my grille badge 6 coats of black.
20171112_083059.jpg 20171112_083103.jpg

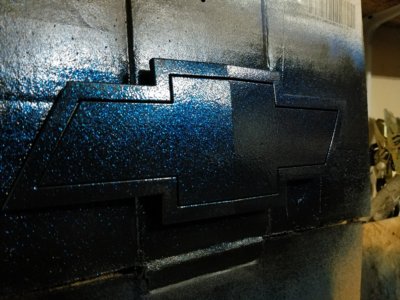
Then added a blue metalizer which is basically a clear with blue flake in it. They have red, gold, green, and a few other colors.

2 coats metalizer.
20171112_093456.jpg
3 coats glossifier.
20171112_093647.jpg

Yes that makes 11 coats total lol.

At most angles it just looks black , until the light hits it and then the blue pops 20171112_093807.jpg
 

shreksbrother

Full Access Member
Joined
May 9, 2017
Posts
324
Reaction score
290
Location
Auburn Hills, MI
That engine bay looks fantastic!

I Plasti-dipped by grille and bumpers and love the stuff.

My Yukon has the center cover, but not those side covers... Were they standard and just long gone from my vehicle, or were they only on a certain model?
 
OP
OP
05Single

05Single

afraid of the dark
Joined
Feb 26, 2015
Posts
8,186
Reaction score
11,456
That engine bay looks fantastic!

I Plasti-dipped by grille and bumpers and love the stuff.

My Yukon has the center cover, but not those side covers... Were they standard and just long gone from my vehicle, or were they only on a certain model?
Thanks man!
And only Denalis and escalades come with those side covers. Just the covers alone really clean up the engine bay imo. I bought mine off a member on here.
Post up pics of yours.:deal:

How is that stuff supposed to do with the engine compartment heat?
This stuff is rated up to like 300 degrees. I've seen it last on exhaust tips for years. In fact I did my cousins dual exhaust tips on his silverado a year ago and the dip is holding up great. So it should be fine on a plastic engine cover.
 
Last edited:

HiHoeSilver

Away!
Joined
Feb 28, 2017
Posts
10,918
Reaction score
14,572
Location
Chicago
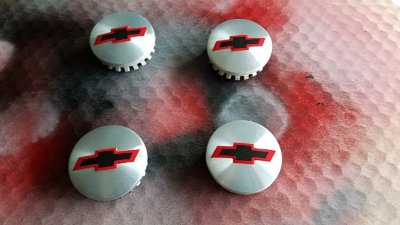
This was my latest dip project:

20170728_192547.jpg

It can get a little tricky with taping/peeling. I experimented a bit, which is one of my favorite things about the dip. Try it, peel it, try again. I found that the best way to get a sharp edge is to lay it on good and thick, and peel your tape while it's wet. Otherwise the stuff sets up over your line, and the whole shootin match will come up with the tape. You can tape over once it's dry, and peel without a problem. In this case, I taped and did the whole bow tie red with one heavy coat and peeled the tape right away. After the red dried, I taped to the smaller section, and did the same thing with the black. I also used the Duplicolor Custom Wrap gloss clear over the top of the whole cap at the end. Turned out pretty well.
 

Forum statistics

Threads
132,722
Posts
1,873,182
Members
97,551
Latest member
Westernstar8806

Latest posts

Top