- Joined
- Jan 3, 2011
- Posts
- 50,389
- Reaction score
- 17,296
Kit from:
Atomic Fabrication and Performance
[email protected]
Richard Wayne
@Atomic
Awesome customer service and always willing to answer questions. He can put together a kit specific for your needs. I would recommend him to anyone.
This is a write up for installing coilovers on your full size GM SUV in your garage. On a scale of 1-10 (10 being most difficult) I’d give this a 5 or so and can be completed with your basic tools. Before starting this job I’d assemble the coilovers first just to give you one less thing to do during this process.
I found this vid helpful
You may notice in the pics that I have my brakes and hub off but you don’t need to do that just for the coilover install. I was doing that project at the same time as this so that’s why all that stuff is removed.
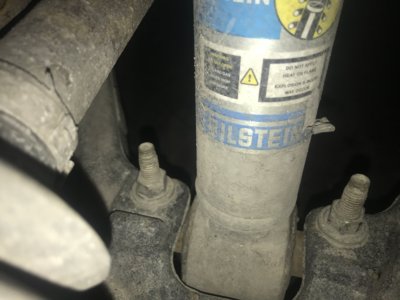
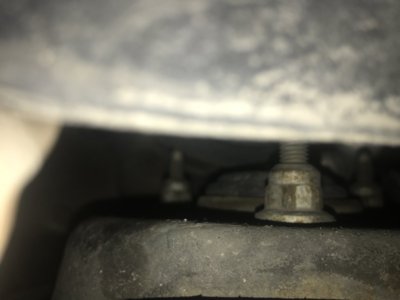 4. Once all 5 nuts are out the assembly will fall. You’ll need to pull it out through the upper control arm
5. Start by installing the new brackets. The kit I got came with new upper and lower brackets. The uppers are both the same but the lowers are side specific so pay attention and it should be pretty obvious which one fits which side. If I was going to make any suggestions for improving this kit it’d be to label those lower brackets to make it even more “dummy proof” but it wasn’t too big of a deal.
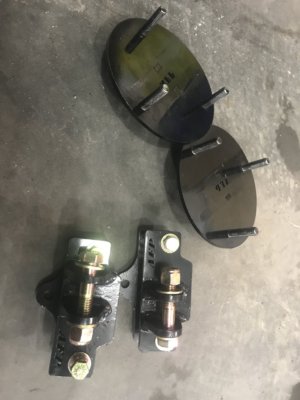
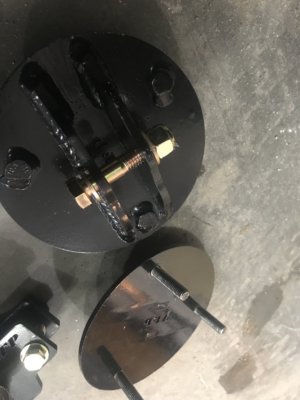
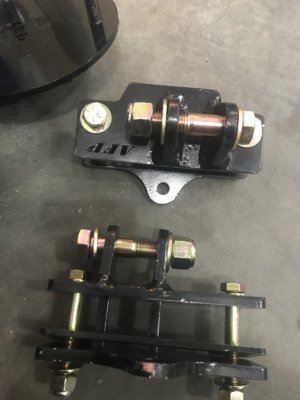
6. The upper brackets go into the factory holes using the factory 18mm nuts. The lower brackets use the hardware pictured. You’ll need a 15mm socket
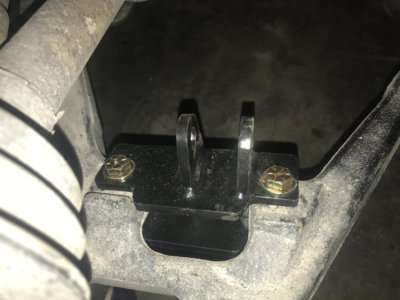
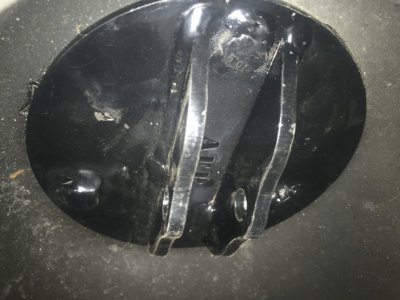
7. Remove the hardware that will hold in the coilovers. You’ll need a couple 3/4” sockets for those. Install the coilover with those bolts.
8. Once the coilover is in place you’ll want to adjust the ride height with the spring nut that is directly below the spring. Below that is a lock nut that tightens everything up once it’s all adjusted. You’ll have to play around with it so be prepared to raise and lower the vehicle a few times til you get it adjusted perfect
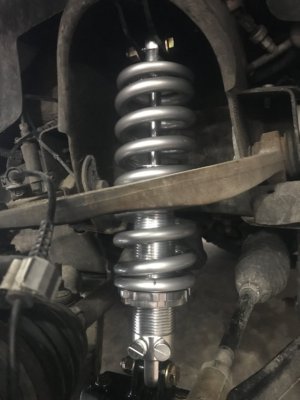
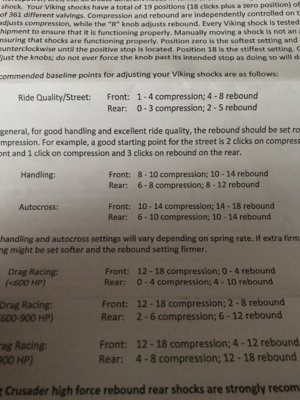
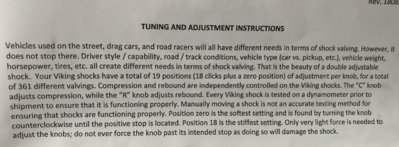
9. These Viking coilovers are double adjustable so you can adjust compression and rebound. See the pic before for what comes with the instructions. You can make these ride anyway you want the to ride.
Atomic Fabrication and Performance
[email protected]
Richard Wayne
@Atomic
Awesome customer service and always willing to answer questions. He can put together a kit specific for your needs. I would recommend him to anyone.
This is a write up for installing coilovers on your full size GM SUV in your garage. On a scale of 1-10 (10 being most difficult) I’d give this a 5 or so and can be completed with your basic tools. Before starting this job I’d assemble the coilovers first just to give you one less thing to do during this process.
I found this vid helpful
You may notice in the pics that I have my brakes and hub off but you don’t need to do that just for the coilover install. I was doing that project at the same time as this so that’s why all that stuff is removed.
- Jack the vehicle up on one side. Make sure you support the vehicle with a jack stand. I also always keep the jack underneath there, too, just in case the jack stand fails.
- Remove the wheel and set it to the side
- There is a total of 5 nuts to remove to get the old strut assembly out. 2 on the bottom (15mm) and 3 on top (18mm). Remove those. For the top, it might be easier to remove the fender liner but I didn’t because I look for ways to introduce frustration into my life.

 4. Once all 5 nuts are out the assembly will fall. You’ll need to pull it out through the upper control arm
5. Start by installing the new brackets. The kit I got came with new upper and lower brackets. The uppers are both the same but the lowers are side specific so pay attention and it should be pretty obvious which one fits which side. If I was going to make any suggestions for improving this kit it’d be to label those lower brackets to make it even more “dummy proof” but it wasn’t too big of a deal.


6. The upper brackets go into the factory holes using the factory 18mm nuts. The lower brackets use the hardware pictured. You’ll need a 15mm socket


7. Remove the hardware that will hold in the coilovers. You’ll need a couple 3/4” sockets for those. Install the coilover with those bolts.
8. Once the coilover is in place you’ll want to adjust the ride height with the spring nut that is directly below the spring. Below that is a lock nut that tightens everything up once it’s all adjusted. You’ll have to play around with it so be prepared to raise and lower the vehicle a few times til you get it adjusted perfect

9. These Viking coilovers are double adjustable so you can adjust compression and rebound. See the pic before for what comes with the instructions. You can make these ride anyway you want the to ride.


Last edited by a moderator:


