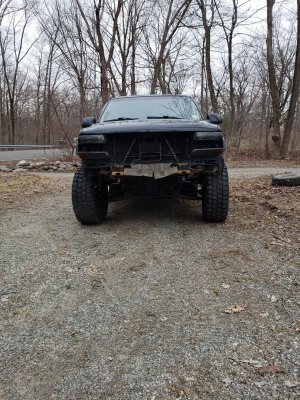
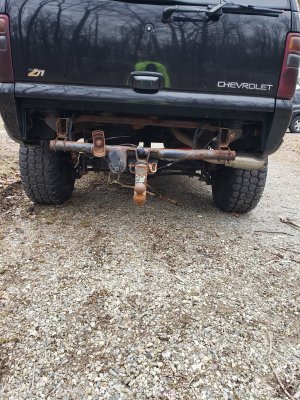
2002 Tahoe Z71

Disclaimer: Links on this page pointing to Amazon, eBay and other sites may include affiliate code. If you click them and make a purchase, we may earn a small commission.

Tonyrodz

Resident Resident
Joined
Feb 16, 2012
Posts
31,715
Reaction score
47,453
Location
Central Jersey
Where was that located? Perhaps before my time or recollection lol. My parents had a summer home 5 minutes away from stokes in the mid through late 90's but I was 10.
It's been a few years since I've been there, but you drive up the road right off 206(I think it's maybe 517 or 502?), right next to the Pa bridge. When I was there one out of the 2 was already closed. We had like 10 work details that left during the day from there. There's a big ball field there too. You really can't see it from the road--for obvious reasons. Last time I worked there was around 2004-2005.
 
OP
OP
zraffz

zraffz

Full Access Member
Joined
Nov 5, 2017
Posts
175
Reaction score
128
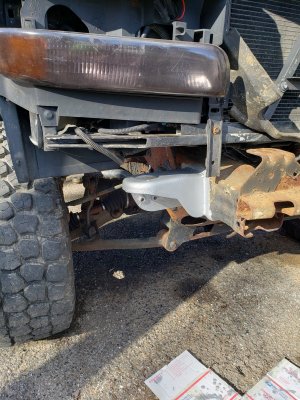
I recieved 6 cans of Eastwood internal frame paint, MasterCoat primer and paint, the new polyurethane body mounts and 3" body lift blocks today; I'll be buying M12x1.75 180mm bolts and designing my own brackets. I have removed 8 body mount bolts so far, all very easily which shocked me. The remaining 4 are going to be loosened and removed one side at a time.

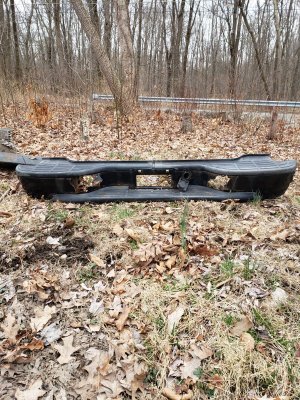
Bumpers are off. I need a new rear bumper but I am in the process of cleaning out the frame rails. I tried snaking a hose into the rails and flushed a lot of crap out but it failed to remove a lot. I am going to create a cable/chain/drill powered rust scaler that I saw on YouTube, followed by my backpack blower and then compressed air.

20190402_180125.jpg
20190402_180143.jpg
20190402_180158.jpg
 
OP
OP
zraffz

zraffz

Full Access Member
Joined
Nov 5, 2017
Posts
175
Reaction score
128
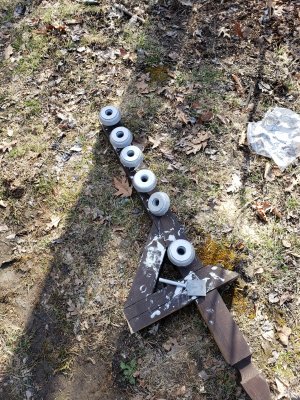
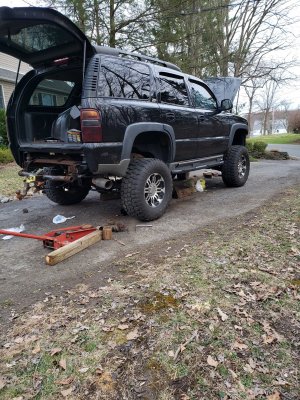
I've used bridge primer and paint on the body mount brackets and metal cups. Half the body lift is bolted in, the other half has to come out for primer/paint.
20190406_165243.jpg
20190406_165259.jpg


35's are looking small now...
20190408_184556.jpg

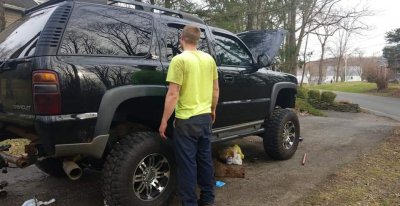
10.5" total lift (plus 2.5" in tires) next to me at 6'4
FB_IMG_1554765518246.jpg
 

Tonyrodz

Resident Resident
Joined
Feb 16, 2012
Posts
31,715
Reaction score
47,453
Location
Central Jersey
OP
OP
zraffz

zraffz

Full Access Member
Joined
Nov 5, 2017
Posts
175
Reaction score
128
I have used Eastwood internal frame paint on my frame in and out about 3-4 years ago stuff is simply amazing, my truck get exposed to salt sand a lot.
Awesome news. I am going to spend a lot of time internally prepping what I can with chains, air and a pressure washer beforehand. I don't ever want to touch the frame again.
 
OP
OP
zraffz

zraffz

Full Access Member
Joined
Nov 5, 2017
Posts
175
Reaction score
128
Someone play tic tac toe on your door? I'd be PISSED!!
Yup... I'll fix it while the truck is off the road. I have a few spots I need to cut out and patch first. Truck needs a new fender and that door.

I'll finish the body lift this week and start tackling the motor over the weekend. I want to needle scale, wire wheel, prime and paint the front portion of the frame while the motor is out.
 

Chrismnj

Full Access Member
Joined
Sep 17, 2015
Posts
1,227
Reaction score
2,120
Location
NJ
Awesome news. I am going to spend a lot of time internally prepping what I can with chains, air and a pressure washer beforehand. I don't ever want to touch the frame again.

what ever you can get out it will definitely benefit, they say you can spray on rust, but better of prepping
 
OP
OP
zraffz

zraffz

Full Access Member
Joined
Nov 5, 2017
Posts
175
Reaction score
128
what ever you can get out it will definitely benefit, they say you can spray on rust, but better of prepping
I watched a video on YouTube. The guy takes a long stretch of cable and inserts it into a piece of 1/2" conduit. He hooks a drill to one end and the other end has a washer and chains. When the cable spins, it scales the frame with the chains. Very clever. It will also help break up any rust chunks that might be in the frame.
 
OP
OP
zraffz

zraffz

Full Access Member
Joined
Nov 5, 2017
Posts
175
Reaction score
128
I took the day off work to work on the truck for a few hours and hang out with the wife and son.
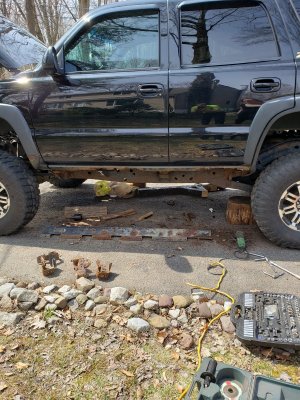
I have looked at diagrams showing the side skirts but wanted to know exactly how they were attached; since I need to do rockers anyway, I figured I'd take one side off to give me more room to clean up the frame. Those brackets didn't want to come off; all the bolts were rounded off and rotten. I had to cut out the inner rockers around them to get them off. I think I will be spot welding them onto the new panels when the time comes because I don't have a template of where to tack weld the nuts to the inside of the inner rockers.
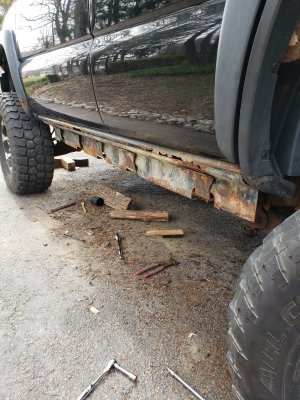
20190409_132047.jpg

Inner and outer rockers won't be bad too bad to do. I fear getting the pillars to line back up without sagging but I'll figure it out. I think I can clean up these side skirt brackets/plate and reuse them. Now that I see how the steps attach, I'm comfortable keeping the steps mounted factory style (I was going to build brackets and bolt them to the frame rails).
20190409_135435.jpg

I cleaned up a few body mount cups and frame mounts but didn't get anything primed because of the humidity today. I also decided I want to cut out the lower inner rear wheel wells and build new ones. I see a major GM design flaw with them that I don't like; that seam is bad but the inside is foam filled along the seam and retains moisture. It will also allow me to prime and paint these inner panel areas too.
 

Forum statistics

Threads
132,767
Posts
1,873,937
Members
97,605
Latest member
audley71
Top