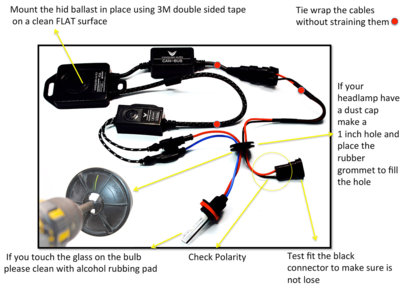
Installed the Morimoto Elite H11 HID system (3Five 35W ballasts) from The Retrofit Source with optional XB 35
4300K bulbs and Canbus H11 harness (update: the driver side bulb occasionally does not fire with the Canbus harness. I believe a few other on here have reported this as well and TRS recommends the relay harness, I may be switching...). Total cost was $170.
http://www.theretrofitsource.com/hid-systems/morimoto-elite-hid-system-h11.html#.U1icku29LCQ
As others have stated the driver side bulb is super east to get to and has a ton of room to work with for mounting the ballast. So I did this side first

.
Used the included mounting bracket and some heavy duty exterior double sided tape for the ballast and the same double sided tape and black zip ties for the Canbus.
Tape I used: (way better than the white stuff)
http://www.amazon.com/gp/aw/d/B00004Z4BV/ref=mp_s_a_1_1?qid=1398316664&sr=8-1&pi=SY200_QL40
I used a 1" spade drill bit in the headlight cap for the cable pass through. This might not be the ideal tool but it actually made a pretty clean hole. Just keep the bit mowing fast...
http://www.amazon.com/gp/aw/d/B0001LQYJ4/ref=mp_s_a_1_2?qid=1398316872&sr=1-2&pi=SX200_QL40
Now for the pictures:
Driver side ballast mount. There is a hole right there already with pretty easy access behind it to be able to hold the included nut and lock washer. This mounting solution is not fancy but is super easy and sturdy with the double sided tape. The included hardware worked perfectly with existing holes. So no drilling your brand new truck.
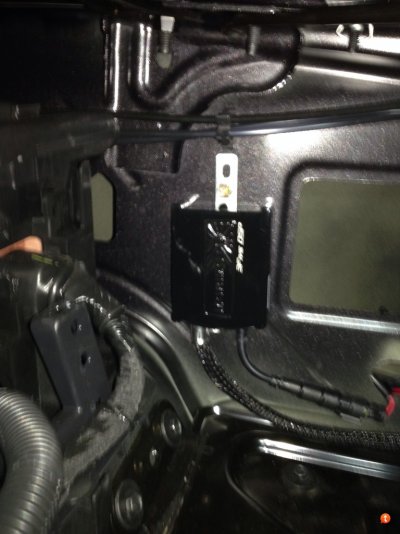
You can see the Canbus in this shot zip tied behind the fender wall. Out of sight and sturdy with the zip tie and mounting tape.
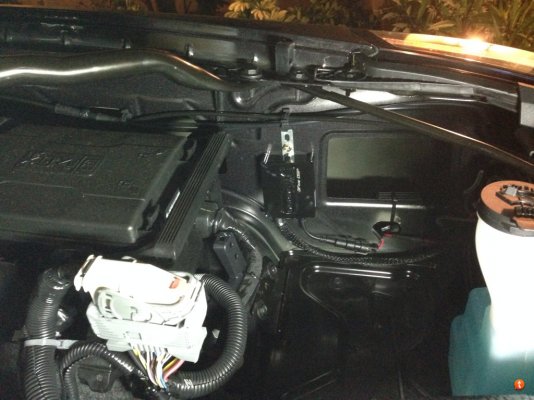
Here is a shot of the wiring. I utilized an existing cable mount below the light that is holding the hood release (I think) to keep the cables looking neat.
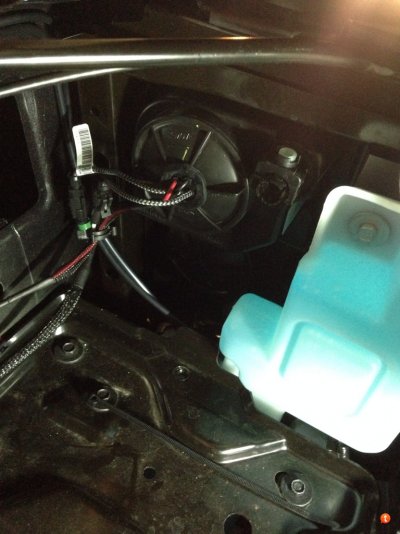
On to the passenger side... All you need is a flat screwdriver to remove the hose clamp that holds the MAF and air intake tube to the air box. Once that is loose there is a cable management thing attached holding the MAF cable to the airbox. You will need to pull that out as well. Then you just pull up on the air box and 3 rubber grommets that hold it into place will pop loose. From there I rotated it slowly up and out being careful not to pull on any of the hoses in the area. Tight fit... But not too bad.
Once that is out of the way you will be able to see a space below the washer fluid reservoir that is a perfect fit for the ballast.
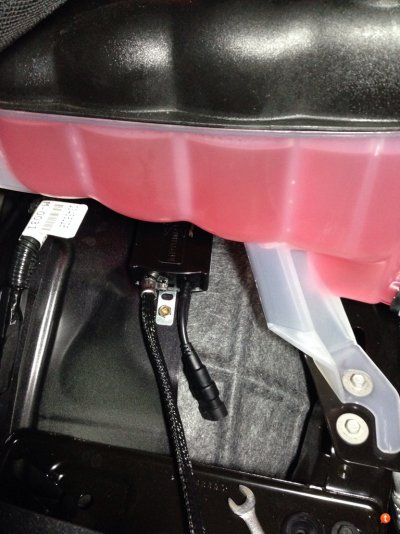
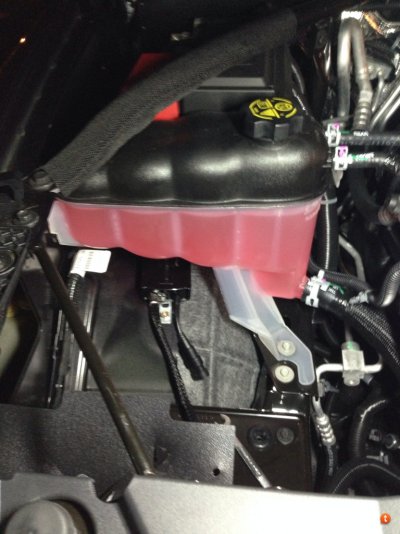
The cables are long enough to run under the airbox back to the light from here. Here is a shot of the Canbus which was mounted again with a zip tie and mounting tape under the bracket that holds the air box.
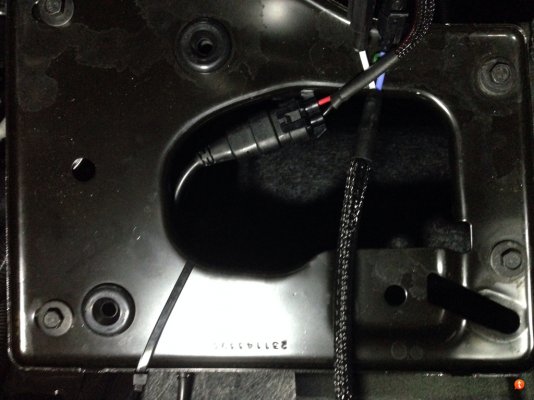
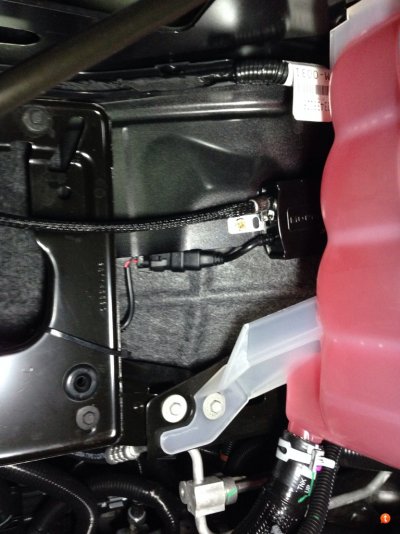
There is also a funky plastic sheet between the airbox and light that has two pop pins (not sure if that is a technical term... But I'm sure you know what I mean). That had to be removed to get the cap off the headlight. It already has holes in it you can run the cables through.
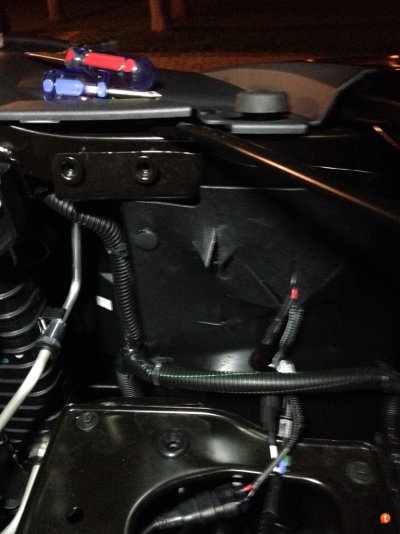
Once the airbox is back in you can't see anything that has been installed underneath.
Now for the light output shots:
Driver side HID passenger side still stock:
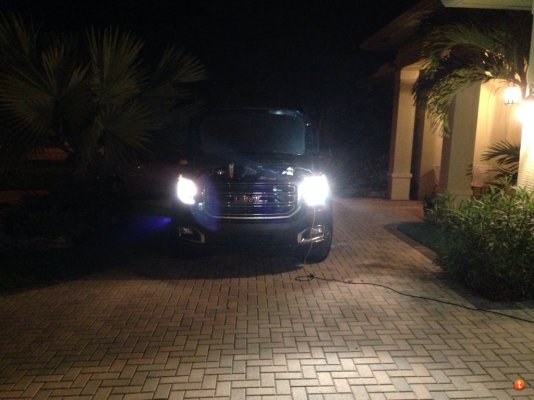
Output with the left HID and Right stock: (unfortunately forgot to take any output shots before taking the driver side light out)
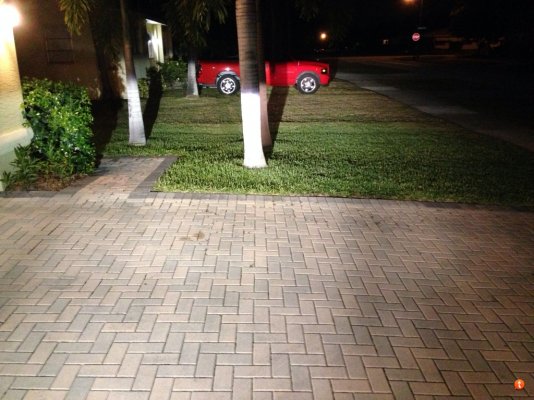
Output of just the left HID:
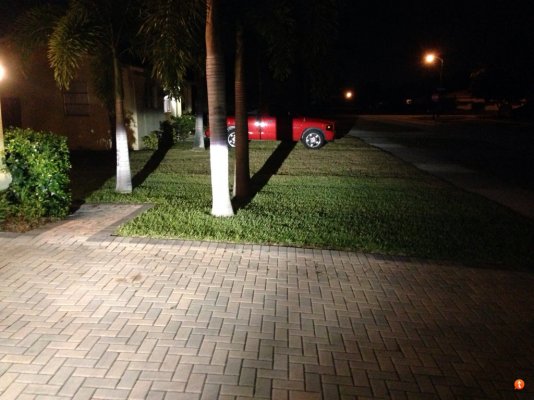
Output of just the right stock light. seriously!!
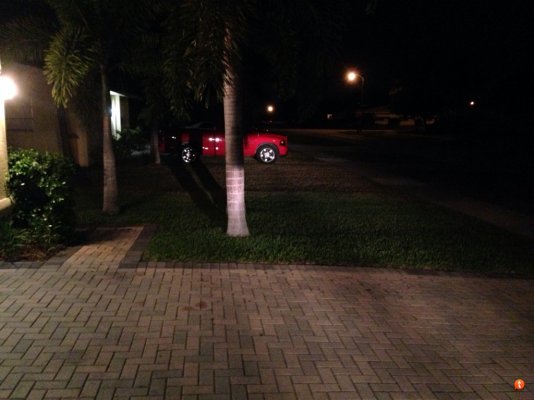
Both HIDs in now...
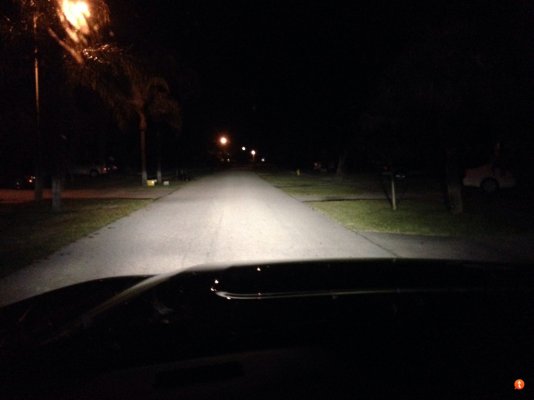
Down my street. Much better!!
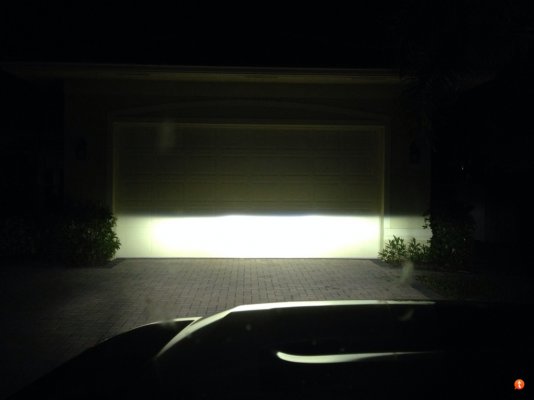
Various cutoff shots. My house is yellow so it makes the light look a bit yellow but it is pure white and matches the LEDs perfectly! In person the color difference is very noticeable and the HIDs look great!
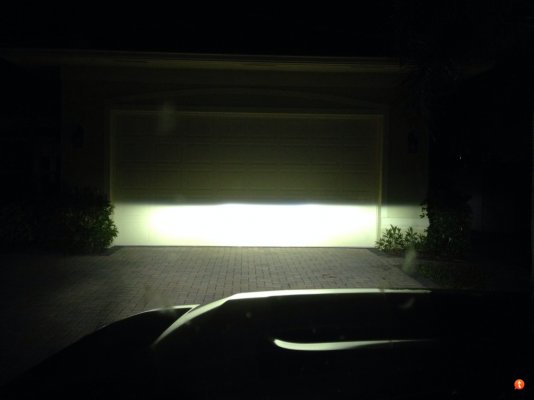

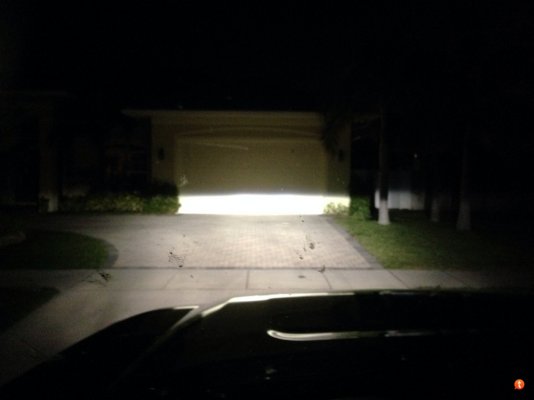
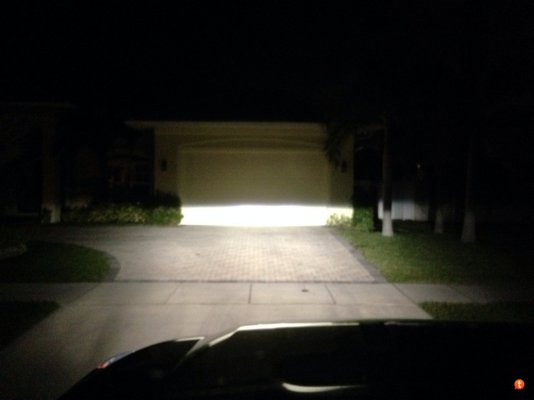
Overall the install was easier than most HID kits I have done just because there is so much more room under the good of these trucks. The light output seems great to me.
I do need to get on some level ground and make sure I don't need to adjust the lights. It didn't seem like the cutoff moved but it is a little hard to tell and I don't want to be blinding anyone.
On the past I have used DDM kits with no complaints (they still work on 3 cars) but the quality and light output on this Kit is definitely better. For this truck it is worth the money!
Let me know if you have any questions.
Update 8/22/2015:
Since I started this thread. I am sad to say that I retract me recommendation of TRS. I have an intermittent ballast and like others they want me to take it out of the car and cut it up to get a replacement. That is not too convenient for a car that carries my family. It needs headlights.
Customer service is rude and they don't seem to care at all that this post sent many customers their way. I would look elsewhere for a quality HID kit. TRS charges a premium price and can't back it up with customer service.
Sent from my iPhone using Tapatalk


