skpyle
Full Access Member
- Joined
- May 15, 2021
- Posts
- 419
- Reaction score
- 1,106
I have worked on the valve bodies on a number of GM, Ford, and Mercedes automatic transmissions, but I would not say I am comfortable with it. So, I put parts removed from each step in a ziplock bag, then marked the bag with the step number, matching figure number, and the sizes of the heads of the bolts.
This way, I could put the right parts and bolts back in the right places and not have to rely on my memory.
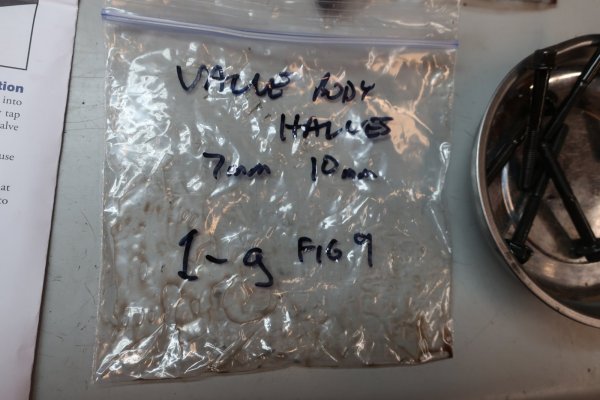
Ziplock bag marked with: Valve body halves, 7mm 10mm, (step) 1-g Fig 9.
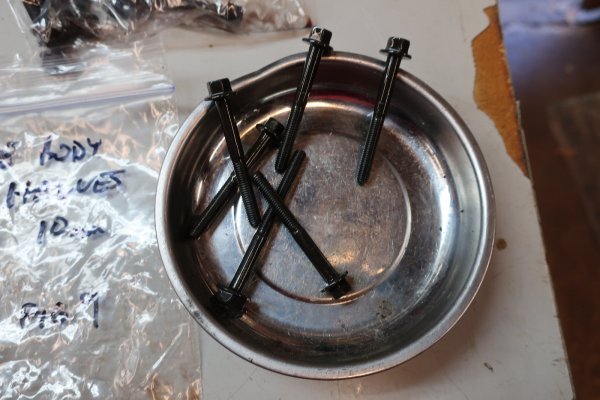
7mm and 10mm headed bolts that hold the valve body together, removed in step 1-g.
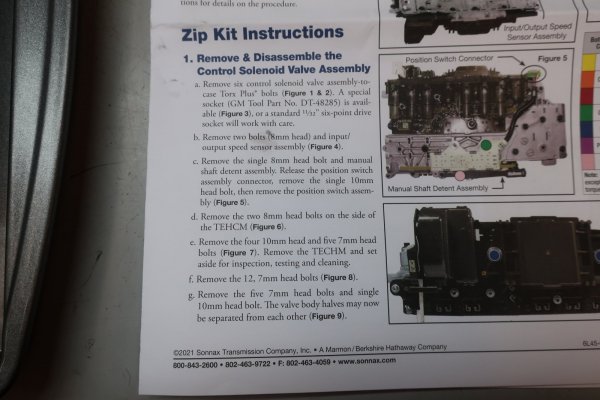
Sonnax ZIP kit instructions showing step 1-g, and referencing figure 9.
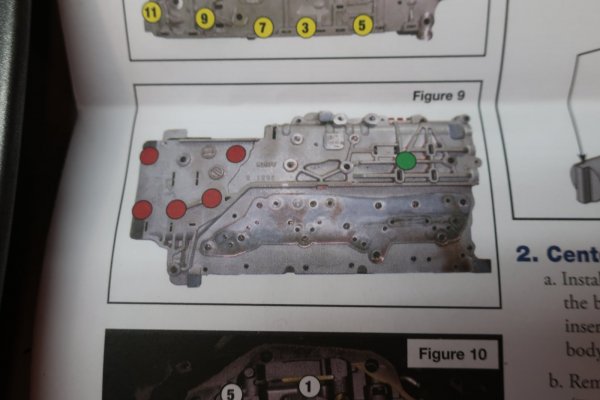
Sonnax ZIP kit instructions showing figure 9.
Also, I used my beam type and click type inch/pound torque wrenches and followed the torquing sequence when assembling things. The Sonnax instructions stressed this. Especially with the TECHM.
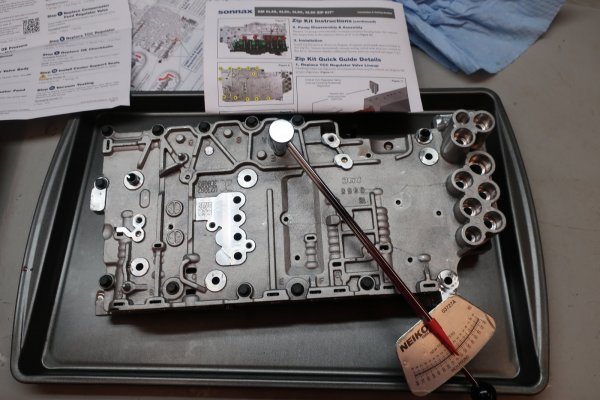
Using beam type inch/pound torque wrench to tighten bolts, following torquing sequence in figure above in the instructions.
This way, I could put the right parts and bolts back in the right places and not have to rely on my memory.

Ziplock bag marked with: Valve body halves, 7mm 10mm, (step) 1-g Fig 9.

7mm and 10mm headed bolts that hold the valve body together, removed in step 1-g.

Sonnax ZIP kit instructions showing step 1-g, and referencing figure 9.

Sonnax ZIP kit instructions showing figure 9.
Also, I used my beam type and click type inch/pound torque wrenches and followed the torquing sequence when assembling things. The Sonnax instructions stressed this. Especially with the TECHM.

Using beam type inch/pound torque wrench to tighten bolts, following torquing sequence in figure above in the instructions.

