Best backup camera install

Disclaimer: Links on this page pointing to Amazon, eBay and other sites may include affiliate code. If you click them and make a purchase, we may earn a small commission.

OP
OP
Crippin87

Crippin87

Full Access Member
Joined
Mar 2, 2017
Posts
198
Reaction score
147
This is about what it should end up looking like. You want the camera to sit about that far inside the housing to allow the push botton cover to fit back over properly. In the above pics those were the 2 different dremel bits I used.

IMG_0854.JPG
 
OP
OP
Crippin87

Crippin87

Full Access Member
Joined
Mar 2, 2017
Posts
198
Reaction score
147
Here comes the fun part lol. You need to put the keyed part back inside the housing and measure about how far camera will fit back in the housing. Then take the keyed part back out and cut it in about that spot. I cut mine at about the 2nd slot back. It would also be a good idea to remove all of the brass pieces before you cut, that way they don't shoot out at you while you are cutting. For this I used the dremel cut off wheel.

IMG_0865.JPG
 
OP
OP
Crippin87

Crippin87

Full Access Member
Joined
Mar 2, 2017
Posts
198
Reaction score
147
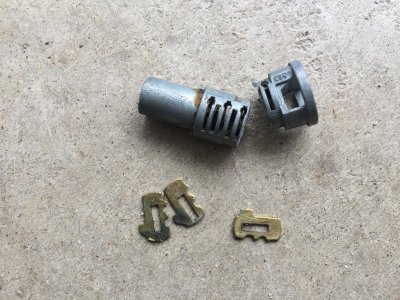
This is what it should look like when you are done, and these are the brass pieces I was referring too.
Edit: you will need to cut back just a little further than what I pictured in order for it to open and close the window properly. You will need to cut 2 more tumblers off than what is pictured. The 2nd picture is what it should look like. Sorry.
IMG_0866.JPG

IMG_0980.JPG
 
Last edited:
OP
OP
Crippin87

Crippin87

Full Access Member
Joined
Mar 2, 2017
Posts
198
Reaction score
147
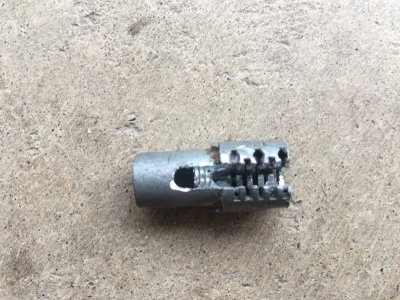
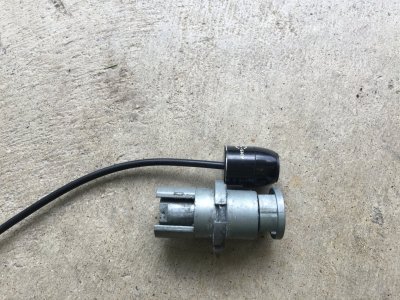
Now that you have that done, you will need to drill out the center of the keyed part, and notch one side out with the dremel. This will allow for the wire lay inside of it. I also drilled a hole at the end of where my notch was going to stop. Be very careful when doing this because there is a little notch inside of the end that you do not want to mess up, this is how the other end and this piece lock together (I tried to get a picture of this the best I could.) After completing this I think I should have notched one of the solid sides and not the part that the tumblers were for the keys. It still worked fine but I think I would have allowed for more room for the camera wires to lay without being in the way when reassembling. The skinny piece that connects to this piece must be in a certain position for the white piece to be put back in properly at the end. If that makes any sense. It will still work this way though

IMG_0884.JPG
 
OP
OP
Crippin87

Crippin87

Full Access Member
Joined
Mar 2, 2017
Posts
198
Reaction score
147
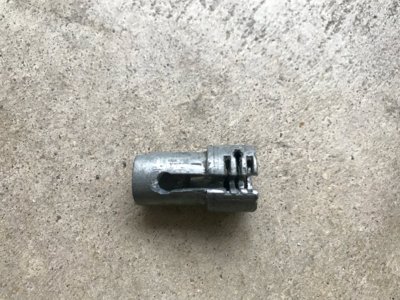
This is what it should look like when you are done. I tried to get pictures of it the best I could.

IMG_0885.JPG

IMG_0886.JPG
 
OP
OP
Crippin87

Crippin87

Full Access Member
Joined
Mar 2, 2017
Posts
198
Reaction score
147
This is what it will look like with both pieces put back together

IMG_0877.JPG
 
OP
OP
Crippin87

Crippin87

Full Access Member
Joined
Mar 2, 2017
Posts
198
Reaction score
147
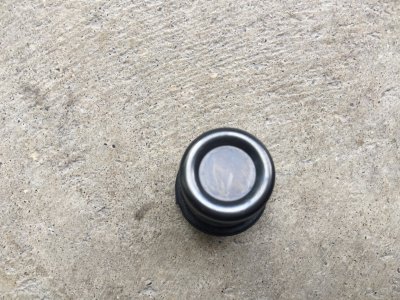
Now for the next step you will need to drill and file the center part of your push button out for the camera lense hole. You will only need to drill the very center only the recessed part, leave the curved edges intact. Easier yet, if you have or can get ahold of one of the push buttons that is keyed the hole in the cap is the perfect size.

IMG_0872.JPG
 
OP
OP
Crippin87

Crippin87

Full Access Member
Joined
Mar 2, 2017
Posts
198
Reaction score
147
Now that you have all of that done you will need to put everything together and check the fit of it all. This is what it should all look like together again. I promise it gets easier after this lol.

IMG_0869.JPG

IMG_0871.JPG

IMG_0875.JPG

IMG_0876.JPG
 
OP
OP
Crippin87

Crippin87

Full Access Member
Joined
Mar 2, 2017
Posts
198
Reaction score
147
When all of that is completed you will need to take the cap (button part) off again and get the body and temporarily mount it all up inside the truck. You will need the power and video ran to complete this part. You will need to hook it all up and turn the camera until it is in the right position. Once you have it where you want it, I put some clear silicone on the inside of the cap and carefully put it back on and clamped the edges back down (clean any excess silicone off the lense or from around the edges.) I don't know if the silicone is really necessary but I feel better about it with it being in there lol.
 

Forum statistics

Threads
132,780
Posts
1,874,201
Members
97,618
Latest member
Jayster0966
Top