Camaro SS, track trips, build pics etc.

Disclaimer: Links on this page pointing to Amazon, eBay and other sites may include affiliate code. If you click them and make a purchase, we may earn a small commission.

OP
OP
0

01ssreda4

Full Access Member
Joined
Feb 28, 2014
Posts
1,124
Reaction score
487
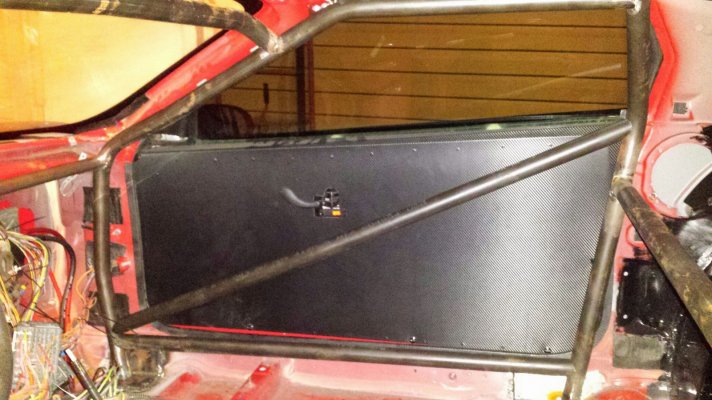
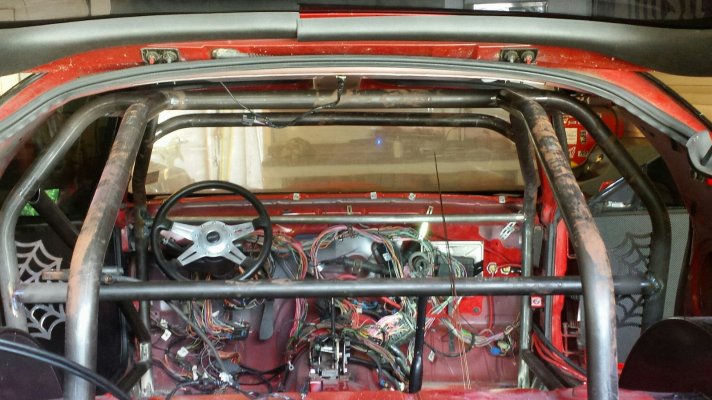
So I been working on this cage, by myself. Its listed as hold and tack but that's easier said then done, plus I've never installed a cage. Here's my initial mock up (first day). I am 75% done now and think i have 3 afternoons in on it so far.

20180710_225713_zpsinyy6za0.jpg

I am also adding gussets at every joint for added strength. I also did decide to incorporate the decorative gussets, can you spot them?

20180713_113142_zpsr0piexjy.jpg

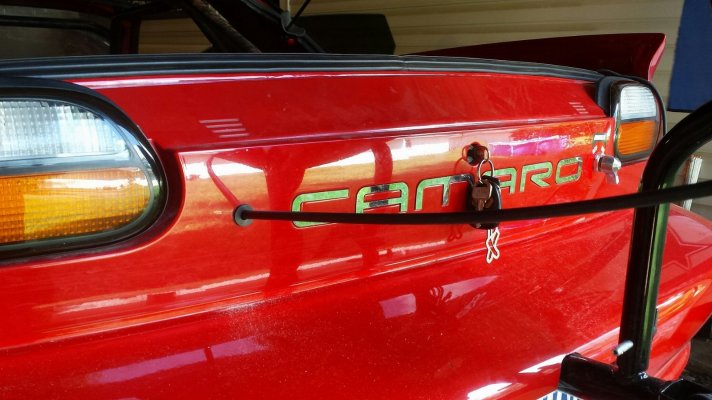
Rear of the car is reassembled for the last time. Drilled for the parachute cable.

20180713_113009_zpsmdk3d11y.jpg

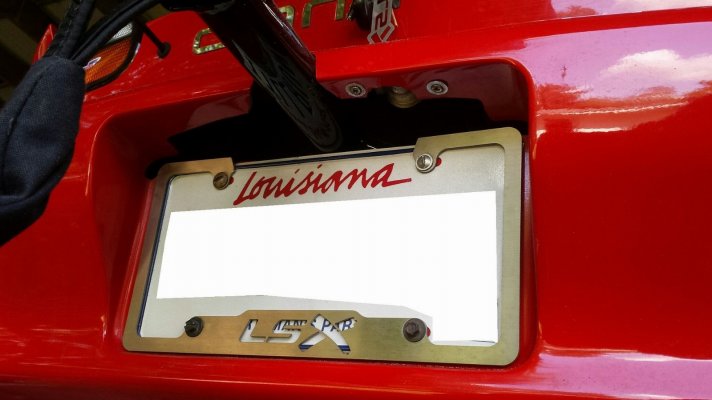
An up close look, and the reason i made this mount as opposed to buying one, to not destroy the plate. And if i can say so I think I friggen nailed it. Bezel had to be cut and you can see i moved the plate light over but the plate is fully intact.

20180713_113029edited_zpsc5pukjsw.jpg

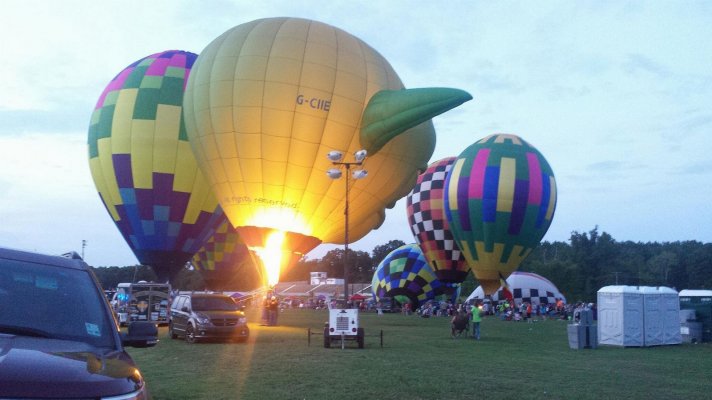
End the day with some hot air ballons and cold beer.

20180712_203303_zpsypvicosh.jpg
 

iamdub

Full Access Member
Joined
Apr 23, 2016
Posts
20,821
Reaction score
44,955
Location
Li'l Weezyana
Had to go to LS1Tech to see the pics. Tight tolerances on that 'chute mount! But, yeah, you made it happen. I didn't know you were in LA.
 
OP
OP
0

01ssreda4

Full Access Member
Joined
Feb 28, 2014
Posts
1,124
Reaction score
487
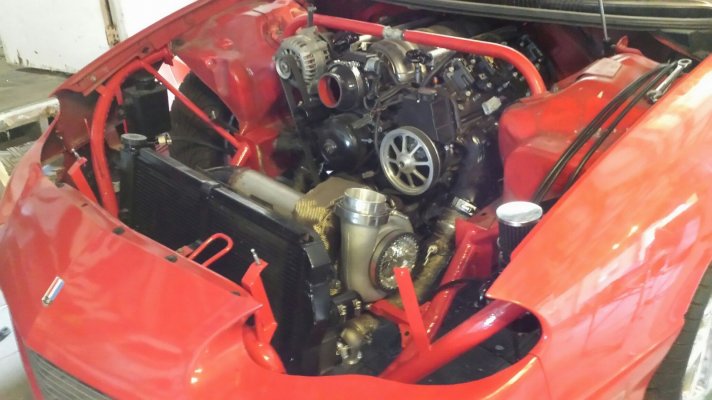
Took some time off the cage and decided to do some other stuff. I started with going over the wiring inside the car, reconnecting those 4 wires that got cut, getting a gameplan for the headlight and fan wiring that had to be extended, and wrapping some stuff with tape. I was able to get the passenger headlight and both fans wired up, so I only have the driver headlight left to wire. Ends up being 6 wires per side needing to be extended. I also figured i would start putting panels back on and getting them lined up. All wiring is run inside the fender.
20180716_153115_zpsidltb7xo.jpg
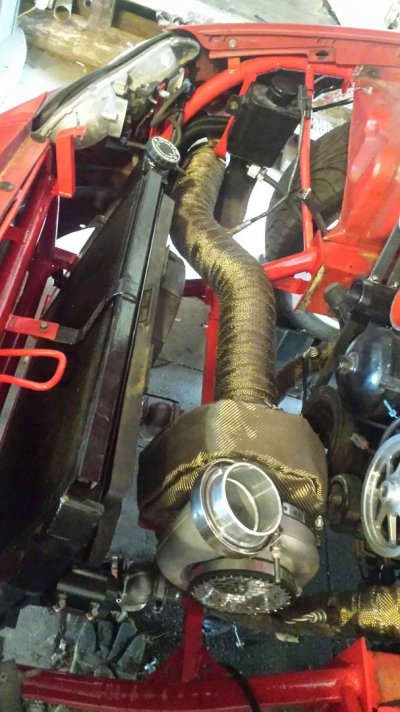
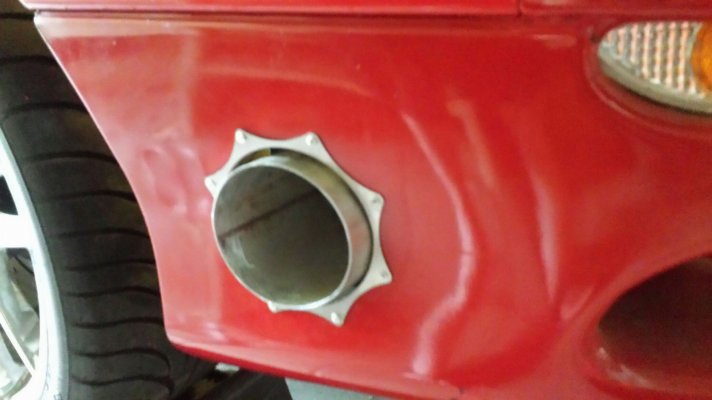
Since the bumper, hood, and fenders were in place i figured it was time to finish the exhaust.
20180717_141141_zpsme2fn90z.jpg
20180717_141211_zpsp6yllz7s.jpg
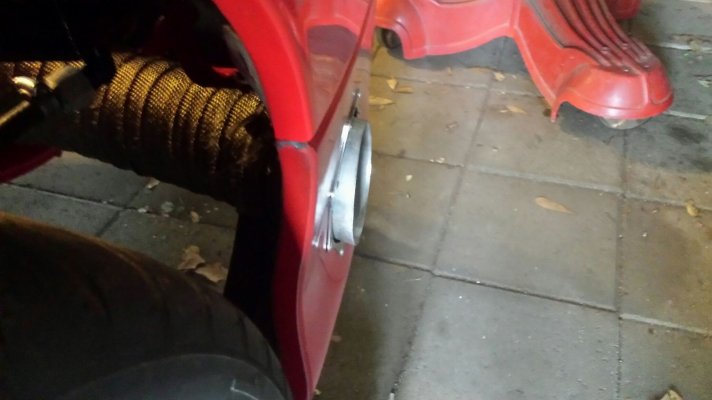
Originally I had a 3 inch exhaust, into a stainless 3.5" tip, and the trim ring is 4.25". Now i have straight 4 inch, no special tip, still 4.25" ring. Pretty tight fit.
20180717_141935_zpsbdlmktay.jpg
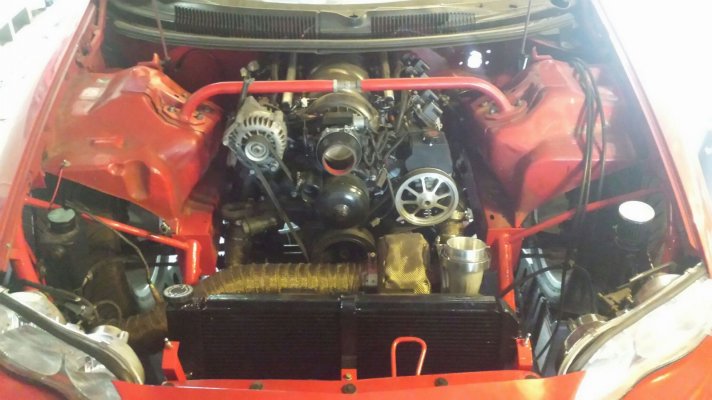
One last pic, wideband is in and the harness for it run also. I am waiting on cold side piping to show and a couple other little things but Im gonna keep trucking along.
20180717_141254_zpstthplnut.jpg
 

Forum statistics

Threads
132,917
Posts
1,876,582
Members
97,846
Latest member
NlmbRob

Latest posts

Top