1998chevy1500
TYF Newbie
- Joined
- Aug 9, 2018
- Posts
- 12
- Reaction score
- 1
Hello all,
I know this is a forum for the Tahoe and Yukon, but being the 2002 Silverado has the same front end as the Tahoe and also that in my searching your forum seemed to be the most active on this subject I figured here was as good of place as any to share my findings. This is still a work in progress and I will update as I learn more.
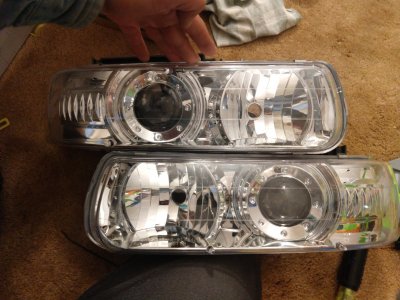
I just bought a set of DEPO brand projector headlights, part number 335-1119PXAS.
https://www.amazon.com/335-1119PXAS...005XRQDBA/ref=cm_cr_arp_d_product_top?ie=UTF8
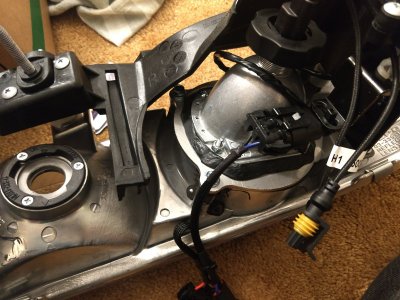
With the intent of swapping their included halogen projector for a HID retrofit projector. A company named Custom Brackets and Designs makes some metal brackets to adapt from the DEPO projector mounting points to a Mini H1 style projector mounting.
https://custom-brackets-designs.mys...vrolet-silverado-tahoe-suburban-mh1-c-bracket
When I bought all this I figured it would be a quick remove and replace type project. No custom fabricating, just take out the old projectors and bolt in the new ones. So far it's not shaping up that way.
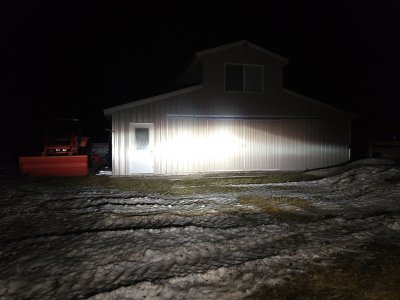
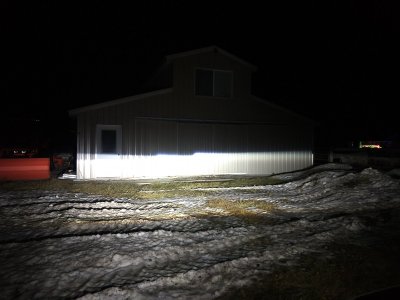
So, first just for fun I mounted up the DEPO projectors on my truck and took it for a spin to see what they looked like in the dark. Yeah, these are headlight shaped objects. The low beam projectors throw weird streaky uneven patterns all over the ground, put on the high beams and they seem to throw just as much light to the sides as they do down the road. If you are buying the DEPO projector headlights as a lighting upgrade on your vehicle, save your money. You are much better off looking into upgrading your stock headlights with 9012 and 9011 bulbs (do some internet searching for how to do this upgrade).
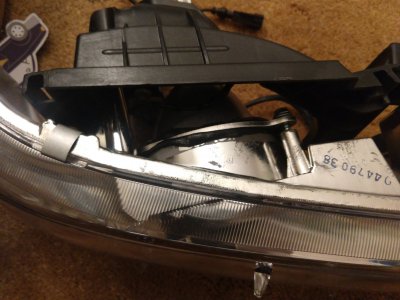
First step in the process was to remove the DEPO halogen projector from these headlights. First remove the screws holding all of the brackets and projectors. Then unseal the projectors from the headlight body. Normally baking them in an oven at around 275*F for 10min would soften up butyl rubber or even permaseal glue, but it appears DEPO chose to use neither. These projectors seem to be glued in with a gray silicone. No amount of heat seems to do much good. So I just kept baking them at 275*F alternating between the two lights with a screwdriver and lots of muscle to pry on them. After a bit of breaking of the projector (luckily the headlight body survived) and a lot of prying I was able to break the seal between the projectors and headlights. Once removed I still had to take a knife to trim away the remainder of the silicone from the headlight opening.
At this point I figured it would be a easy as stuffing the new projectors into the housing and sealing it all back up. Not so much. Turns out the inside diameter of the shroud is slightly smaller than the outside diameter of the Morimoto Mini H1 7.0 projectors I am installing. Measuring with a caliper the inside of the shroud is 68.2mm diameter while the outside of the Mini H1 projector is 70.1mm diameter. Also, the mounting of the DEPO shrouds is by clipping to the front of the halogen projectors and these clips don't line up with the clipping indentations on the Mini H1 projectors. So even if the opening were large enough, they wouldn't properly clip on anyway.
I am taking a break and pondering my options at this point. It doesn't appear that I can remove the front lens from the headlight as it appears to use the same silicone sealant as the projector did. So removing the front to better work on shroud mounting isn't a option. Any trimming of the shroud to make it fit the Mini H1 would have to be done with it inside the housing and with some kind of mechanical means (cutting/clipping/etc.) as I don't want to spread plastic shavings all over the inside of the housing.
I have ordered some of the Mini H1 Gatling Gun Shrouds and once they arrive I am going to see how they fit and look. My current thoughts are to cut the DEPO shrouds into pieces and remove them out through the opening replacing them with the Mini H1 Gatling Gun Shrouds. We'll see how it looks when they arrive.
In the mean time, I will share some pictures and measurements.
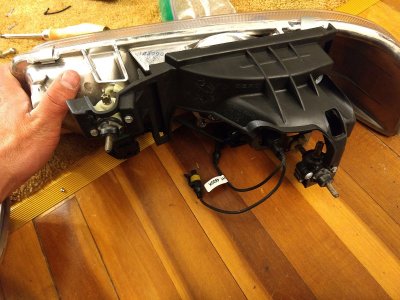
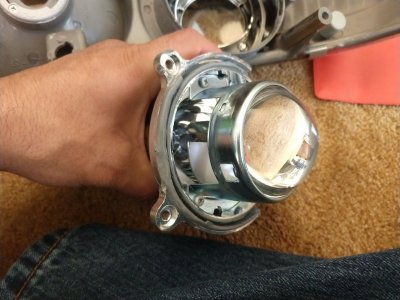
DEPOProjector.jpg is just a picture of the DEPO projector that I removed from one of the housings. You can see some of the gray silicone sealant in the grove around the base of the projector.
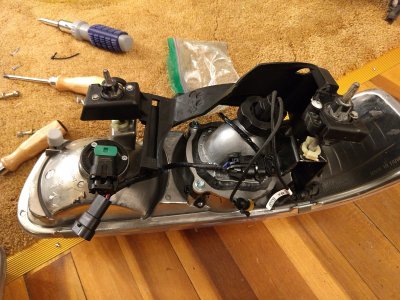
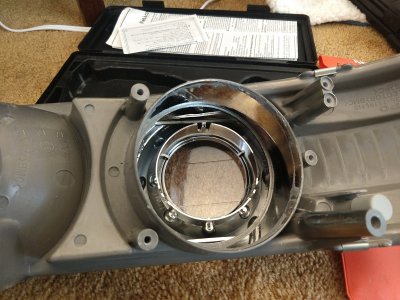
RearOfDEPOHeadlight.jpg is a picture of the rear of the headlight with the projector removed. Do note that the DEPO shround fell forward in the headlight in this picture. It normally sits a little closer to the camera when fully seated.
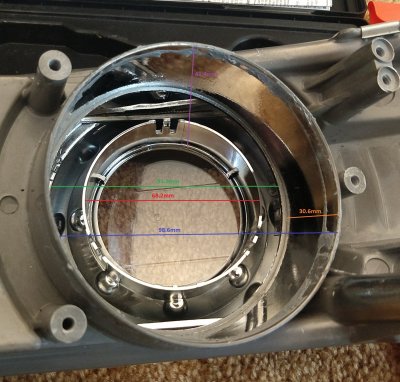
RearOfDEPOHeadlight_Measurements.jpg has some measurements I made of the headlight openings. I made all the measurements in mm as its easier to work with than a bunch of freedom unit decimals and fractions. Feel free to convert to freedom units as needed. The measurements and colors are as follows:
Red 68.2mm Diameter of the lens opening in the shroud
Green 91.3mm Diameter of the smaller shoulder in the projector opening in the rear of the headlight.
Blue 98.6mm Diameter of the projector opening in the rear of the headlight housing.
Orange 30.6mm Depth from the rear of the projector opening to the start of the smaller shoulder that was measured in green above.
Purple 41.4mm this one is a bit of a rough guess, but with the DEPO shroud pulled all the way back in the housing where it belongs this measurement is from the little lip on the shroud to the back of the projector opening. So roughly approximating the depth from the mounting surface for the new projector to the opening in the shroud for the lens to poke through.


