gibsonm21
Member
Ok, so I have been inactive on here for the past year or two, mostly because of my brokeness, but I'm back on my feet now. I decided to put a new system in my truck, Nothing too big, just something that was loud and still gave me my cargo area (6 Sundown Sa-8v2/2 1500s).
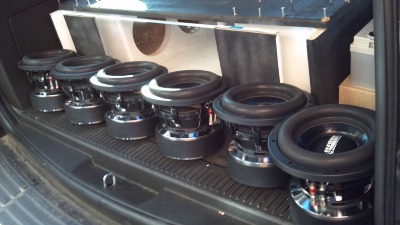
I also wanted to make sure that all of my supporting services were comfortable supplying my amps. I thought that my Irragi and 3 batts would hold my voltage high, but due to the PCM control, my voltage still fluctuated to much for my liking. Here's my previous install
http://www.tahoeyukonforum.com/forum/showthread.php?t=14705
I was able to catch the Christmas sale at DC power and I grabbed a dual alternator kit with a 320 SPX-I for 750$. The SPX is a relatively new alt by DC that is designed to make most of its power at idle.
Anyway, on with the install....
The DC Power dual alt kit comes the Alt, bracket/support, belt, and wiring.
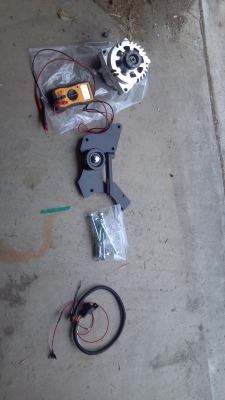
First things first, I had to make some room(and find a nut I dropped into the engine).
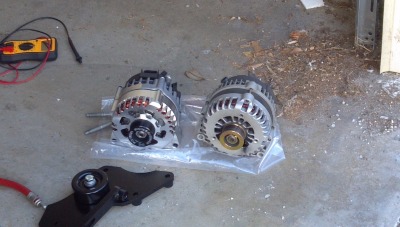
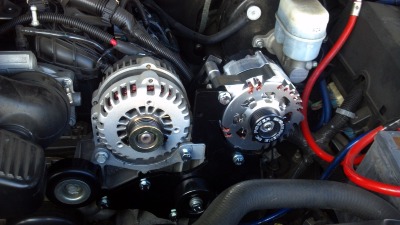
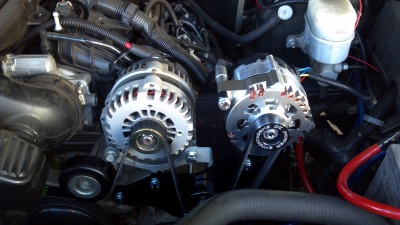
The alts together, It may be hard to see in the pics, but the SPX-I is noticeably smaller.
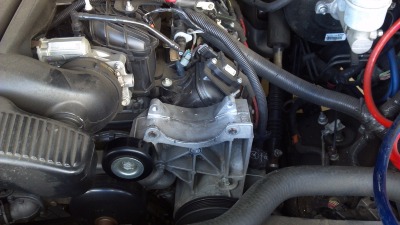
The directions call for you to locate and remove three of the mounting bolts for the OEM alt bracket. The hardest part of this picture was drilling out the threads of the right mounting foot of the OEM alt. This would have been an easy step, it was a b!#%$ to get my drill(with the bit) in between the bracket and the cooling fan.
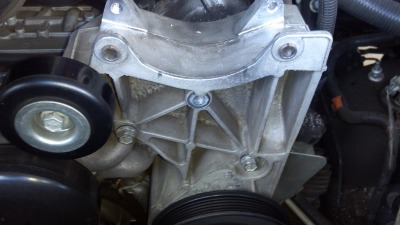
Time to put the bracket on!
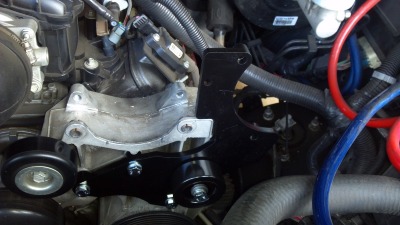
This support bracket runs from the base of the right OEM mounting foot to the left mounting bolt on the second alt(and the reason you have to drill out the threads that I mentioned). I read later down the instructions that it is optional.
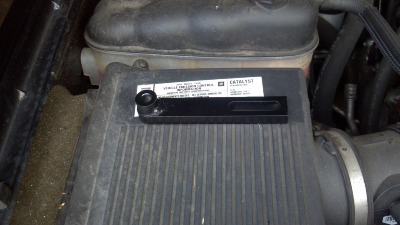
Now put the alt on(using the support bracket of course)
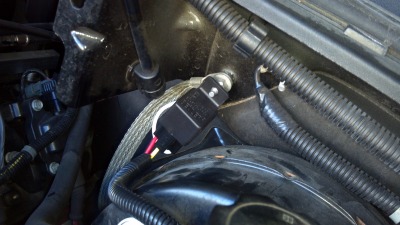
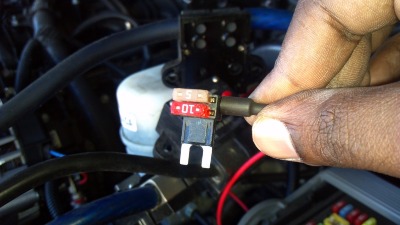
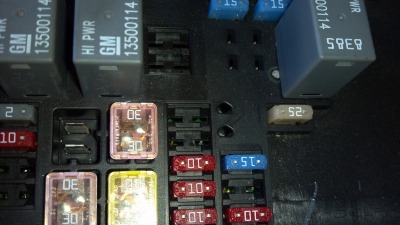
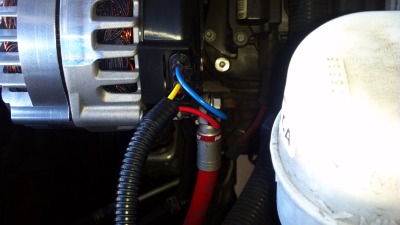
Once everything is secured, you have to wire up the relay. This relay taps into a switched 12v source in your fuse box in order to turn the alt on.
And the final step is installing the new serpentine belt. This step is what I feared the most, but it was the easiest part haha.
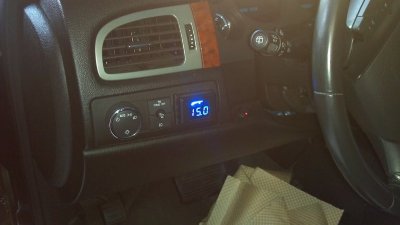
And this is the result: Full tilt at idle in the garage! lol

I also wanted to make sure that all of my supporting services were comfortable supplying my amps. I thought that my Irragi and 3 batts would hold my voltage high, but due to the PCM control, my voltage still fluctuated to much for my liking. Here's my previous install
http://www.tahoeyukonforum.com/forum/showthread.php?t=14705
I was able to catch the Christmas sale at DC power and I grabbed a dual alternator kit with a 320 SPX-I for 750$. The SPX is a relatively new alt by DC that is designed to make most of its power at idle.
Anyway, on with the install....
The DC Power dual alt kit comes the Alt, bracket/support, belt, and wiring.

First things first, I had to make some room(and find a nut I dropped into the engine).

The alts together, It may be hard to see in the pics, but the SPX-I is noticeably smaller.

The directions call for you to locate and remove three of the mounting bolts for the OEM alt bracket. The hardest part of this picture was drilling out the threads of the right mounting foot of the OEM alt. This would have been an easy step, it was a b!#%$ to get my drill(with the bit) in between the bracket and the cooling fan.

Time to put the bracket on!

This support bracket runs from the base of the right OEM mounting foot to the left mounting bolt on the second alt(and the reason you have to drill out the threads that I mentioned). I read later down the instructions that it is optional.


Now put the alt on(using the support bracket of course)

Once everything is secured, you have to wire up the relay. This relay taps into a switched 12v source in your fuse box in order to turn the alt on.


And the final step is installing the new serpentine belt. This step is what I feared the most, but it was the easiest part haha.

And this is the result: Full tilt at idle in the garage! lol

