You are using an out of date browser. It may not display this or other websites correctly.
You should upgrade or use an alternative browser.
You should upgrade or use an alternative browser.
Dylan's 1997 GMC Yukon
- Thread starter _Dylan_
- Start date
Disclaimer: Links on this page pointing to Amazon, eBay and other sites may include affiliate code. If you click them and make a purchase, we may earn a small commission.
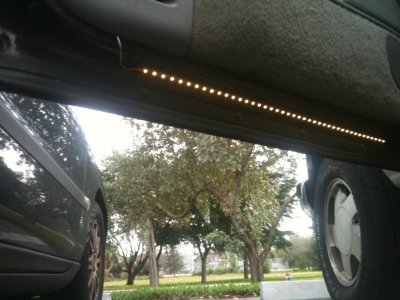
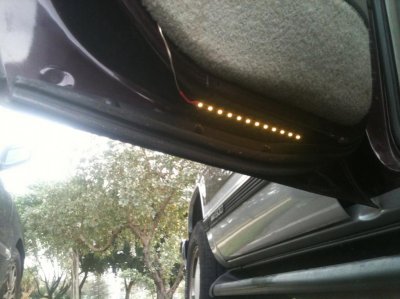
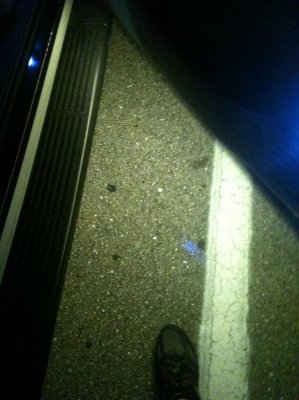
Just waiting for it to get dark so I can see how bright they are. 
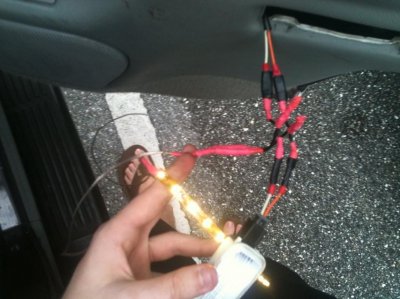
I spliced into the power from the courtesy lights on the door. Normally I would have used a relay, but I swapped the door lights to LEDs so they use less power and can handle the extra load of the LED strips.
I spliced into the power from the courtesy lights on the door. Normally I would have used a relay, but I swapped the door lights to LEDs so they use less power and can handle the extra load of the LED strips.
Attachments
Last edited:
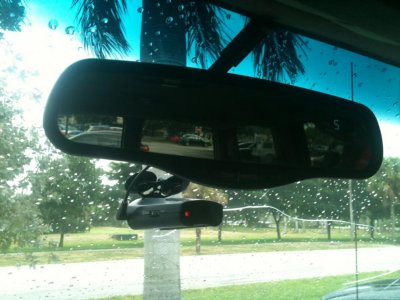
Hard wired the radar detector. I spliced power from the map lights and used the on/off from the power mirror.
Now it comes on and off automatically when I run the truck.
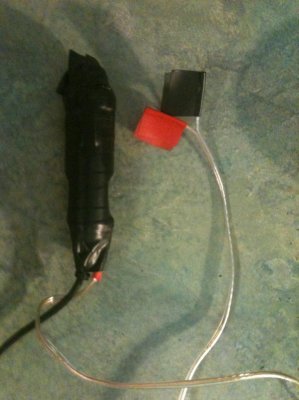
The first picture is the cigarette plug. I opened it up and soldered an extra set of wires for power. That way if I ever need to the cigarette plug still works.
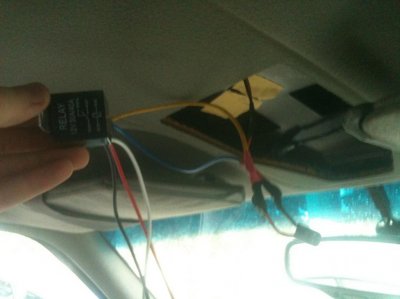
The third picture is the spliced in power for the relay. After this picture was taken I cut the blue wire and ran the red/black from the first picture to this blue wire. I ran a signal wire from the power mirror to the relay. Works great.
Attachments
Last edited:
juggjiggler69
Member
- Joined
- Dec 30, 2011
- Posts
- 75
- Reaction score
- 0
Looking good post some pics at nite time
Sent from my Galaxy Nexus using Xparent Blue Tapatalk
Sent from my Galaxy Nexus using Xparent Blue Tapatalk
Looking good post some pics at nite time
Sent from my Galaxy Nexus using Xparent Blue Tapatalk
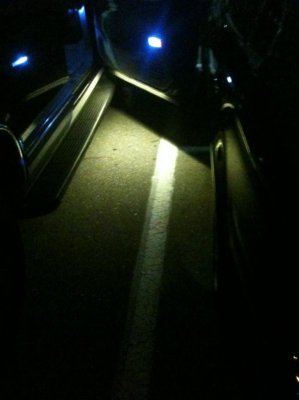
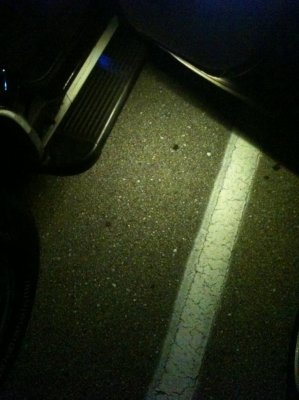
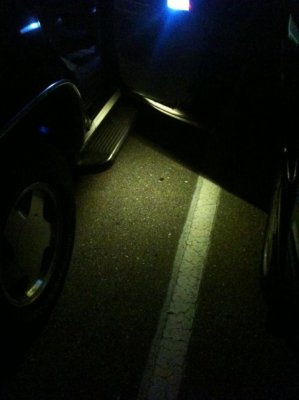
night pics
Attachments
juggjiggler69
Member
- Joined
- Dec 30, 2011
- Posts
- 75
- Reaction score
- 0
Dam it that looks good i mite have to do that but with red lites
Sent from my Galaxy Nexus using Xparent Blue Tapatalk
Sent from my Galaxy Nexus using Xparent Blue Tapatalk
JubjubW
Full Access Member
how hard was it to get to and change the cluster lights? did you have to do anything but swap the bulbs? I would like to go red... how many did you need?
juggjiggler69
Member
- Joined
- Dec 30, 2011
- Posts
- 75
- Reaction score
- 0
The heater control was easy i think it was 6 of the #74 bulbs,headlight switch was easy i just took the led out of its holder and made it work it the factory holder,and for my gauges i got the white face with the red numbers on it so i let the white bulbs in there but they are easy to change also i think it is 6 #194 bulbs
Sent from my Galaxy Nexus using Xparent Blue Tapatalk
Sent from my Galaxy Nexus using Xparent Blue Tapatalk
how hard was it to get to and change the cluster lights? did you have to do anything but swap the bulbs? I would like to go red... how many did you need?
You need six for the cluster. 194 bulb size.
Buy 2 packs of these:
http://www.amazon.com/Brand-5-SMD-H..._2?s=automotive&ie=UTF8&qid=1328427988&sr=1-2
I bought the same ones from the same seller, but in blue. They don't have any dark or light spots. Some of the other LED styles don't spread the light evenly.
Its easy and takes about 30 minutes. What you do is:
-tilt steering adjusted all the way down
-pull off the large piece of trim around the cluster, radio, A/C.
-disconnect the headlight switch and other switches (push button 4wd, cargo lights, etc.) so you can remove the trim piece completey
-7mm socket to remove the 4 screws holding the cluster on
-pull out the cluster
-twist out the 6 connectors (picture in post 7)
-put in the new bulbs
-reinstall cluster
-check to make sure all the lights work (unlike normal bulbs, LEDs only work one way)
-fix if necessary
-put the switches back on
-pop the trim back on
noJeepshere
Full Access Member
That's actually a really good idea, I'll have to keep that in mind for future reference.
Similar threads
- Replies
- 7
- Views
- 469
- Replies
- 5
- Views
- 385

