Well I finally got around to getting this installed into my NBS (2002 Yukon XL). I knew since most everybody had a non-XL version that has installed it I would need some extra wire. On further thinking about it I decided against installing the IR LED's separately when a Backup camera can be had for $14 shipped on eBay. The wiring I had no clue about but decided to figure out when it all got here so here is the write up on how to install a different camera on this system.
Parts Back-up camera for the GMC trucks
http://r.ebay.com/78VxN5
Back-up camera with integrated IR LED's
http://r.ebay.com/QWyAO7
Now that we have everything here come the pictures.
First as most of us know the NBS (2000-2002) is a bit different in the instal of the screen. You take about a 1/4 off on the left side so it looks like this. Notice the washer is flat.
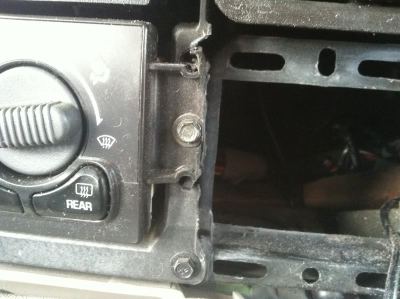
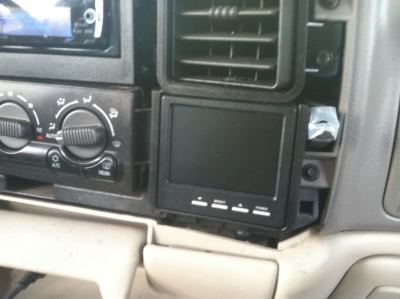
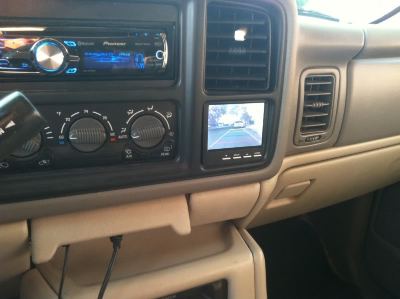
It should pop right in. Also notice the flush with the vent at the top of the screen.
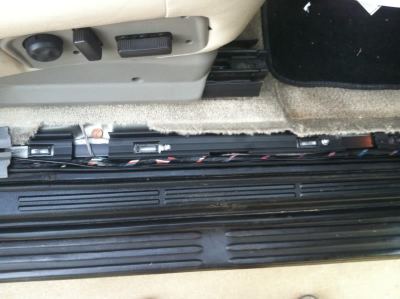
I used the factory conduit to run the wires down the passengers side of the truck since I needed 2 extra feet.
Now I don't have pictures of this but tuck the wire under the panels and you should come up just short of the rear hatch. The box that you connect to the camera has 2 wires (positive and negative) and a plug that come off of it. The pos and neg have to come out to the light and on the passengers side there is no access hole, so we have to make one. I used my step drill to make this hole. Just big enough for the camera side of the plug to fit through.
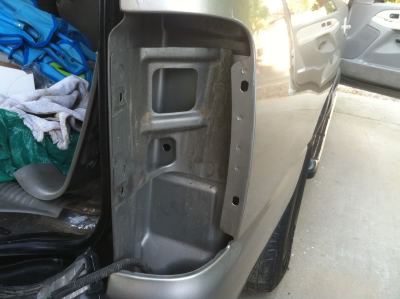
Ok now we have the wire run and the access hole drilled onto the camera hack. Now I have done a lot with camera's on my FPV Quadcopter so I know how most of them work. I know that only 4 wires are on most camera's 5 if a mic is involved. (power, ground, Video signal, shield, and audio) Also most camera's share a ground with the shield. So let open up the First camera.
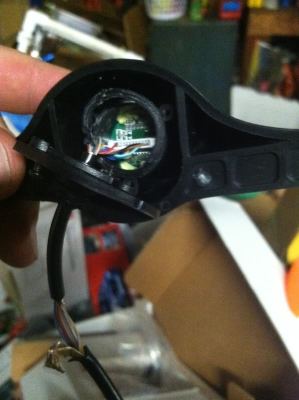
YUCK no on board converter so it must be in the little black box. So lets open that up. Ah yes a Analog to S-Video converter. Sweet we can do this.
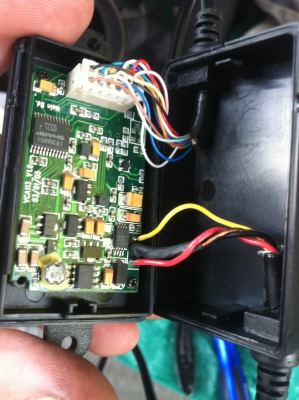
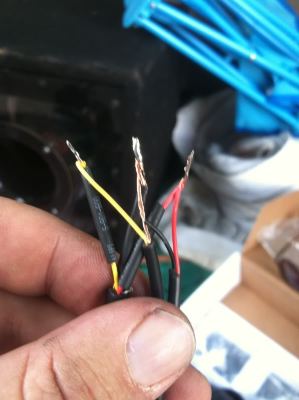
So as you can see in the above picture there is a power, signal and Ground and Shield is soldered together. Lets unsolder and put the IR LED camera on the original cable.
This picture shows both the new camera and the old camera cable off the board. The right is the wires we just un-soldered the left is part of the 2 cables I got with the IR camera. Notice yellow and red and black on all of them.
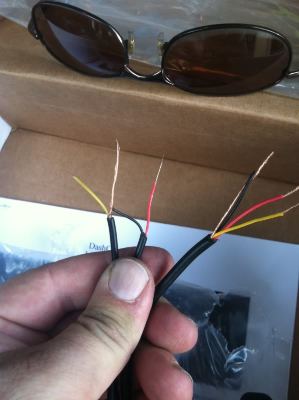
Here is a better pic of the 2 left cables or the IR Camera cables.
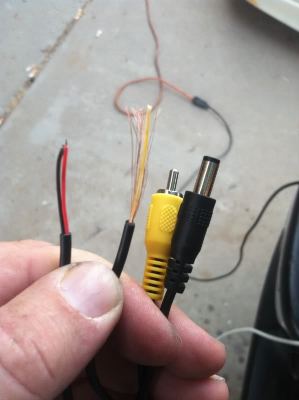
Now the IR camera came with about 10 feet of cable I cut off 3 feet and trimmed the wire so I could solder everything together.
Let me explain something real quick. The new IR camera has onboard S-Video this is why it comes out S-Video and there is no box. 10 years does a lot for surface mounted chips.
So here are all the wires paired up. Make sure to use heat shrink, I used small for each individual wire and a larger to cover the whole thing when I was done.
Shrinked
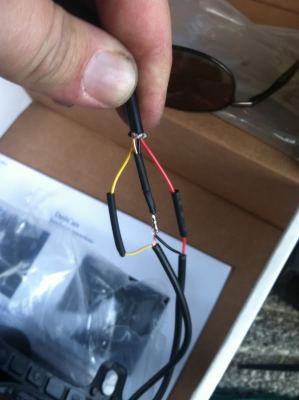
Whole thing shrinked
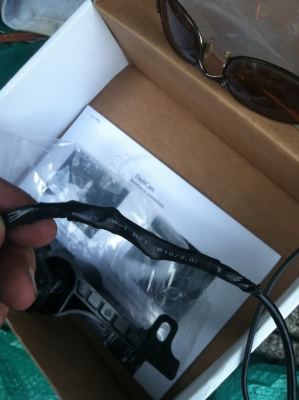
Now you can smother it in silicone if you want because it will be exposed out side the truck under the bumper. I use electrical spray called trio and then wrap it in electrical tape.
Here is the picture of the hole with the wires running through. I later siliconed the hole so no water gets inside. Also stuffed the unused wire running from the camera into the hole since there is lots of room and I did not want to have any dangling wires under the truck.
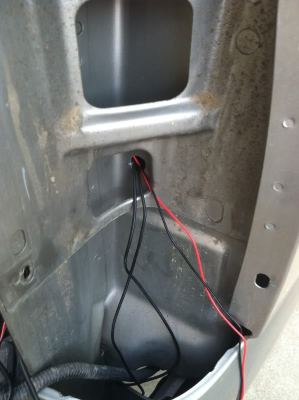
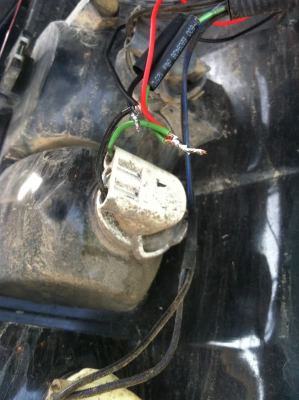
Solder up the wires at the reverse light. So it has power when in reverse. Now I found that if the reverse light is on and the truck is off you may not have enough power to power the camera and the screen, so you have to start the truck to make sure. I had my radio on for an hour or so so mine was under the operating voltage and I freaked out thinking the camera did not work. But a quick 2 min idle brought the power back up for testing.
Lets test it
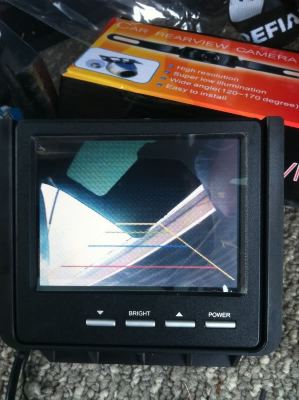
It works sweet.
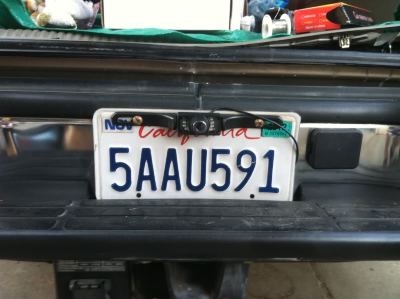
So put everything on, mount the camera so it is on top (or bottom) of the license plate (make sure its right side up). Run the wires under the bumper and zip tie the cables to other cables so you get no dangling wires. Pull it tight enough to keep it all up. Yes I have expired tags, recent purchase from dealership and DMV is lagging on sending them.
Ok so let see how it looks installed in the dash.
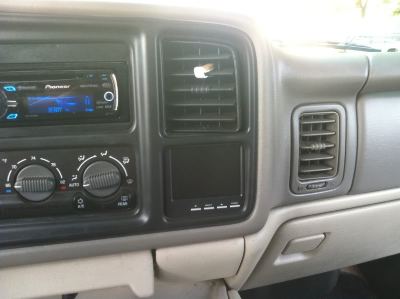
Not to bad looking...
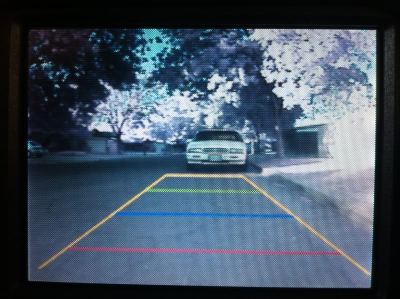
Now the view, it looks pretty good and wide enough to cover the blind spot.
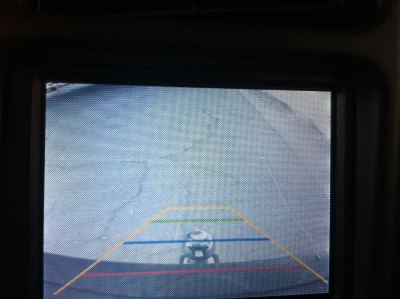
Since I got the adjustable camera you can angle it down to see the hitch which is something I will use quite often.
Well that's it, ask if you have any questions.


