pavemen
TYF Newbie
Recreating my thread from the 'other site'. It's still locked down so i cannot get the original info, at least I found the pics on my PC.
---------------------------------------------------
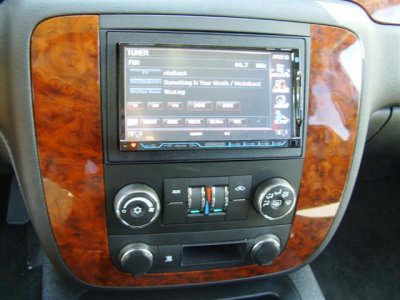
Few months ago I installed a Kenwood DNX-8120 and Boyo backup camera into my 2008 non-Bose Tahoe LT with OnStar and RSE but no DVD.
I had tried the OEM navigation and it works but OnStar volume is almost nothing and radio/nav outputs are very low and while the blinkers and other sounds are present, they are so low they can barely be heard, sometimes not at all. So I had the original CD/XM head unit reinstalled and found the 8120 to do myself.
I used a Pac-Audio OS4 for base integration and a Pac-Audio SWI-JACK for steering wheel control interface.
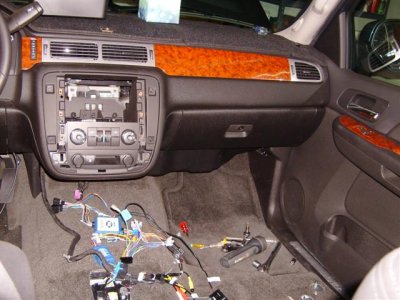
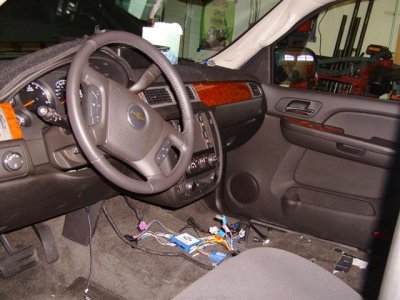
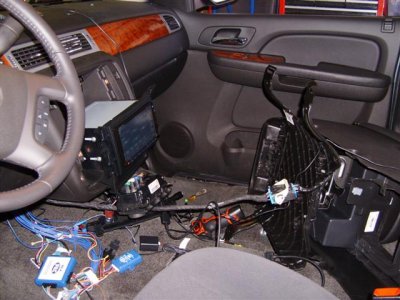
I recommend pre-wiring the OS4, SWI-JACK and HU harnesses before starting the main install. I would recommend that you add about 2-2.5 feet of wiring between the OS4 and HU harnesses since directly connecting them will not leave room for mounting the OS4/JACk. You will see in the images below that there are suddenly a bunch of blue wires in the harness. This is becuase of the above, but I found out too late and had to redo the harness.
Remove the negative terminal from the battery and wait 5 minutes for the airbag capacitor to discharge before beginning any work.
Installation required removing the front seats and the center console for access purposes. Be aware that if you have RSE, you will need to temporarily hook up the center consol wiring harness to test your wiring as the audio is routed through the RSE unit before hitting the speakers.
So, to get started, remove the caps covering the seat mounting hardware and then pop off the 'keepers' that the caps snap onto. Once the seats are removed, use caution as there are flimsy plastic vent tubes for the rear floor HVAC as well as several studs sticking up that you do not want to kneel on.
On the center console, remove the cup holders and mat in the front section. Pry up and pop out the recessed tray in the front section. There are 4 metal spring clips, two along each side, none in the front/back.
Reach inside and pull the wiring harness loose and then disconnect the large connector by pressing the button and flipping the lever over. Pull the connectors apart. The center console can then be lifted up and removed as a whole unit.
Then remove the trim around the head unit. I am sure there are one or more threads where about how to do that. Just go slow and be careful.
Remove the four bolts holding the stock HU slide it forward and remove the 2 wiring harnesses and antenna.
Attachments
Last edited:

