Megan the Tahoe

Disclaimer: Links on this page pointing to Amazon, eBay and other sites may include affiliate code. If you click them and make a purchase, we may earn a small commission.

05Single

afraid of the dark
Joined
Feb 26, 2015
Posts
8,186
Reaction score
11,456
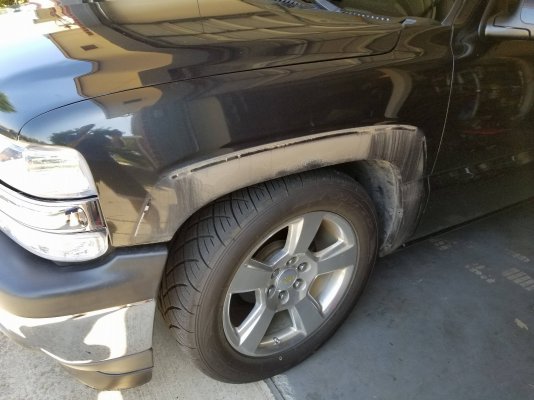
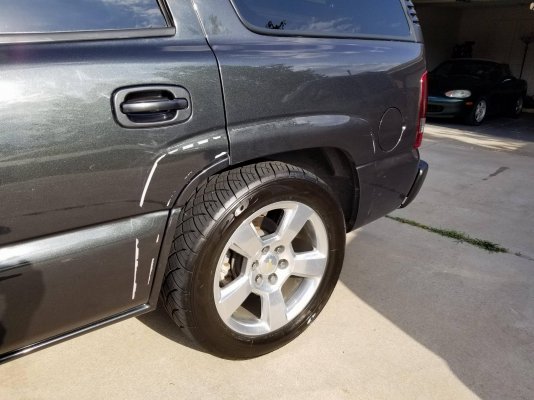
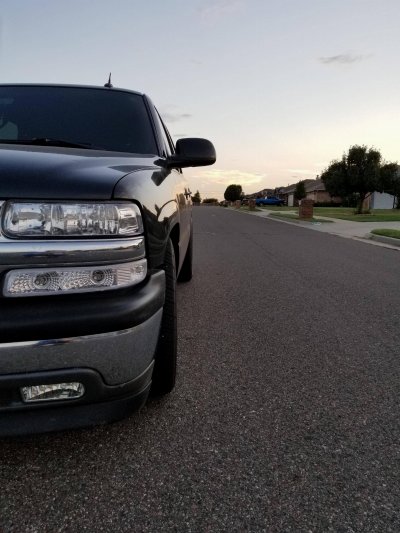
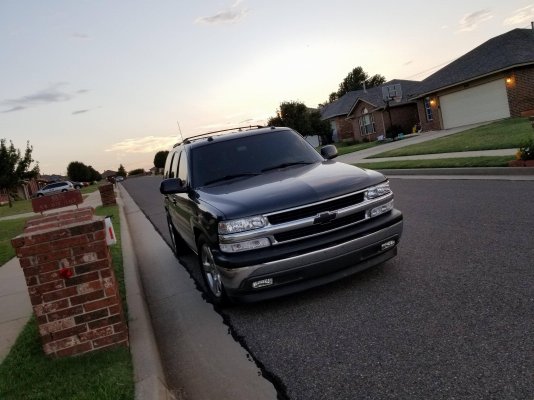
I took some of my holiday free time to pull the fender flares off the Tahoe. I was expecting paint damage and I definitely got it.
eQCB8FB.jpg

I had to give it a wash before I removed all the adhesive.
xcqnbCC.jpg

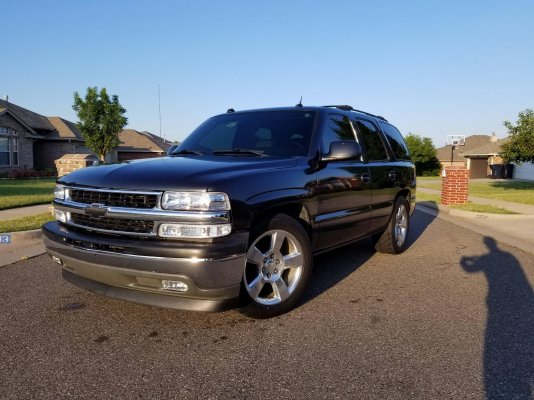
I broke out the DA polisher and went to work. It's not perfect but it's a good 10-15 footer now at least. I love the way the truck is turning out and hopefully soon I'll take it to have body and paint work done for real.
cevKwsX.jpg

Still haven't got it running at full power yet but I did confirm that the throttle body is barely opening at WOT. Hopefully I can get my ecm flashed back to factory soon and then have HPtuners get my tune file usable so I can actually make use of my new engine!
Lookin good, ***** damn clean!

paint that valance asap.
 
OP
OP
gtrslngrchris

gtrslngrchris

Full Access Member
Joined
Feb 4, 2017
Posts
173
Reaction score
280
I got word from HPtuners yesterday that they released a beta update to get my tune file working so I had my friend flash me back to the Tahoe OS and I went to town. Turns out they did fix some of it but there are still tables I can't modify correctly so I gave up at first BUT then my boss wanted to mess with it and after an hour he had it running mostly safely so I can drive it for real as long as I'm nice to it while we wait for HPT to get their shit working again.
Lookin good, ***** damn clean!

paint that valance asap.
Thanks! I haven't decided for sure what's going to happen to the bumper areas but the grey lower valence drives me nuts. I think what I'm leaning towards now is leaving the chrome and having all the black plastics on the truck painted matte black so that 1) they match and 2) they look all clean and brand new again. I did a full color matched front end on my Duramax the first time around before I swapped the front end and I loved it but I think I like the contrast more on this front end like the GMC.
 
OP
OP
gtrslngrchris

gtrslngrchris

Full Access Member
Joined
Feb 4, 2017
Posts
173
Reaction score
280
HPtuners released another daily update and it appears to be completely fixed now so I gave tuning it another try. I took the factory tune from the 06 Escalade OS that I was running and compared to my 05 Tahoe calibrations and there are actually quite a lot of differences between the two in regards to how the different tables function so I copied what I could and did my best guess on the rest. So far it appears to drive GREAT but I've got a long way to go. I ordered a wideband and a bung so maybe Sunday if they arrive I'll get that welded in and installed so I can tune for really real.
 
OP
OP
gtrslngrchris

gtrslngrchris

Full Access Member
Joined
Feb 4, 2017
Posts
173
Reaction score
280
Last night after work I looked under the truck and decided that the driver side was the easiest place to locate my O2 bung for the wideband so I pulled that header and dropped it off with my boss to have him weld it in. Hopefully tonight he'll have it done and I can put it back in but my guess is Friday.
nice looking truck
Thanks! I'm getting ready to take it to the body shop to have work done so I have to finalize what I want in my head, for now, and find an HD hood so I don't have to pay extra for that to be done separately.
 
OP
OP
gtrslngrchris

gtrslngrchris

Full Access Member
Joined
Feb 4, 2017
Posts
173
Reaction score
280
Friday night was wideband time. My boss finished welding in my O2 bung and on his request I'm not showing you guys because it looked awful and he's embarassed BUT it works and by, "it works", I mean that there was only a small pinhole leak around the bung and I just slathered on some copper RTV sealant and it's probably totally fine... :D Anyway, here is the gauge in it's temporary home until I find it somewhere to live during tuning.
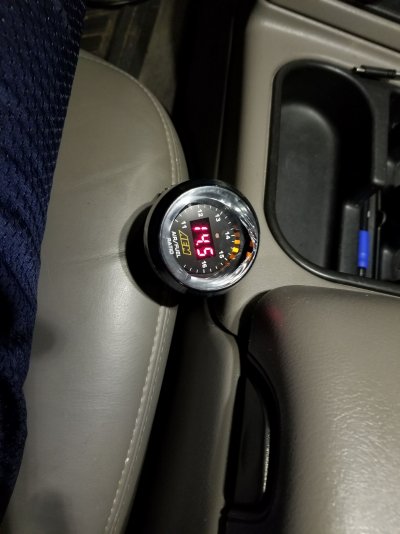
ZjMXQFq.jpg

After we got the wideband setup we spent WAY too long messing with these engine covers I got. I managed to find the two side pieces used on eBay for cheap and then I ordered the center cover new for $38. The right cover went right on and the center made us realize we needed to reroute the top harness slightly but the left was a huge PITA mainly because I had let the engine warm up while testing things. I think these were from a DBW truck as we had to cut some out from the left cover so that it would sit over the throttle body properly. Eventually we got it handled though and you can't see where we cut.
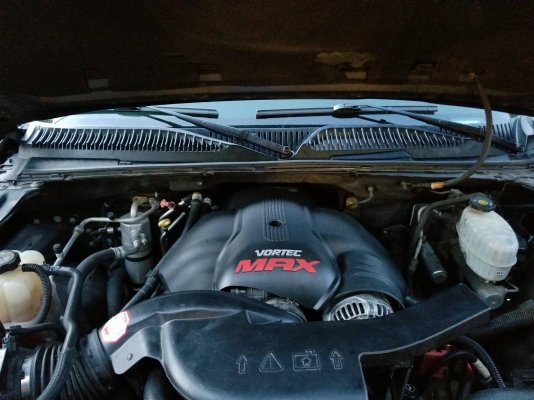
3T6PNM8.jpg

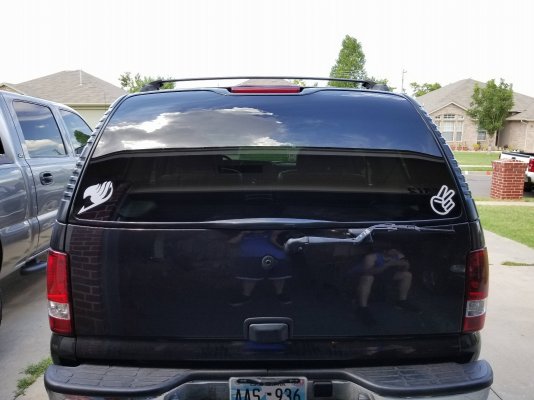
Yesterday it was sticker time!
XNT9G7Q.jpg

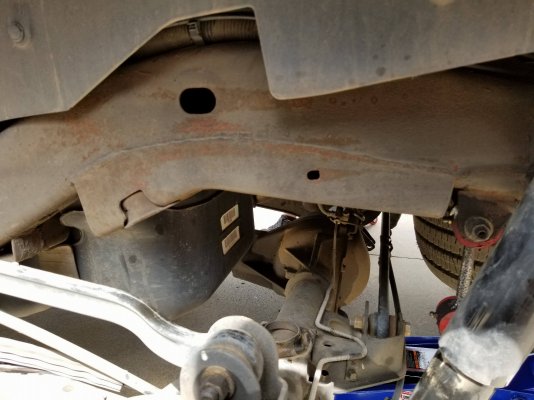
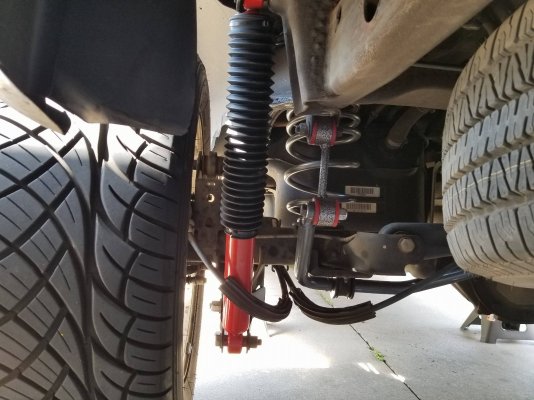
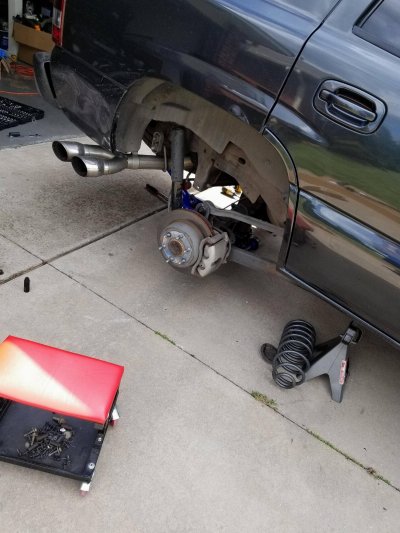
After that I decided it was finally time to do some annoying work. When I did the suspension work before and lowered the Tahoe I completely forgot to do the free travel mod so I jacked up the Tahoe and dropped the suspension. Look at my pretty springs! My friend noticed after I pulled the spring on the passenger side that it was actually contacting the frame where the bump stop bit was welded on and since we were cutting all that off anyway we made sure to clearance it on the inside of the frame so alleviate that issue.
tyqG3Xv.jpg

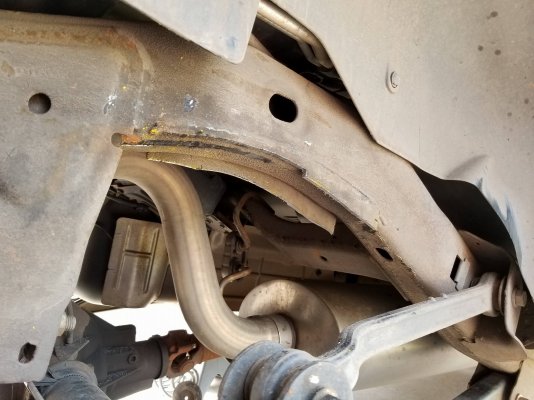
Here's one of the offending pieces.
OecqpnK.jpg

And first cut done.
93tbKfV.jpg

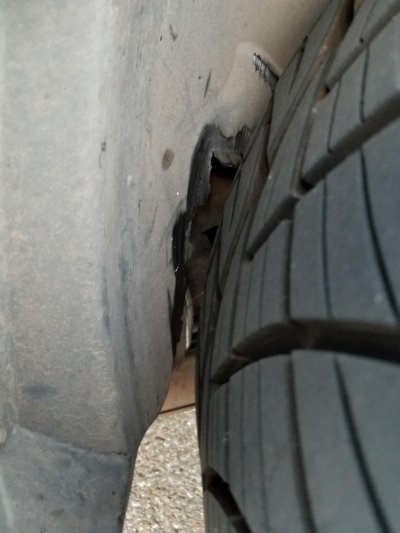
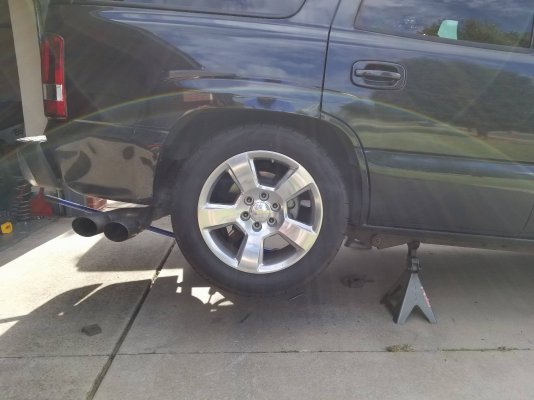
Of course I didn't take any more pictures of what I was actually trying to accomplish because that would be silly. Luckily for you guys I'm sure there are a hundred other build threads around with better shots. What I did do though was check my suspension travel and verified that my rear inner tires are rubbing the fender liners when near full compression and I saw marks that led me to check that. This means I'm likely to put a 1/2" spacer on the rears to get rid of that.
FLzximn.jpg

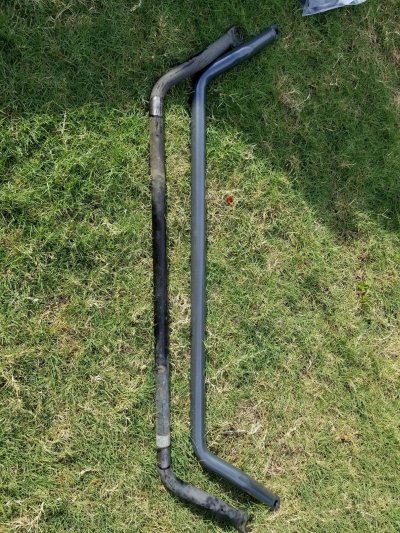
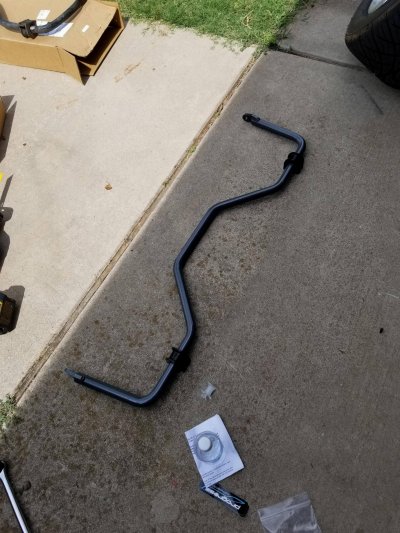
Finally as I was putting it all back together my friend remembered that I never installed my new sway bars so we at least broke out the rear and put it in. This thing is a BEAST. It is a solid bar, not a tube...
Z41zZXJ.jpg

In the end, the Tahoe rides significantly better in the rear over bumps. Is it as good as factory? No, but it's a hell of a lot better than before. I think the rear is in for new shocks to match the front before I go to Colorado in August and I want to get my SS brake lines done before then as well. If I get those two things done along with actually tuning my truck I think it should be a good trip to test it all out.
 

Tonyrodz

Resident Resident
Joined
Feb 16, 2012
Posts
31,710
Reaction score
47,449
Location
Central Jersey
Which sway bar did you go with? I have 305 45's in the rear , that had the same issue--making contact when suspension was compresding. I hit the inner plastic liners with a heat gun and it was good to go. I was hitting the plastic that was covering the upper part of the shocks.
 
OP
OP
gtrslngrchris

gtrslngrchris

Full Access Member
Joined
Feb 4, 2017
Posts
173
Reaction score
280
Which sway bar did you go with? I have 305 45's in the rear , that had the same issue--making contact when suspension was compresding. I hit the inner plastic liners with a heat gun and it was good to go. I was hitting the plastic that was covering the upper part of the shocks.
I got the DJM sway bar set, they are beastly. Mine is rubbing towards the front of the vehicle on the plastic liners and I could just modify the liners or cut them but I like the look with the rears matching the front track and these trucks always have a wider front.
 
OP
OP
gtrslngrchris

gtrslngrchris

Full Access Member
Joined
Feb 4, 2017
Posts
173
Reaction score
280
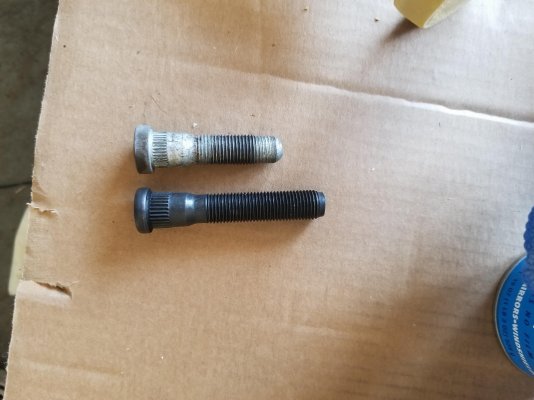
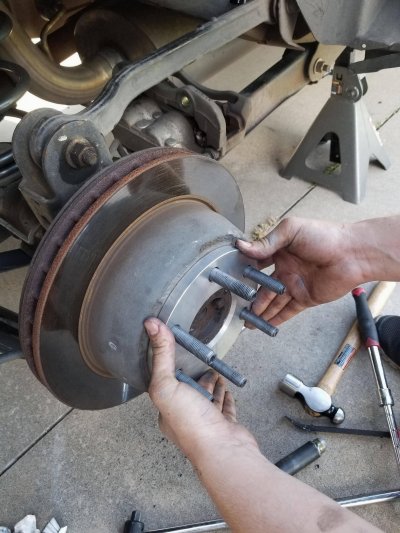
Started out the weekend by replacing the license plate light housings since I got lazy and didn't take them out the safe way last time and broke one. After that I decided to try my new 1/2" wheel spacers which went as I guessed it would and required new longer studs. I found another thread on here where someone used Dorman 610-530 and they do indeed work perfectly for adding 1/2" spacers.
xlysekh.jpg
DnE9NF6.jpg

You can see here why I was so interested in getting them on. This is the driver side on the front of the wheel and it has chewed up the liner a LOT and you can see the bright spot where it's been rubbing against the frame where the upper arm is mounted.
xxOh2F5.jpg

Next was replacing the rear shocks to try and get the last bit of ride quality I could out of the rear. I went with KYB MonoMax shocks since I like how they ride on my lowered Duramax and they do more than I thought they would to help smooth out the ride over rough terrain and they look great in red matching the rest of my aftermarket suspension components.
Ewao3Tb.jpg

Front sway bar was last for the weekend, it is a real beast like the rear but it's not 3x heavier than the factory bar like the rear was either. Very easy swap.
0XLsqa2.jpg

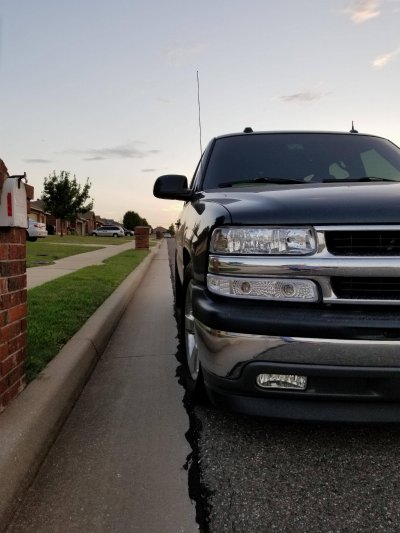
You can see the passenger side has just the barest amount of poke and I love the look.
jfBRJQ8.jpg

Driver side has a little less but much better than before.
F7IboTM.jpg

I love this thing the more I work on it and get it closer to where I want it. Usually by this point in a project I've already ruined it by going to far and I just keep going to see if I can salvage it but so far this Tahoe just keeps getting better! It wasn't until late last night that I realized that the factory panhard bar was why I have more rubbing on the driver side and more tire poke on the passenger side and while it's "solved" for now I went ahead and ordered the Spohn panhard bar anyway to fix that. I am in love with the handling of the Tahoe now as the front sway really brings it all together and the rear shocks helped further calm down the rear end. Like I always do I added more to do so with the panhard bar I have coming I added the DJM front upper control arms to go ahead and fix my ball joint angles and since I had forgot to do it before I ordered new Moog heavy duty front sway end links. Once those 3 things are done I'll only have the SS brake lines and finishing my tune to do before my Colorado trip in August.

hovYHOa.jpg
 
Last edited:

Forum statistics

Threads
132,762
Posts
1,873,790
Members
97,593
Latest member
slm987

Latest posts

Top