kysrsze
Supporting Member
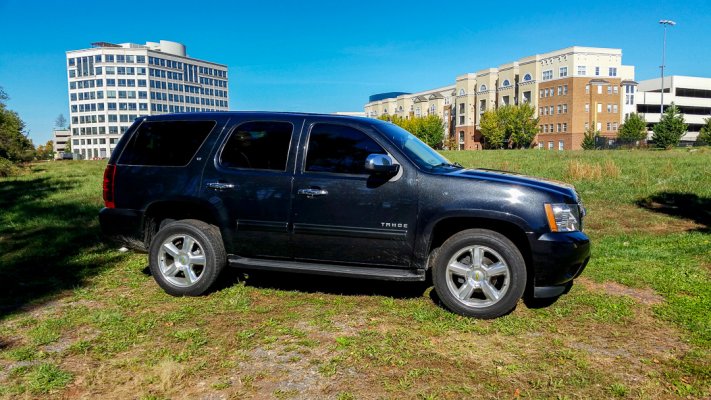
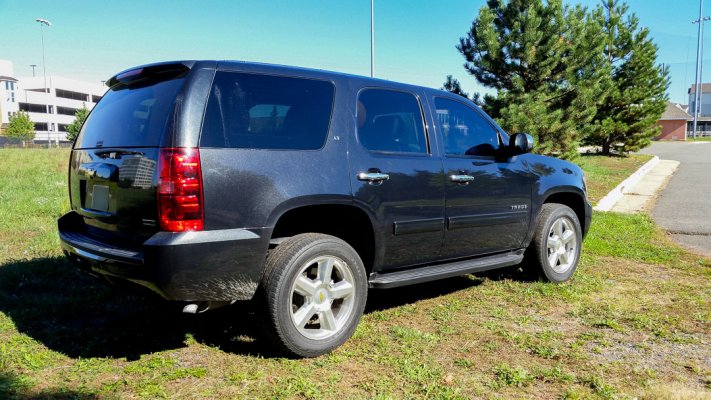
I did the roof rack delete on my 2011 Tahoe LT today and wanted to share the process complete with photos and a walk through. I noticed the other "go to" posts don't have working photos any more. Hopefully this helps some of you that are looking to do the same.
This project is EASY and should take even a novice approximately 30 minutes.
Tools Needed:
Hardware Needed:
Prepatory Work:
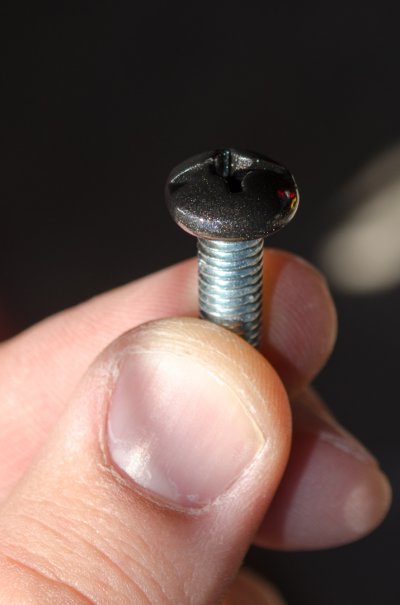
Prep Step 1: Push each screw through a piece of cardboard. This will help ensure you paint only the top of the screws.
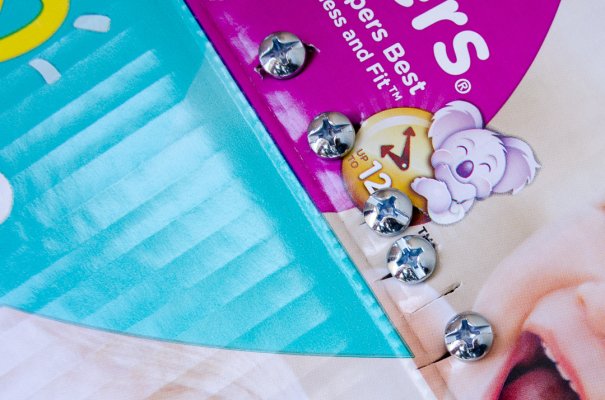
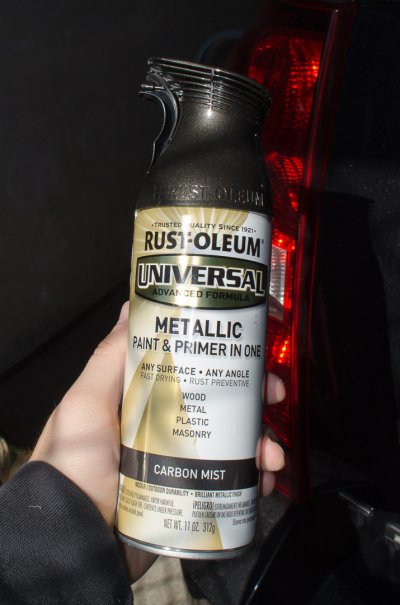
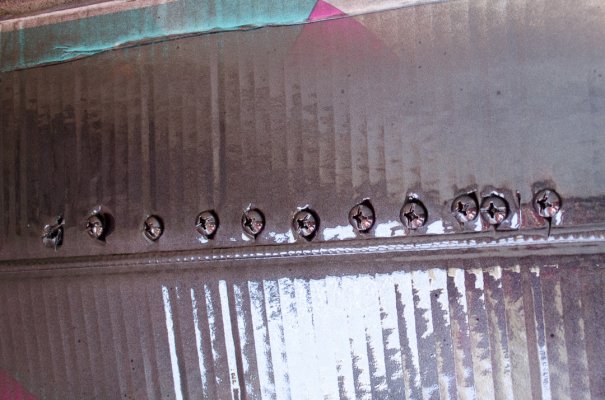
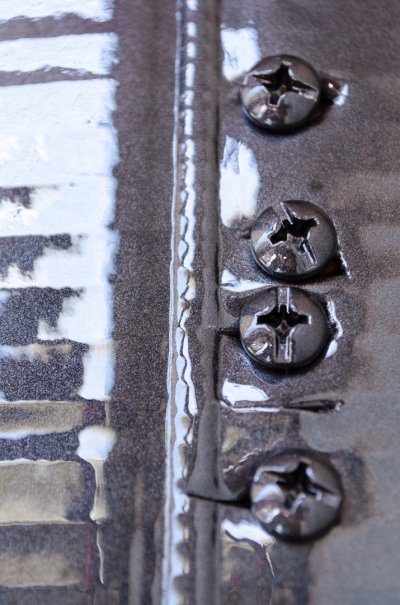
Prep Step 2: Paint the screw tops. I would recommend at least two coats. Let the paint dry while you take the roof rack off.
Here is what I started with.
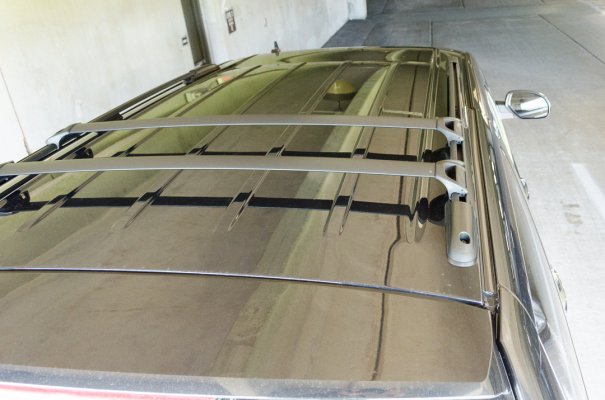
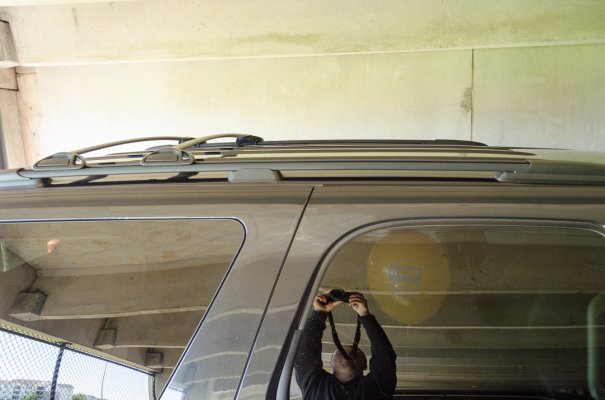
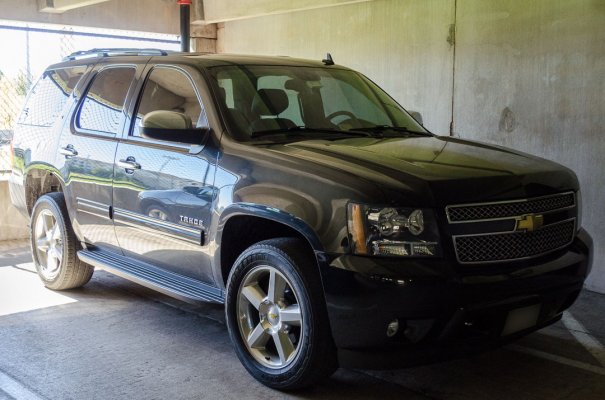
Step 1: Remove the T25 Torx screws (left and right) on the back of the rack.
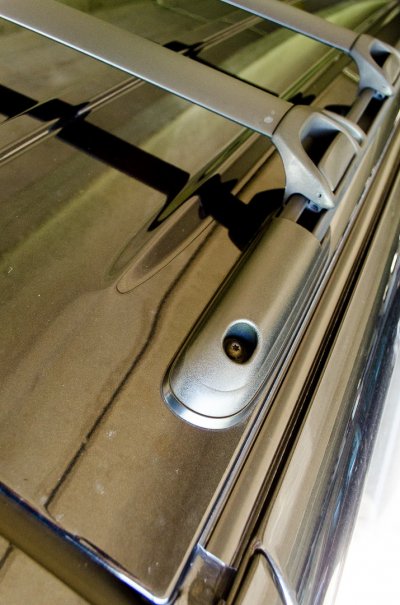
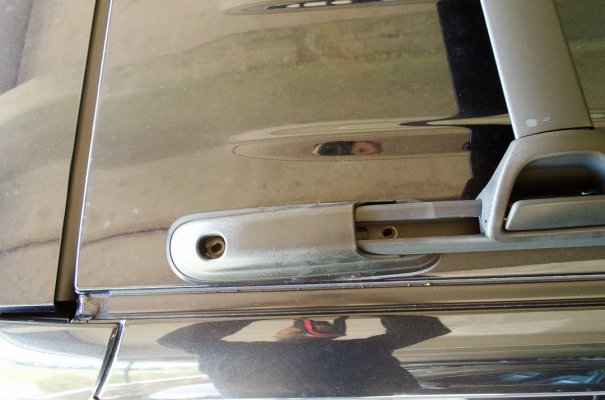
Step 2: GENTLY pry up on the tab in between the two torx screws, this will allow you to slide the rear plastic cover off. In the image below you can see the tab under the plastic cover. Use a flathead screwdriver to gently release the clip will pulling the plastic cover toward the rear of the car. Do the other side also.
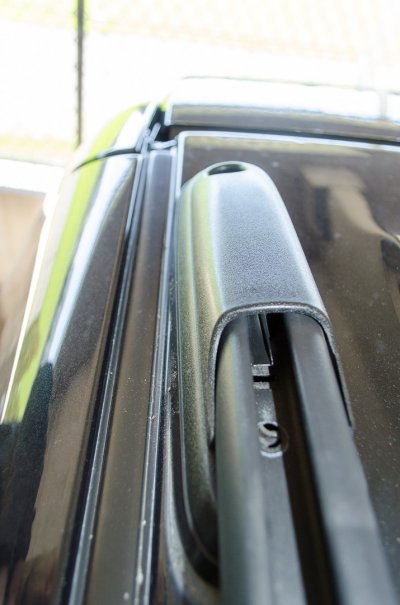
Step 3: Slide the plastic cover off of the rail. If your truck is less than brand new, there will likely be a lot of dirt under the cover. Do the other side.
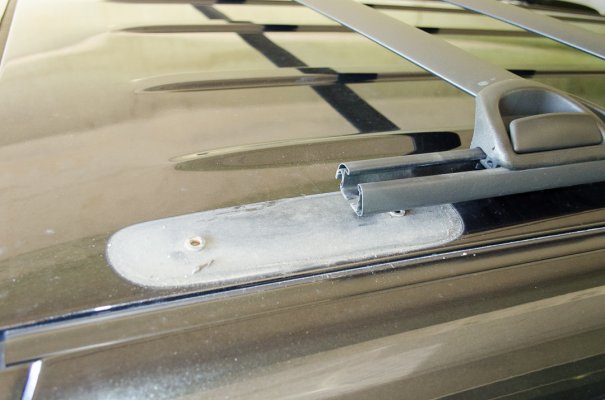
Step 4: Release the slide locks on the cross bars and slide them off the rails.
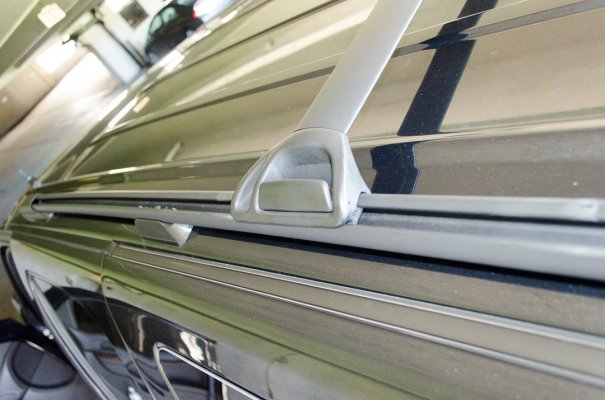
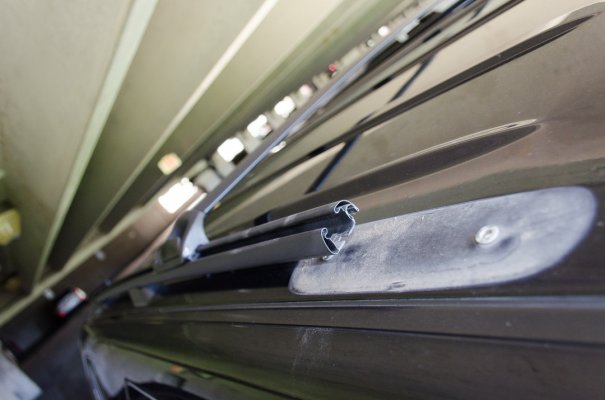
Step 5: Remove the screws from the center supports on both sides of the vehicle. The center supports are attached to the rails by plastic clips. No need to release the clips, just leave them attached.
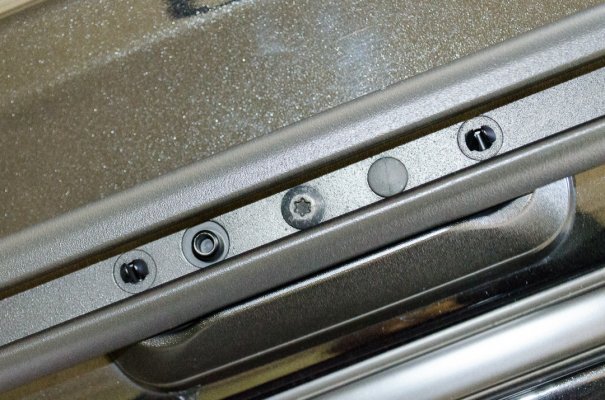
Step 6: Remove the two screws from the two front plastic mounts (located over the B-pillars). The roof rack is now completely free and able to be removed.
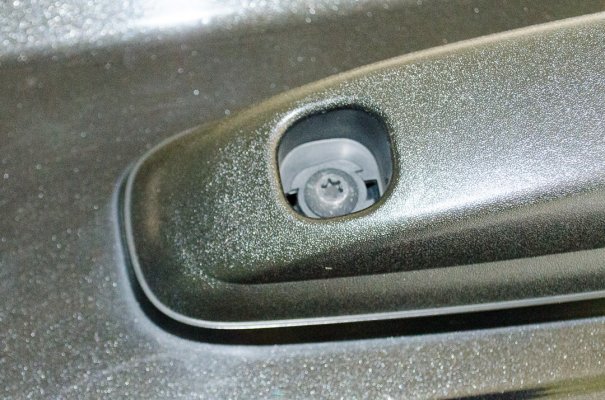
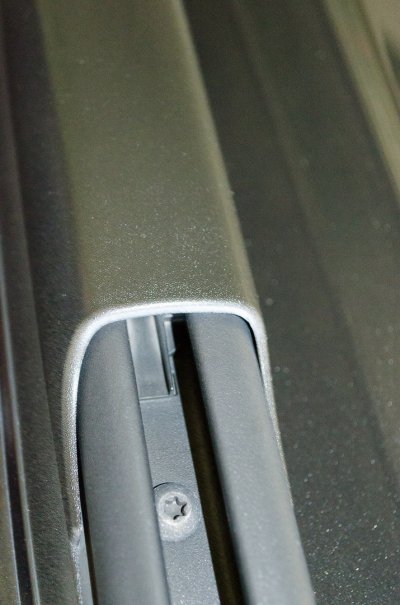
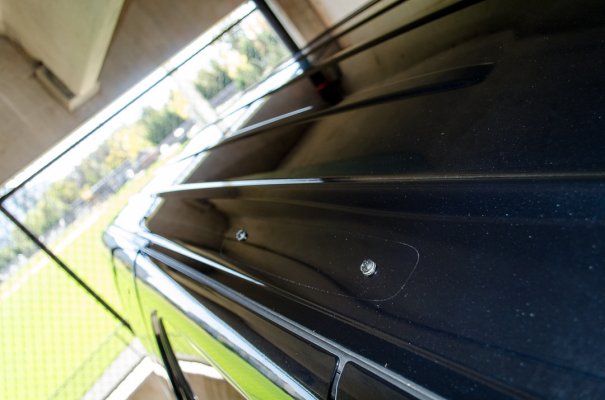
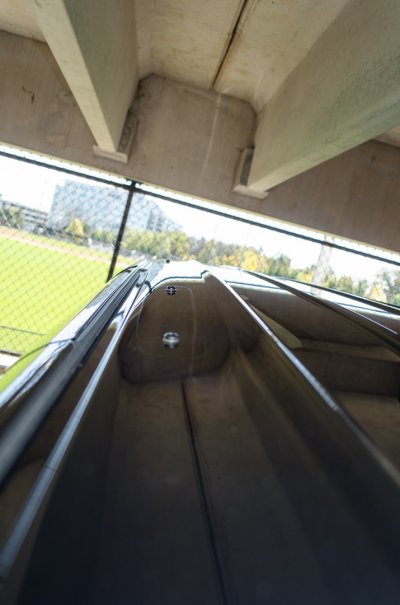
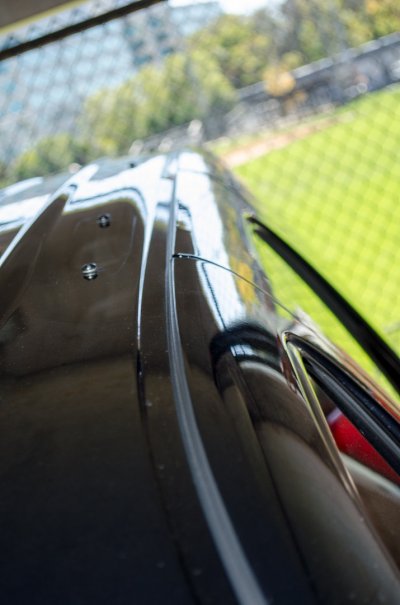
Step 7: At this point, you may want to grab a rag, some soap, and some water to clean up the dirty spots where the roof rack sat against the roof. You will notice in my pictures below, there is a raised wax ring where the plastic parts touched the roof. I will have to work on removing these.
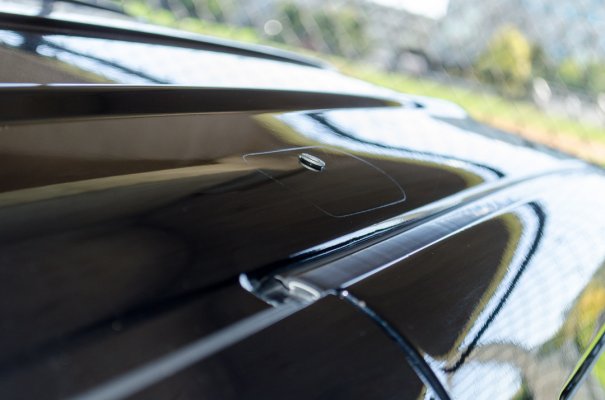

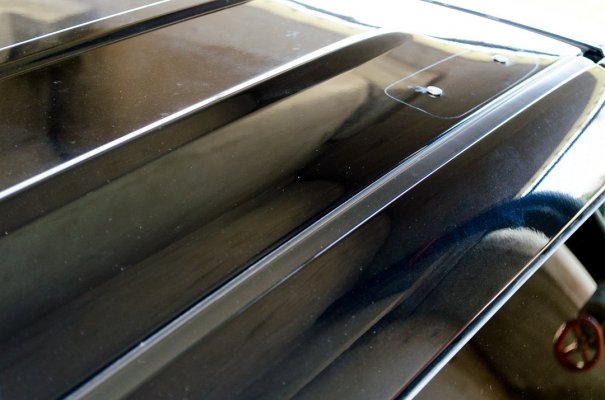
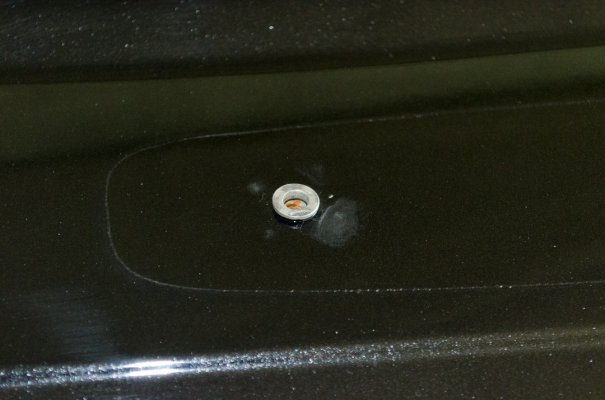
Step 8: Put locktite on your newly painted screws and screw them snugly into the holes in your roof.
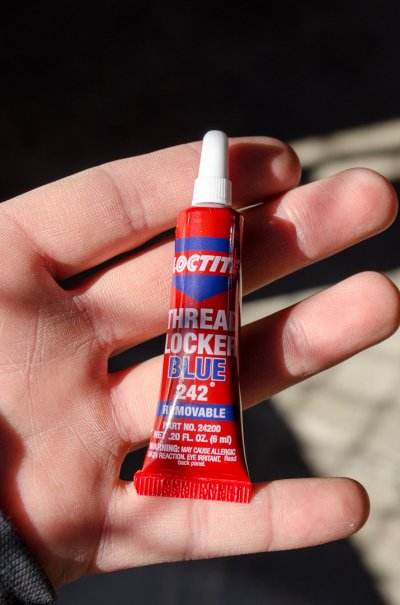
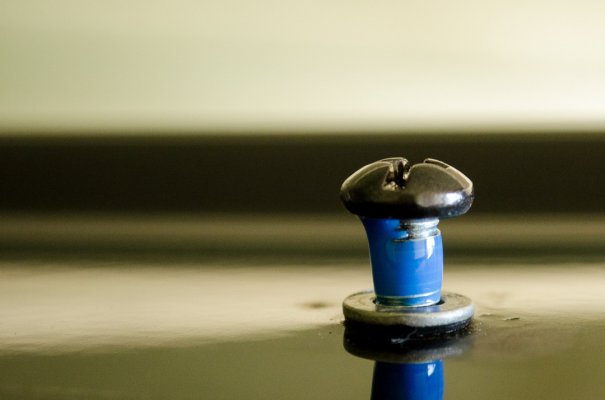
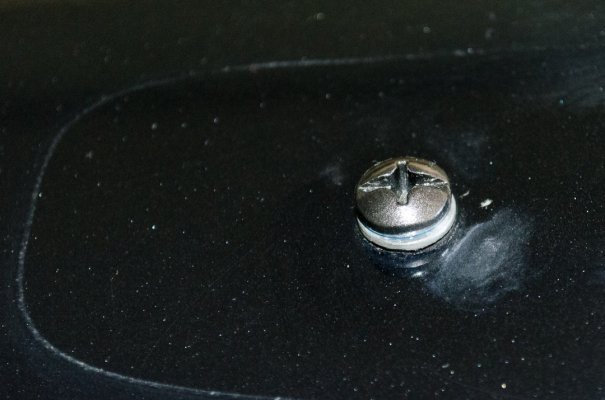
Step 9: Enjoy your new clean roof!
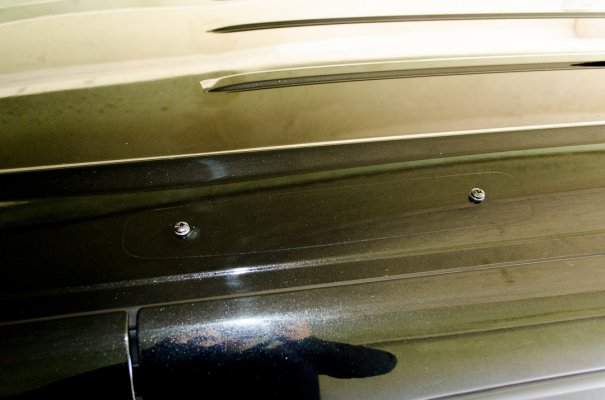
This project is EASY and should take even a novice approximately 30 minutes.
Tools Needed:
- Drill or Screwdriver
- T25 Torx Bit
- Flathead Screwdriver
Hardware Needed:
- 10x M6-1.0 x 16mm Pan Head Screws
- Locktite Thread Sealant
- Spraypaint (close to matching your car paint color)
Prepatory Work:
Prep Step 1: Push each screw through a piece of cardboard. This will help ensure you paint only the top of the screws.

Prep Step 2: Paint the screw tops. I would recommend at least two coats. Let the paint dry while you take the roof rack off.


Here is what I started with.


Step 1: Remove the T25 Torx screws (left and right) on the back of the rack.


Step 2: GENTLY pry up on the tab in between the two torx screws, this will allow you to slide the rear plastic cover off. In the image below you can see the tab under the plastic cover. Use a flathead screwdriver to gently release the clip will pulling the plastic cover toward the rear of the car. Do the other side also.

Step 3: Slide the plastic cover off of the rail. If your truck is less than brand new, there will likely be a lot of dirt under the cover. Do the other side.

Step 4: Release the slide locks on the cross bars and slide them off the rails.


Step 5: Remove the screws from the center supports on both sides of the vehicle. The center supports are attached to the rails by plastic clips. No need to release the clips, just leave them attached.

Step 6: Remove the two screws from the two front plastic mounts (located over the B-pillars). The roof rack is now completely free and able to be removed.


Step 7: At this point, you may want to grab a rag, some soap, and some water to clean up the dirty spots where the roof rack sat against the roof. You will notice in my pictures below, there is a raised wax ring where the plastic parts touched the roof. I will have to work on removing these.


Step 8: Put locktite on your newly painted screws and screw them snugly into the holes in your roof.


Step 9: Enjoy your new clean roof!


 The Escalade thing just never crossed my mind...