You are using an out of date browser. It may not display this or other websites correctly.
You should upgrade or use an alternative browser.
You should upgrade or use an alternative browser.
Randeez 2012 Budget Yukon Denali Build (stick on hood scoops galore)
- Thread starter randeez
- Start date
Disclaimer: Links on this page pointing to Amazon, eBay and other sites may include affiliate code. If you click them and make a purchase, we may earn a small commission.
randeez
Full Access Member
randeez
Full Access Member
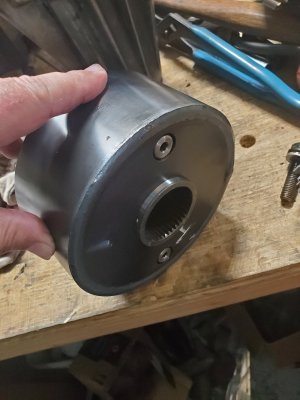
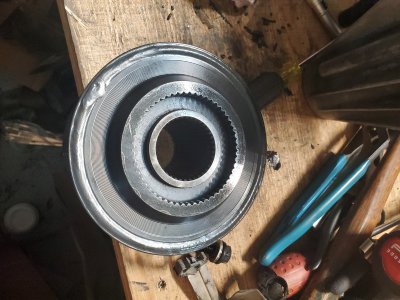
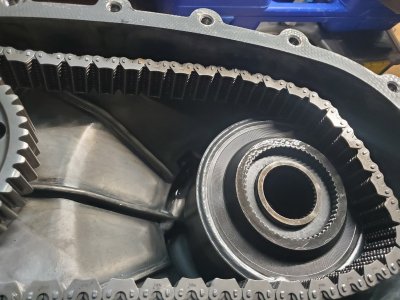
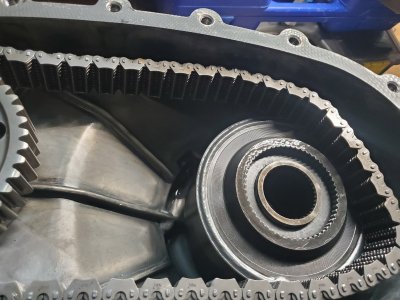
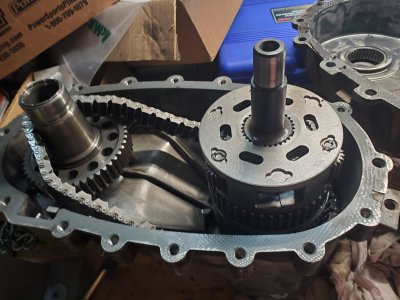
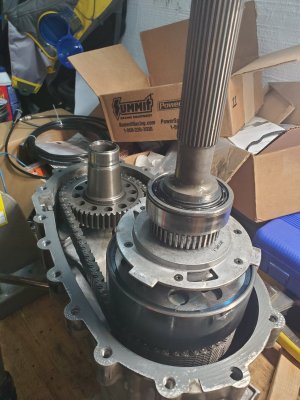
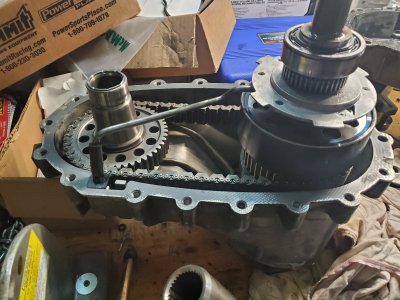
Is that the viscous clutch in the last picture, it has some blue gunk on it? My 06 SD has this t case and I've been curious to what the inside looked like. I LOVE how it works, yesterday I had to pull out on hw36 going towards Boulder, I had a tiny opening and took it. I smashed it the the floor and just as the rear wanted to spin, it just took off like a rocket with nothing spinning. I think you're going to love this in your Denali.
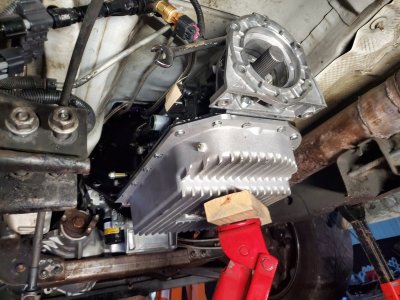
thats what im hoping for, fought too long with the bw4485 open style - long as i can get all the parts together to mate this thing up to a 4l80 it'll go back in all together
randeez
Full Access Member
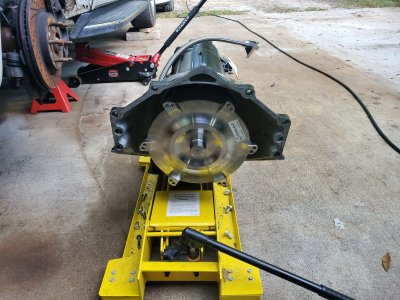
got word the transmission should be back together today and thrown on the tranny dyno...were sposed to call and let me know what the damage $$$ was, hopefully shipped out early next week. never called, hoping everythings good. the pump ate itself up and put some more aluminum throughout - so good thing i didnt attempt to flush it out myself and put it back in  need to talk to them and see if i need to check anything or if this was in fact a casualty of the converter.
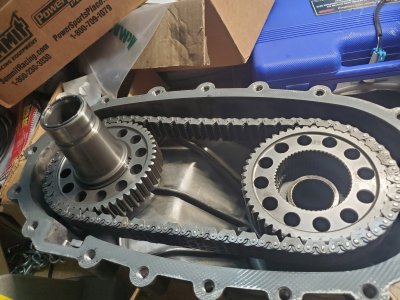
got ahold of the guy for the machined input shaft to make the np149 work with the 4l80 (and 6l80), says usually takes a week or so to get them out - dunno if itll be here "in time" to put it back together with that transfer case. i need to order rebuild kit for the np149, after tearing it apart i should be good with chain, bearings, seals, pump.
got ahold of the guy for the machined input shaft to make the np149 work with the 4l80 (and 6l80), says usually takes a week or so to get them out - dunno if itll be here "in time" to put it back together with that transfer case. i need to order rebuild kit for the np149, after tearing it apart i should be good with chain, bearings, seals, pump.
randeez
Full Access Member
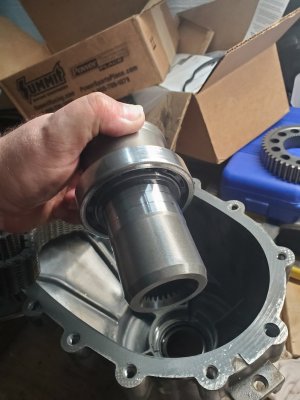
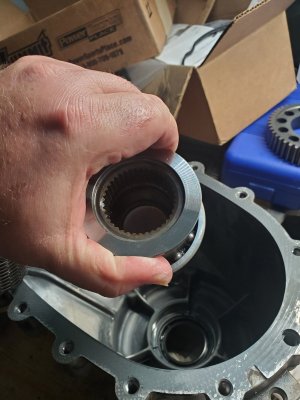
having hell of a time breaking down this transfer case, i need to (and did) order a proper pair of snap ring pliers for these larger ones. im trying to get to the "pump" as i can see theres some aluminum shavings all around where it sits on the output shaft. every vid ive watched they pull the snap ring and literally just remove the bearing by hand- as it should cause its held there by a snap ring. and then the reluctor for the speed sensor just slides right off after it. well i managed to hold and beat the shaft out of the bearing by hand which wasnt fun, and the reluctor seems just as tight going to try and hit it with some heat tomorrow.
4 (pump) ,5(snap ring),6(reluctor),7(bearing),8(snap ring) at the top
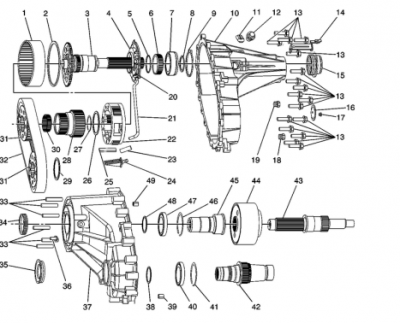
ended up just ordering entire rebuild kit - seals, bearings, chain, sprockets, pump, viscous coupler... the one in here seems to be leaking a little, refurbs were 300-400 without having a test bench, to test it you need to run it for half hour , lift the back, set parking brake, take out the front driveshaft, rotate front side of transfer case with 15ft lbs just to determine if its good. figured it couldnt hurt to have a spare since i break everything anyway.
4 (pump) ,5(snap ring),6(reluctor),7(bearing),8(snap ring) at the top

ended up just ordering entire rebuild kit - seals, bearings, chain, sprockets, pump, viscous coupler... the one in here seems to be leaking a little, refurbs were 300-400
randeez
Full Access Member
Gave it the fire with no luck...sooo made executive decision to cut that crap off. It wont be needed since I dont use speed sensor from there. There is a shoulder that the bearing bottoms out on and a snap ring that holds the pump up, so not needed for spacing or anything. Also looks like top edge of the teeth were hammered to get it on at one point. 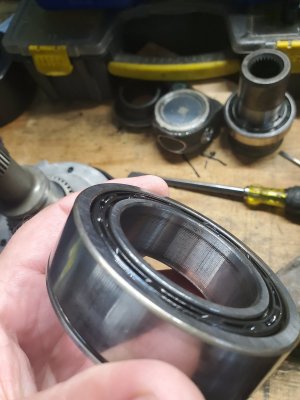
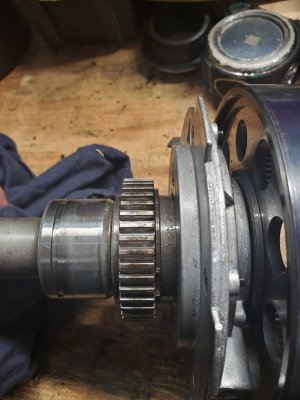
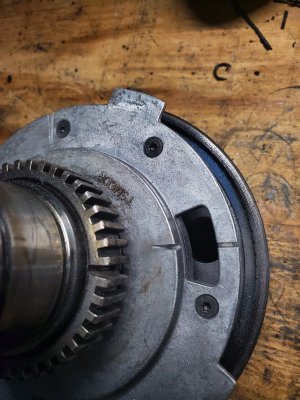
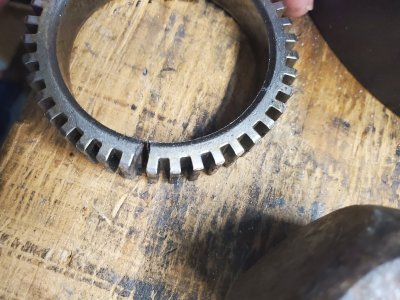
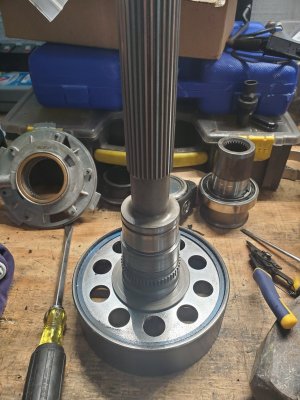


Sam Harris
Supporting Member
Yeah, those teeth are fooked! WTHGave it the fire with no luck...sooo made executive decision to cut that crap off. It wont be needed since I dont use speed sensor from there. There is a shoulder that the bearing bottoms out on and a snap ring that holds the pump up, so not needed for spacing or anything. Also looks like top edge of the teeth were hammered to get it on at one point. View attachment 239371 View attachment 239372 View attachment 239373 View attachment 239374 View attachment 239375

Last edited:
randeez
Full Access Member
transmission "refresh" has been paid for and should be thrown on the shipping truck in the morning.
the initial cost was a little tough to swallow for this trans if youve followed along, so for the last month I have had this pit in my stomach that the cost to fix it was going to be way up there - I have spent a retarded amount on this crap in the "hopes" of making it reliable.... i joke alot about its only money n crap but i am a pretty cheap fukk most of the time. the longer this took the more i started looking at local shops that i could use in the future to avoid the shipping and (hopefully)downtime.
i realize in this game im playing there's rarely warranties outside of obvious builder and craftsmanship errors, something breaks i just want it fixed. i'm straight up with these guys and telling them whats wrong, steps ive taken, anything i doubt about doing the work my own self. i dont blame problems on people, i dont ask for anything free, sponsorships, discounts, etc.
i fully expected the cost to be (minimum) cost for a tear down/assemble $1800, hard parts $5-700(planetaries/pump), shipping roundtrip $500, probably some other misc shop supply charge @$150 and, to me, that would be totally fair and reasonable.
so talking with them today he starts rattling off everything that needed to be done, cleaned up, tested, etc. and and im here thinking the longer this goes the more its going to be... andddd grand total for me a little shy of $2000 total (phewww relief) all said and done back to me. it was way cheaper to have them ship it using their freight account (than to ship without a freight acct) like $220 for them, $600 for me to ship it. so that means right off the bat ~$500 of that is gone just for shipping. hardparts replaced planetary something like this: http://www.tcsproducts.com/products/product/4l80e-overdrive-planetary/ pump im sure they use atleast a genuine pump so $150-300, $500 total parts. so we're down less than $1000 for labor and misc supplies, testing, cleaning. i dont doubt they can probably rebuild one of these in a few hours so i doubt they're "losing money" but that is what experience costs . in either case i am happy with them, no regrets on going with them
Last edited:
randeez
Full Access Member
randeez
Full Access Member
f'n.... looks like the trans cooler lines are now leaking into the radiator - guessing a little too much psi on the air when i was blowing out the lines. havent definitively came to that conclusion but overflow tank looks a little pink and cooler lines seem to be very watered down.
long over due anyway... ordered the mishimoto. prob shouldve gone thru the sponsor but needed/wanted it asap sorry
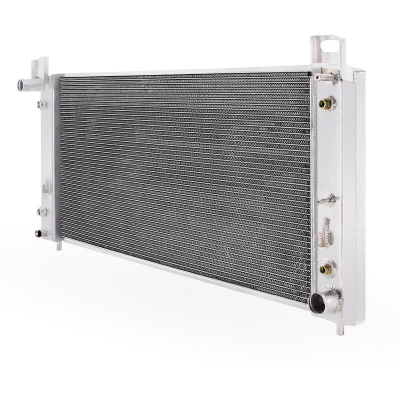
long over due anyway... ordered the mishimoto. prob shouldve gone thru the sponsor but needed/wanted it asap sorry


