RENAMED!! The adventures of Chase and his 2006 Yukon XL Denali!! Follow along on my travels!

Disclaimer: Links on this page pointing to Amazon, eBay and other sites may include affiliate code. If you click them and make a purchase, we may earn a small commission.

ivin74

05 NBS Nali
Joined
Aug 3, 2014
Posts
2,394
Reaction score
2,517
Location
Htown, Texas
$41.... lol. Except that I was heading out and the guy at the door was like uhh you didn’t pay for the lift supports...... I’m like why would you charge separate for the lift supports when it’s all one piece?! He charged me for the whole thing.... and then the door guys like well I gotta check with the boss.... I’m like ok whatever.... and of course the boss said yeah you gotta pay for those separately. So I’m like whatever take them off I don’t need them.... the guys like well you have to do that... I told him no haha. So he had to take them off.... :D


That was a steal
 

Rocket Man

Mark
Supporting Member
Joined
Dec 25, 2014
Posts
26,010
Reaction score
50,904
Location
Oregon
$41.... lol. Except that I was heading out and the guy at the door was like uhh you didn’t pay for the lift supports...... I’m like why would you charge separate for the lift supports when it’s all one piece?! He charged me for the whole thing.... and then the door guys like well I gotta check with the boss.... I’m like ok whatever.... and of course the boss said yeah you gotta pay for those separately. So I’m like whatever take them off I don’t need them.... the guys like well you have to do that... I told him no haha. So he had to take them off.... :D
Helluva deal. And you didn’t need the lift supports anyway right?
 
OP
OP
adventurenali92

adventurenali92

Full Access Member
Joined
Feb 16, 2015
Posts
7,424
Reaction score
8,673
Location
Big Bear Lake, ca
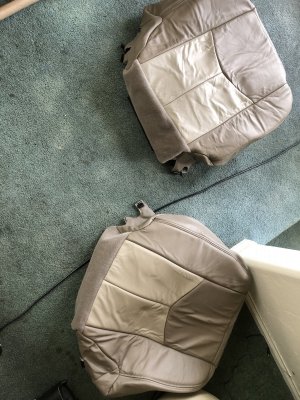
Well it’s to replace both leather seat bottoms on my front seats. I replaced my drivers side a couple years but it developed a crack in the top leather part. It’s been driving me nuts ever since. Got both the front covers in ebay for $230. I thought that was a pretty good deal. They got delivered yesterday. Now just gotta tackle installing them. The seat shop outta Dallas has some really good install videos I’ll be following along.

717CB26B-9AB3-4E83-AACC-6FC1A8A89F5B.jpeg
 
OP
OP
adventurenali92

adventurenali92

Full Access Member
Joined
Feb 16, 2015
Posts
7,424
Reaction score
8,673
Location
Big Bear Lake, ca
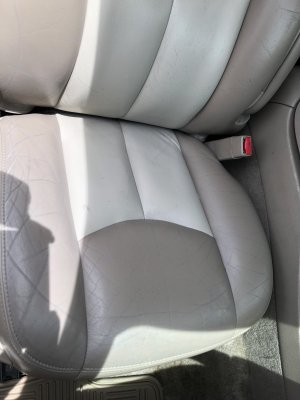
Well got the passenger side done. Not too difficult. Just lots of little time consuming things to do. Holy crap there’s a crap ton of wires and corresponding harness les to unplug under there while removing the bottom portion. That was an adventure! anyways here’s what my passenger seat bottom looked like:

9DF740BC-5D58-4DAA-90BA-11DACAF14A63.jpeg
Not in too bad of shape. Just worn. And I figured since I needed to buy a drivers side I may as well order this one too.
 
OP
OP
adventurenali92

adventurenali92

Full Access Member
Joined
Feb 16, 2015
Posts
7,424
Reaction score
8,673
Location
Big Bear Lake, ca
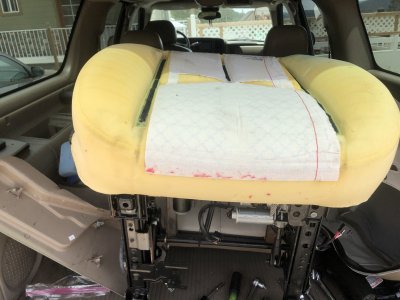
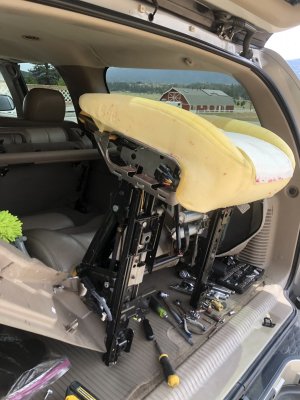
Seat apart and out of the truck:

4A83DFBA-52F3-4C2A-8C1D-222A09E60656.jpeg 44748BE9-C070-49C5-B8AA-B2B8194A2E02.jpeg
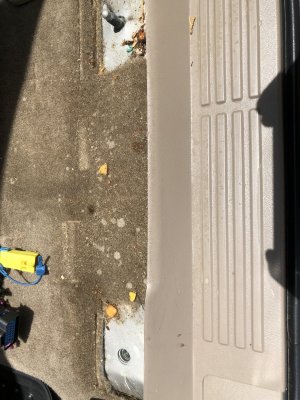
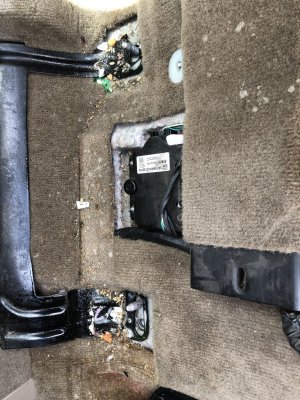
There was a crap ton of dirt and crap under the seat: ED5AF831-8102-4511-8175-9936940054B5.jpeg AD50CBC3-22E2-41F8-A179-8E42E513779E.jpeg
So I vacuumed and it hit with a little bit of carpet shampoo product and a brush, and then sucked it all out with my shop vac. Good and clean before the seat went back in.
 
OP
OP
adventurenali92

adventurenali92

Full Access Member
Joined
Feb 16, 2015
Posts
7,424
Reaction score
8,673
Location
Big Bear Lake, ca
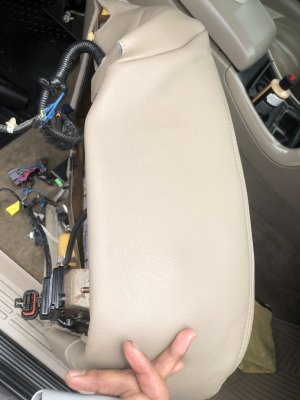
My only complaint about these leather covers is that they didn’t have the cutouts in the side panel for where the seat adjustment panel and controls go:

D0DCCAEC-F81B-4B8D-9207-F026D5F45D48.jpeg
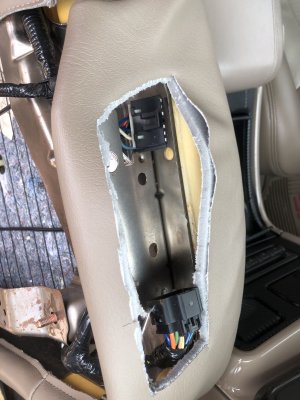
So I had to very carefully cut out a hole to be able to put that panel back on, I think I did a pretty good job: 990A63C5-76EE-4C35-ADF8-C350B440F6B8.jpeg
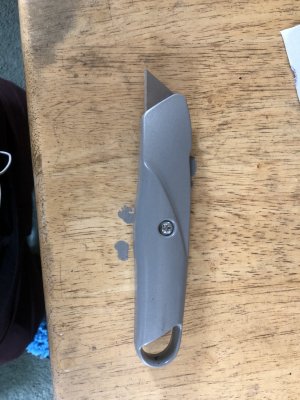
Used this little guy that came in a tool kit that I got last summer to cut the opening: image.jpg
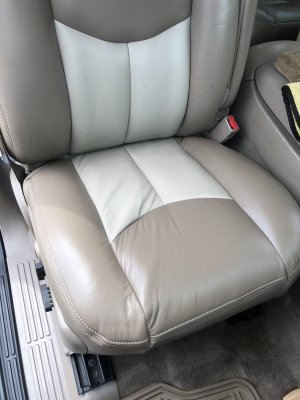
Don’t know what that tool is called. Lol. Anyways the final product all out back together and bolted back into the truck: 93695EF2-C040-4B21-9FF8-BDD3F4731432.jpeg
I’m satisfied with my work. Not by any means perfect but much better. And the wrinkles in the leather will settle and even out over the course of the next few days. And of course I scrubbed with CG leather cleaner and then followed behind with CG leather conditioner. My favorite products haha.
 
Last edited:

Forum statistics

Threads
133,018
Posts
1,878,500
Members
97,973
Latest member
Woody307
Top