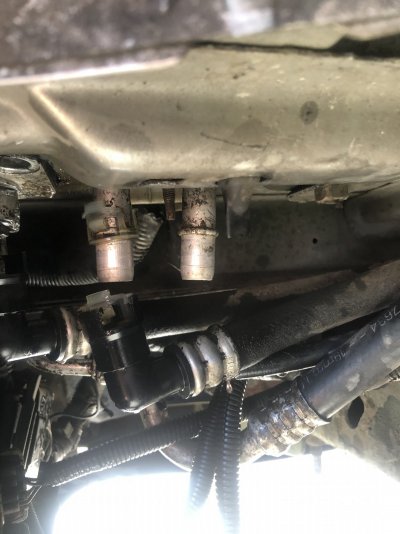
The black one is GM Genuine 15055342, white is 15055343. Don’t buy the Dorman ones, they don’t last from what I heard.Great, another project for me. Mine have been on for her entire life too. Do you have the part numbers?
You are using an out of date browser. It may not display this or other websites correctly.
You should upgrade or use an alternative browser.
You should upgrade or use an alternative browser.
Rocket Man's 02 Denali Build Thread AKA "THE BEAST"
- Thread starter Rocket Man
- Start date
Disclaimer: Links on this page pointing to Amazon, eBay and other sites may include affiliate code. If you click them and make a purchase, we may earn a small commission.
Git it. Thanks Mark.
The black one is GM Genuine 15055342, white is 15055343. Don’t buy the Dorman ones, they don’t last from what I heard.
Which color goes on which side?

White is driver side. They have different angles where the rear lines connect. Not sure if they’d work if you reversed them.Which color goes on which side?
I removed the rear quick connects. They weren’t as brittle as the fronts, maybe because of no engine heat. But there was no way they were coming off without just destroying them.
I don’t think I can do without elbows there, the hose would kink. I can’t find those on any GM parts site, so I ordered some Dorman ones, 1 day prime. They’re easy enough to access so if they break in the future they’re easy to replace.
I don’t think I can do without elbows there, the hose would kink. I can’t find those on any GM parts site, so I ordered some Dorman ones, 1 day prime. They’re easy enough to access so if they break in the future they’re easy to replace.
Attachments
Do you have enough slack in the lines for the new connectors?I removed the rear quick connects. They weren’t as brittle as the fronts, maybe because of no engine heat. But there was no way they were coming off without just destroying them.
I don’t think I can do without elbows there, the hose would kink. I can’t find those on any GM parts site, so I ordered some Dorman ones, 1 day prime. They’re easy enough to access so if they break in the future they’re easy to replace.
Yessir, there’s enough to get er done. I ordered some 1” spring clamps to hold them hoses on too. I hate screw clamps.Do you have enough slack in the lines for the new connectors?
I love spring clamps!!!And the spring clamp pliers!Yessir, there’s enough to get er done. I ordered some 1” spring clamps to hold them hoses on too. I hate screw clamps.
- Joined
- Jan 3, 2011
- Posts
- 50,460
- Reaction score
- 17,587
Uh oh….Mark gave paw paw a st1ffy againI love spring clamps!!!And the spring clamp pliers!

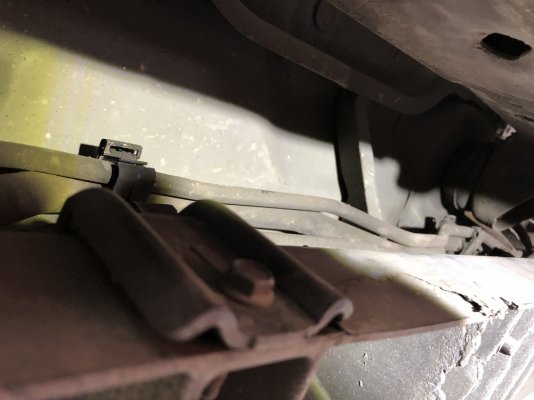
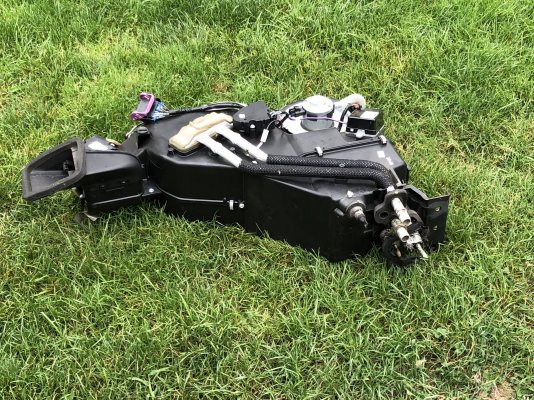
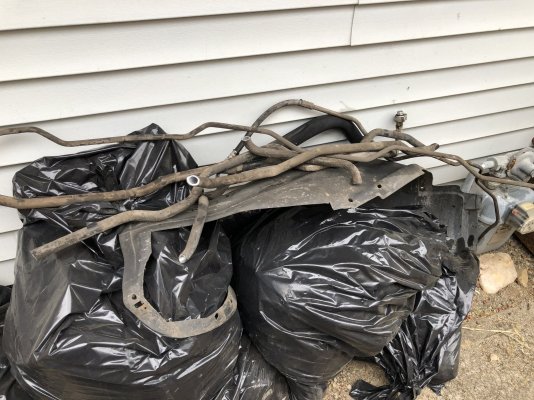
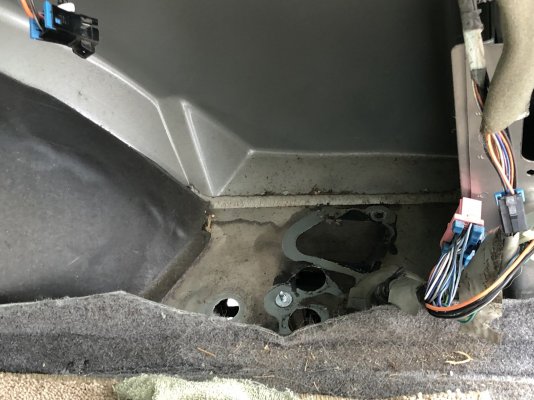
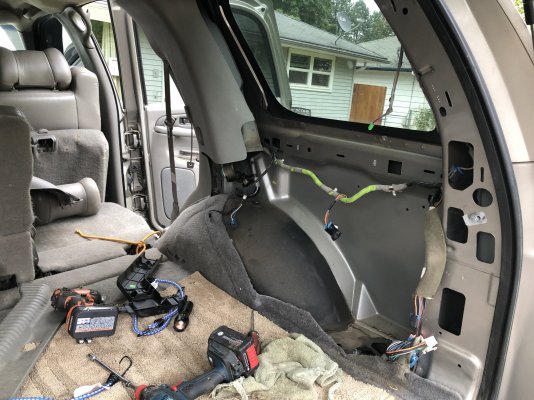
I started on the rear hvac unit today. Fist thing was removing the old refrigerant hard lines. I know the new kit says you don’t need to remove them but why wouldn’t you? Hopefully they’ll fit in the original clips. I will say if you were to use hard lines to replace them with it would be a lot of work. There would have to be a bunch of stuff removed including the running boards, at least on a Denali. There’s 2 types of clips, neither are too hard to release. I ended up cutting the lines into several pieces to get them out. After that, and having the heater lines removed, it was fairly easy to remove the unit. There’s 2 10mm nuts on the underside and some harnesses and screws on the inside, accessible after removing the panel.
Attachments
-
 F83BFEAC-E6E2-493D-88F6-5BFA7704F221.jpeg213.3 KB · Views: 17
 -
 D2DFAC42-B06B-44B2-9934-0908B657ED37.jpeg808.3 KB · Views: 17
 -
 6C6540AD-233B-496E-88E7-91FC7A9B0D95.jpeg403.4 KB · Views: 17
 -
 3C5EC554-C286-413F-B688-CE36D160AE21.jpeg287.2 KB · Views: 17
 -
 021A63FB-F7D4-476B-88C3-159B9D887102.jpeg374.9 KB · Views: 17
Similar threads
- Replies
- 17
- Views
- 4K

