The Raven
Full Access Member
I almost traded my NNBS Tahoe Z71 in back in February because I had a ton of GM card points to use and the Tahoe needed some TLC. Unfortunately i'm not a big fan of the new Tahoes nor spending near $70k for one and I just wasn't happy with anything smaller. Got real close to a deal on a new LT Trail Boss but I backed out because i've never been a big fan of pickups. So i've decided i'm going to invest some money into the Tahoe and hold onto it for at least another 3 years. The idea is not to build the ultimate Tahoe - just to bring my NNBS more up-to-date with many of the now-available features that the GMT900 didn't offer.
I've got a bunch of threads detailing the different phases of the project - this is the main interior thread.
One of the things that bothered me about my Tahoe was the condition and quality of the leather. It wasn't terrible, I know many of you reading this have 150k mile plus trucks with torn leather and broken foam. But as part of the renovation project I wanted to renew the interior, and that just wasn't happening with the stock leather.
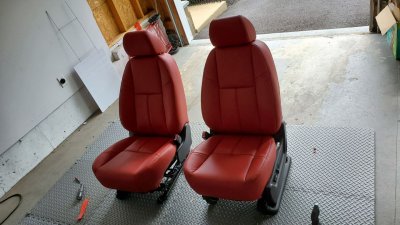
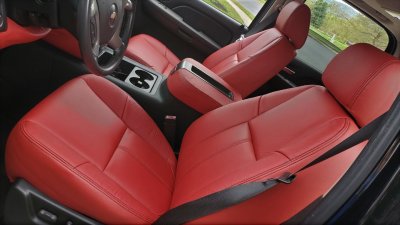
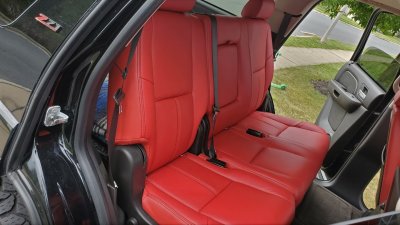
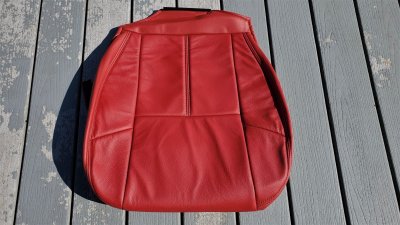
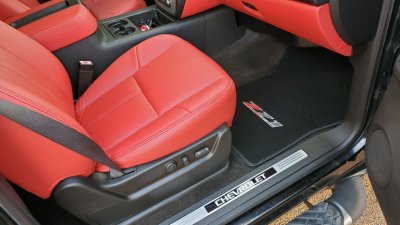
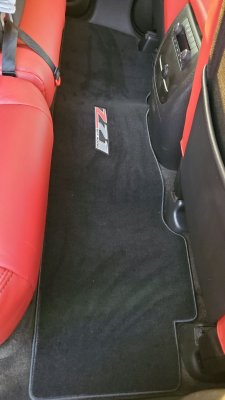
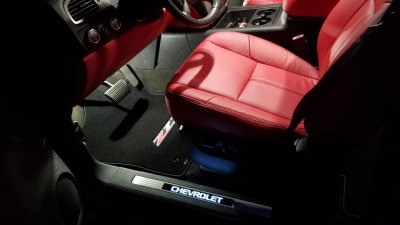
I ended up going with Custom Factory Interiors (aka Leatherseats.com) as my supplier because i've worked with them on multiple projects in the past and both their product and service rivals the best in the business. I deliberated for months over what color theme to go with...for the longest time i've wanted the baseball-glove leather but it just didn't work with my black-with-red-accents exterior theme so I decided it would have to be some version of black with red. It came down to either black with red stitch, black with red inserts and red stitch, or, the ballsy-est route - red with black stitch. I even surveyed my family and friends to get a bearing on what I would probably be happiest with over the long term. Black with red inserts won, red with black stitch came in a close second though. So I was all set on black with red inserts until I realized that i was not going to be able to achieve red stitching on my dash project (see thread)...my sewing equipment that had worked in the past on my WS6 and Z06 interiors just was not able to reliably complete the 5ft long stitch I would need across the dash. So at that point I said F-it, i'm going all red. I did the lower dash in matching red vinyl and ordered the seat kit. They quoted me three weeks from start to doorstep, and it actually took two weeks and two days.
Saturday morning:
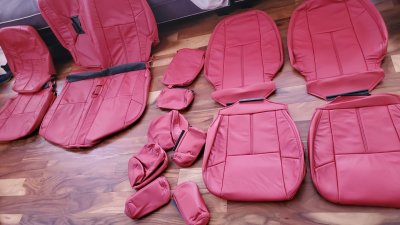
The leather happened to show up at a perfect time...wife and kid were going to be away for much of the weekend and I had planned on working on undercoating the Tahoe. As you can imagine, I very quickly changed my plans for the weekend.
So I got to work:
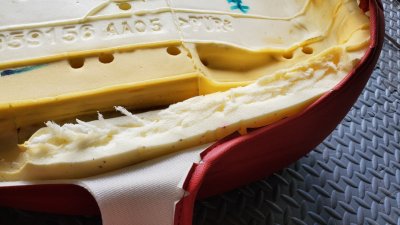
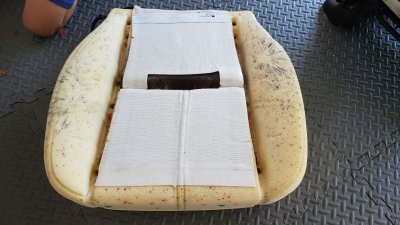
When disassembling the seats, I steamed each cushion. This is especially important on the front base foam because it's going to be very compressed from years of being sat on. Steaming is a nice cheap way to restore the foam to like-new condition so you don't have to spend $100+ on a new cushion (or many). I picked up a used commercial steamer for $36 shipped on ebay and steamed all the foam.
Driver's cushion before:
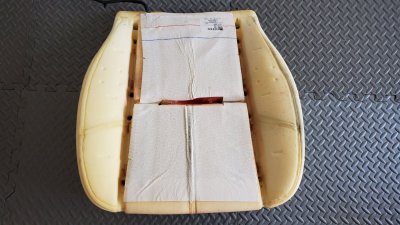
Notice the left bolster is deformed and flat, with deep indentations from the leather seams.
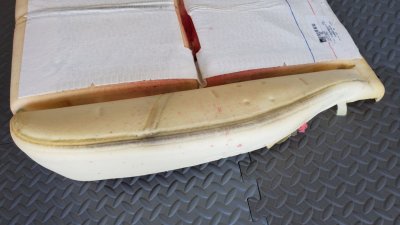
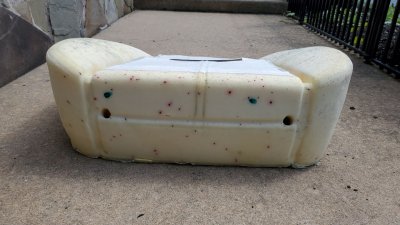
After steaming - notice the bolsters are back to original shape and the indentations from the seams are gone:
I've got a bunch of threads detailing the different phases of the project - this is the main interior thread.
One of the things that bothered me about my Tahoe was the condition and quality of the leather. It wasn't terrible, I know many of you reading this have 150k mile plus trucks with torn leather and broken foam. But as part of the renovation project I wanted to renew the interior, and that just wasn't happening with the stock leather.
I ended up going with Custom Factory Interiors (aka Leatherseats.com) as my supplier because i've worked with them on multiple projects in the past and both their product and service rivals the best in the business. I deliberated for months over what color theme to go with...for the longest time i've wanted the baseball-glove leather but it just didn't work with my black-with-red-accents exterior theme so I decided it would have to be some version of black with red. It came down to either black with red stitch, black with red inserts and red stitch, or, the ballsy-est route - red with black stitch. I even surveyed my family and friends to get a bearing on what I would probably be happiest with over the long term. Black with red inserts won, red with black stitch came in a close second though. So I was all set on black with red inserts until I realized that i was not going to be able to achieve red stitching on my dash project (see thread)...my sewing equipment that had worked in the past on my WS6 and Z06 interiors just was not able to reliably complete the 5ft long stitch I would need across the dash. So at that point I said F-it, i'm going all red. I did the lower dash in matching red vinyl and ordered the seat kit. They quoted me three weeks from start to doorstep, and it actually took two weeks and two days.
Saturday morning:

The leather happened to show up at a perfect time...wife and kid were going to be away for much of the weekend and I had planned on working on undercoating the Tahoe. As you can imagine, I very quickly changed my plans for the weekend.
So I got to work:
When disassembling the seats, I steamed each cushion. This is especially important on the front base foam because it's going to be very compressed from years of being sat on. Steaming is a nice cheap way to restore the foam to like-new condition so you don't have to spend $100+ on a new cushion (or many). I picked up a used commercial steamer for $36 shipped on ebay and steamed all the foam.
Driver's cushion before:

Notice the left bolster is deformed and flat, with deep indentations from the leather seams.

After steaming - notice the bolsters are back to original shape and the indentations from the seams are gone:


