White on White - Complete Interior Swap

Disclaimer: Links on this page pointing to Amazon, eBay and other sites may include affiliate code. If you click them and make a purchase, we may earn a small commission.

OP
OP
BOSS

BOSS

The People's A D M I N
Supporting Member
Joined
May 3, 2009
Posts
3,765
Reaction score
24
Location
Dallas
Yep, I'm callin ******** now...........you know that baby girl is gonna have that shit in her ride, and that's 16 years from now, imagine how much of a pain in the ass that's gonna be to laydown at that age........
Ugh don't remind me of 16 :)


B O S S
 
OP
OP
BOSS

BOSS

The People's A D M I N
Supporting Member
Joined
May 3, 2009
Posts
3,765
Reaction score
24
Location
Dallas
I'm sure some guys following this are wondering when are we gunna see some results here :) I intend to post up most of the pictures when it's completed and maybe a video but here's some updates of the painting.

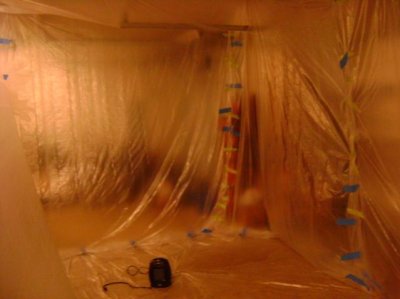
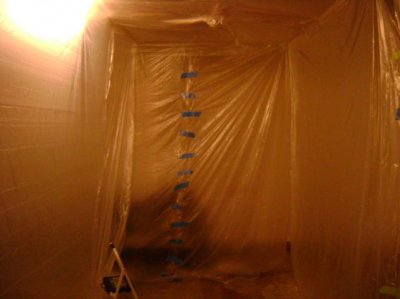
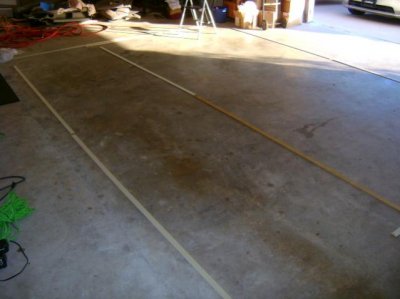
So here's some pictures of the paint booth I built in my 3car garage, it really works well aside from the cold. You can't spray unless it's at least 70deg - well it's not recommended anyway. So I run a portable heater beside the ventilation side and it draws in warm air to heat up the room. I have almost the entire interior to paint and going for 2 coats, so this booth is going to save my ass I think.

It's hard to see from the pictures but the booth takes up almost my entire garage, leaving a walkway to my tools and half of one car space for all my plastic pieces and interior parts.

If any guys in Dallas need something painted, now is the time to hit me up! I'm taking it down when this is all done in December. I've been spending some of my weekends test painting plastic from the junk yard, you have no idea how hard it is to match colors and matte finish when doing this! I've gone through 4 colors of paint trying to get it right from the picture I have in my head.

#001,
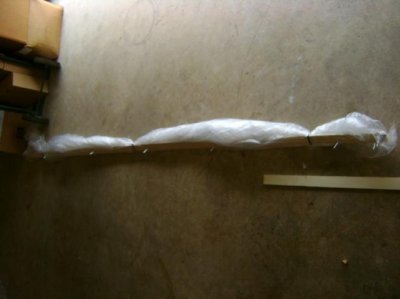
Framing it out (The walls and the ceiling plastic both go under the wood frame inside the actual booth so it keeps the atomized spray from going anywhere except the exit vents , the rest of the plastic is staple gun'd to the frame pieces in the drying room)
PaintBooth_TahoeWhiteSwap_1209 001.jpg


#006
How I installed the frame by myself with pre-rolling the plastic and sticking it on the nails first...there was literally no other way to do this by myself. I would lay the ceiling pieces and a wall piece on the same board and hoist it up myself...serious pain in the ass man
PaintBooth_TahoeWhiteSwap_1209 006.jpg

#014
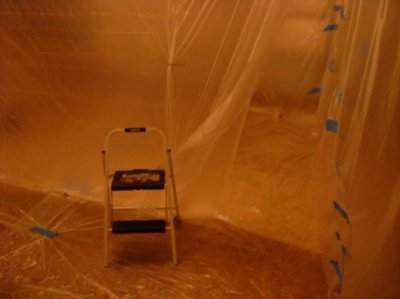
Paint booth room, with heater LOL
PaintBooth_TahoeWhiteSwap_1209 014.jpg

#017
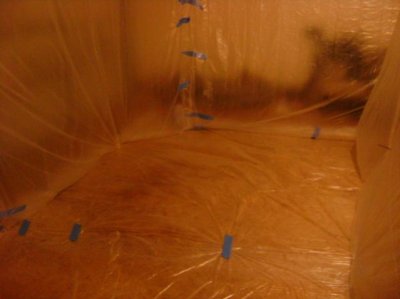
Paint booth - back of the room
PaintBooth_TahoeWhiteSwap_1209 017.jpg

#333
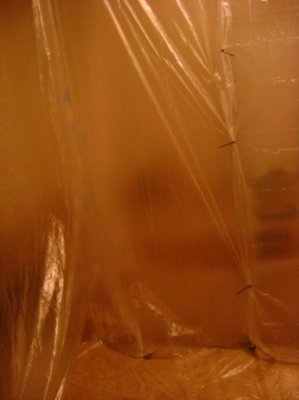
Wall seams between the booth and the drying room
PaintBooth_TahoeWhiteSwap_1209 0333.jpg
 
OP
OP
BOSS

BOSS

The People's A D M I N
Supporting Member
Joined
May 3, 2009
Posts
3,765
Reaction score
24
Location
Dallas
#26
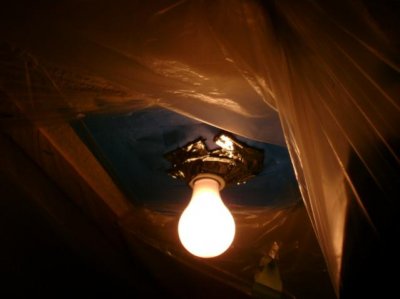
Good ol' Dynamat, keeps the plastic and tape from melting :)

PaintBooth_TahoeWhiteSwap_1209 026.jpg

#29
Drying room
PaintBooth_TahoeWhiteSwap_1209 029.jpg

#23
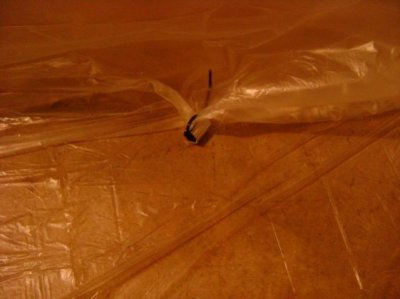
Used sockets and a twist tie to hold down the seam between the booth and the drying room
PaintBooth_TahoeWhiteSwap_1209 023.jpg

#24
Door between the rooms
PaintBooth_TahoeWhiteSwap_1209 024.jpg

#334
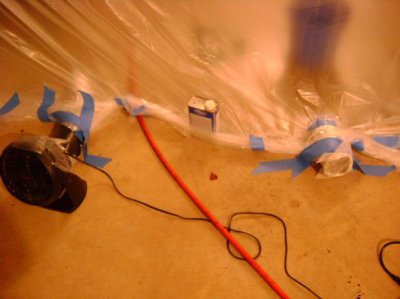
Using a fan and washer/dryer hose from Home Depot wrapped in plastic to ventilate all the paint spray. The dryer hose is rigid so it allows the plastic to be seamed up around it easily. There's 3 vents and a fan vent pulling air out. I use dryer sheets on the vent-in and the vent-out to catch the paint spray molecules and keep them from going in the garage. I learned that trick in the college dorm :)
PaintBooth_TahoeWhiteSwap_1209 334.jpg

It's amazing how quickly the room clears when I'm spraying, I didn't think it would honestly. The trick is of course, I have to stay on that side of the room for it to be most effective.

Enjoy
B O S S
 
Last edited:

01yukonslt

need more deebeeeez!
Joined
Oct 22, 2009
Posts
522
Reaction score
0
Location
Spokane, WA
have you looked into that stuff called plastidip a lot of the subaru guya have used it in there interiors with great success and it seems to hold up well, not sure if you have painted anything yet but if not its worth looking at
 
OP
OP
BOSS

BOSS

The People's A D M I N
Supporting Member
Joined
May 3, 2009
Posts
3,765
Reaction score
24
Location
Dallas
have you looked into that stuff called plastidip a lot of the subaru guya have used it in there interiors with great success and it seems to hold up well, not sure if you have painted anything yet but if not its worth looking at

Never heard of it to be honest, I'll keep that in mind. I went with SEM products. They make an elastomeric paint which holds up good to flexing/bending. They have several products to enhance the paint too, a flattener for customizing the look, a reducer to thin it out for spraying and an agent called cross-linker which strengthens the paint against chemicals and abrasions. It will still scratch if you scratch it hard enough of course, but since most OEM plastic is molded, it means the color is in the plastic itself and has more resistance to mild scratching than painted surfaces do.

Here's a test spray I did on junk plastic, I think I got the matte % exactly where I want it now. This is actually listed as a GM black color, although you can clearly see it is NOT a black....adding to the frustration of getting colors correct when you are just going by charts and eyeballing what you want in the result. This one is by no means any perfect piece, I had taped it off, test scratched it throughout 3 coats over a 4 hour period to test different concentrations of cross-linker, repainted it etc. The final coat is a 20% matte finish. I think it's flat enough for my look. :)

PaintBooth_TahoeWhiteSwap_1209.jpg

BOSS
 
Last edited:
OP
OP
BOSS

BOSS

The People's A D M I N
Supporting Member
Joined
May 3, 2009
Posts
3,765
Reaction score
24
Location
Dallas
have you looked into that stuff called plastidip a lot of the subaru guya have used it in there interiors with great success and it seems to hold up well, not sure if you have painted anything yet but if not its worth looking at
BTW isn't that mostly for dipping tool handles?


B
 
OP
OP
BOSS

BOSS

The People's A D M I N
Supporting Member
Joined
May 3, 2009
Posts
3,765
Reaction score
24
Location
Dallas
Soo...I have a problem

So I changed some of the design...and I thought I could make it till the Houston meet and not show a soul what I've been doing...I was wrong! It seems I REALLY have the forum addiction because I have to show at least someone wtf I've been up too in my free time :buffer:

Of course, story of my life with a new baby in the house...nothing is put together yet. I'm on a 23 day crunch till Houston and leather doesn't get here till end of next week...***!

It's kinda hard to picture the end product...but I hope it comes out cool..it's a serious pain in the ass!

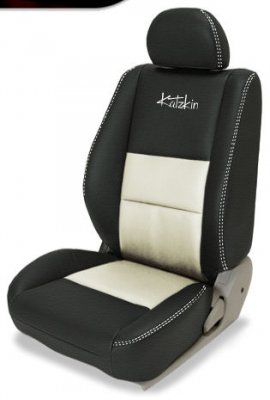
Ordered the Black leather last Friday , double Pearl-white stitch, Pearl white inserts(wife convinced me on the inserts...I still have a hard time imagining them in my truck but they break up the black I guess)
(switch the word Katzkin for BOSS)
BOSS_seats_2.jpg

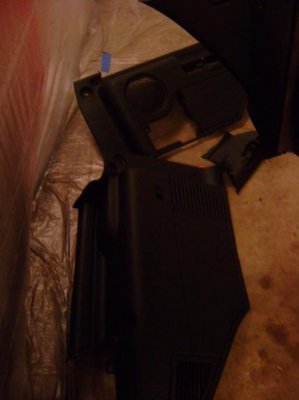
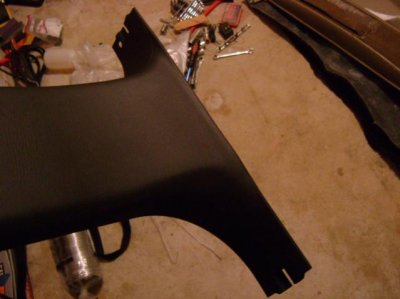
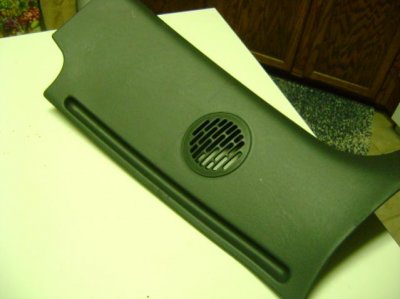
All of my panels are now semi-matte black:
panels_1.jpg
middle_pillar_2.jpg


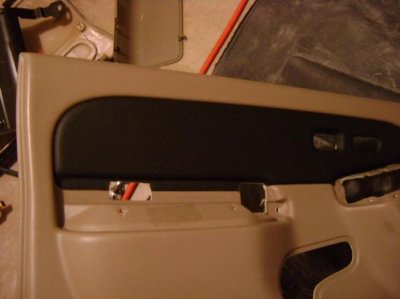
Did a perforated vinyl on door inserts (painting the rest of the door same color as plastic)
lf_door_insert.jpg

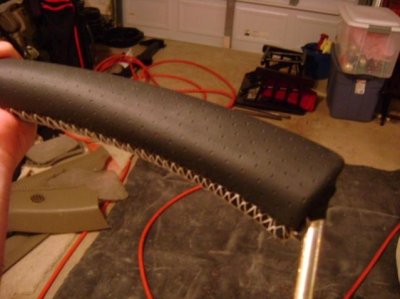
Covered the grab handle in the same perf vinyl with a white double stitch like the leather:
grab_handle1.jpg


This is how I will feel when it's finally done:
:signs6:

This is how I feel right now doing all this shit day to day!
:pp:


Anyways, wish me luck! I only have 23 days left basically..have a few yards of the perf vinyl left over, trying to figure out what else to do a white double stitch on.....Ideas?

To put some pressure on myself I'm going to post updates here instead of keeping everything till the end like I originally intended ;)
B
 
OP
OP
BOSS

BOSS

The People's A D M I N
Supporting Member
Joined
May 3, 2009
Posts
3,765
Reaction score
24
Location
Dallas
Here are some more progress pics of the headliner, I chose the stitch material from Lexus:

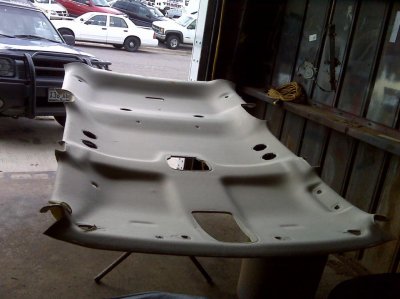
Headliner before...ugly ass light tan:
headliner_before.jpg

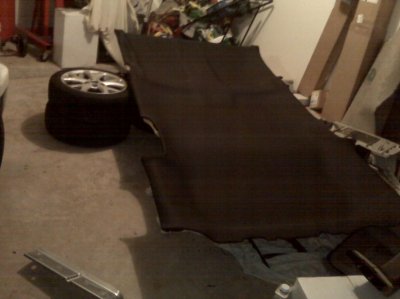
Headliner without cuts yet...you just make X cuts and pull them tight/glue on the backside:
headliner_after.jpg

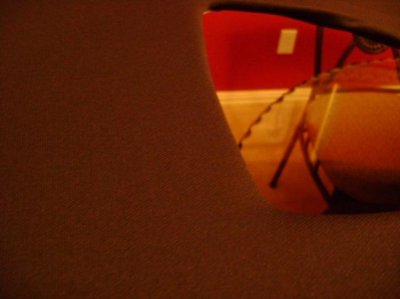
Headliner close up:
headliner_stitch.jpg

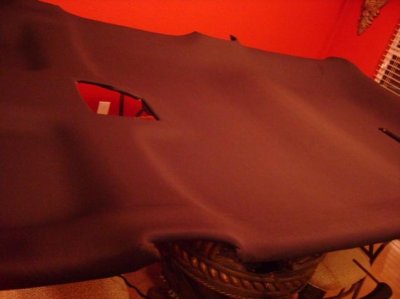
After cutting holes for the lights..sorry for the crapass picture:
headliner_done_1.jpg

B
 
Top