- Joined
- Jan 3, 2011
- Posts
- 50,320
- Reaction score
- 17,030
Before
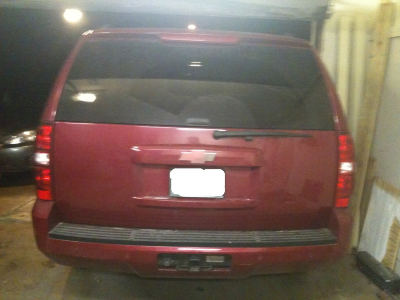
Tail light removal... There are two phillips head screws per tail light to remove
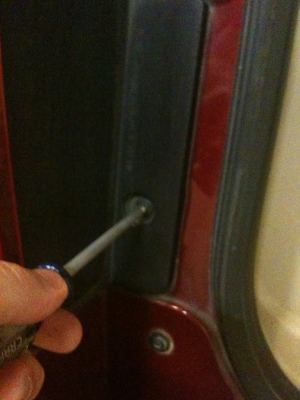
...Once these are out pull the tail light out. You sill have to use a little bit of persuasion still but they should come on out
Next, the harness connects just underneath the vehicle...
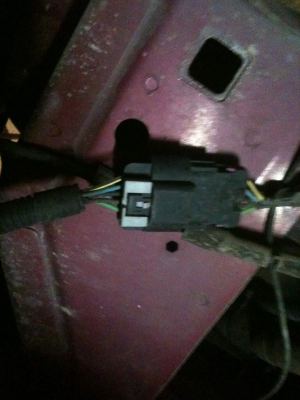
...just disconnect the harness and your good. Watch out for falling debris!!!
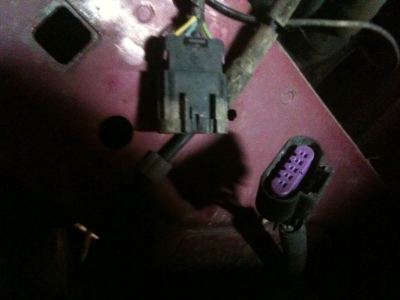
At this point the old tail light is out and you're ready to install the new assembly. For the most part the tail light will just plug in and you're good to go. I've heard that MOST people have no issue with the hyper blink on these G4's however there are a handful that have had the issue so I just make the resistor mod from the get go with the hopes of not having to deal with it later so before installing the light I spliced in the new resistor.
First, cut the wires on the original, gray box that comes with the light.
Next you'll want to splice in the new resistor. I got these from vleds.com as they were recommended from a few members here. Also, this is just a temporary splice for now. This weekend I plan on getting some shrink connectors to keep it free from the weather. You'll also want to zip tie your wires up in a bundle to keep them organized and out of the way (not pictured)...
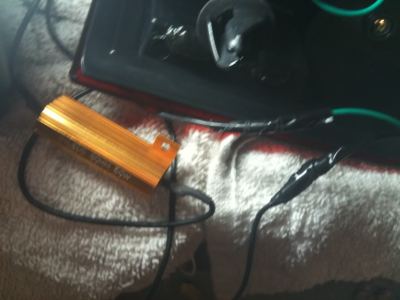
...from my research it doesn't matter which end go to the green wire and which end goes to the black wire. This resistor did come with Scotch-lok connectors but I chose not to use them (and several folks urged me to trash them as well )
)
Securing the resistor is easy. I used the red 3M tape (very strong stuff!!)...
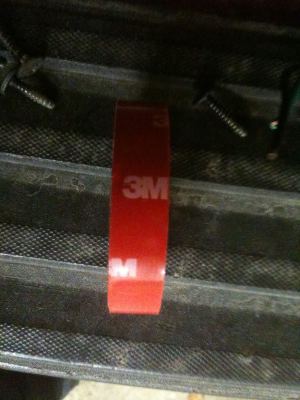
...and put it on the back and attached the resistor to the back of the tail
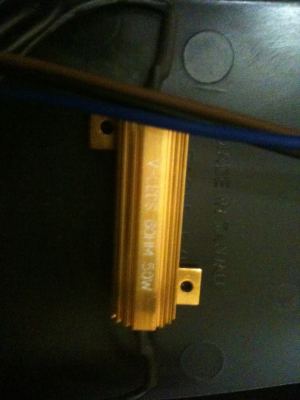
Did my tests (lights, brakes, blinker,...)
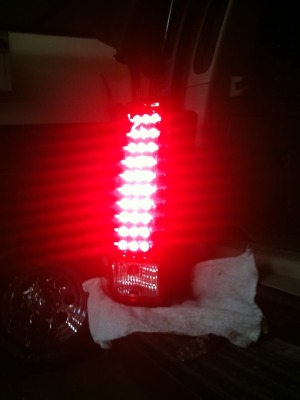
Just for grins here's a pic of one LED in and one stocker in. HUGE difference IMO
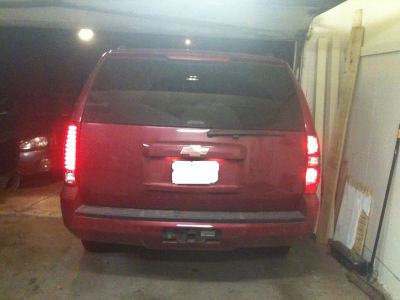
Do these same steps to the other side and...
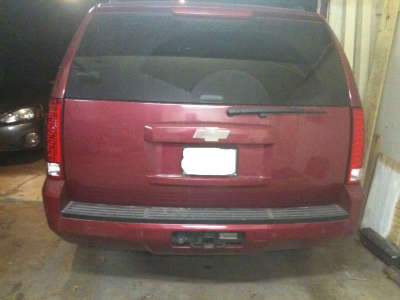
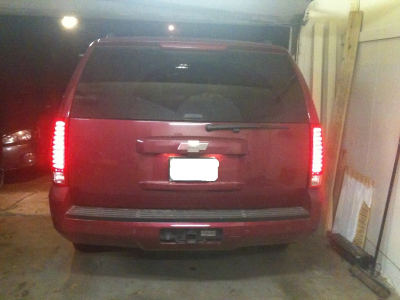
Sorry for the crappy cell pics but it was just easier. Also, I was hoping to do this out in the light to get better pics but it's been so rainy I was too impatient to wait longer before I installed them

Tail light removal... There are two phillips head screws per tail light to remove

...Once these are out pull the tail light out. You sill have to use a little bit of persuasion still but they should come on out
Next, the harness connects just underneath the vehicle...

...just disconnect the harness and your good. Watch out for falling debris!!!

At this point the old tail light is out and you're ready to install the new assembly. For the most part the tail light will just plug in and you're good to go. I've heard that MOST people have no issue with the hyper blink on these G4's however there are a handful that have had the issue so I just make the resistor mod from the get go with the hopes of not having to deal with it later so before installing the light I spliced in the new resistor.
First, cut the wires on the original, gray box that comes with the light.
Next you'll want to splice in the new resistor. I got these from vleds.com as they were recommended from a few members here. Also, this is just a temporary splice for now. This weekend I plan on getting some shrink connectors to keep it free from the weather. You'll also want to zip tie your wires up in a bundle to keep them organized and out of the way (not pictured)...

...from my research it doesn't matter which end go to the green wire and which end goes to the black wire. This resistor did come with Scotch-lok connectors but I chose not to use them (and several folks urged me to trash them as well
Securing the resistor is easy. I used the red 3M tape (very strong stuff!!)...

...and put it on the back and attached the resistor to the back of the tail

Did my tests (lights, brakes, blinker,...)

Just for grins here's a pic of one LED in and one stocker in. HUGE difference IMO

Do these same steps to the other side and...


Sorry for the crappy cell pics but it was just easier. Also, I was hoping to do this out in the light to get better pics but it's been so rainy I was too impatient to wait longer before I installed them
Last edited:


 You'll LOVE the change
  No go out and drive around and blind some people, lol!!!!
 They better have there sunglasses on!