You are using an out of date browser. It may not display this or other websites correctly.
You should upgrade or use an alternative browser.
You should upgrade or use an alternative browser.
2002 Denali Camping Build
- Thread starter Buggdave
- Start date
Disclaimer: Links on this page pointing to Amazon, eBay and other sites may include affiliate code. If you click them and make a purchase, we may earn a small commission.
Buggdave
Full Access Member
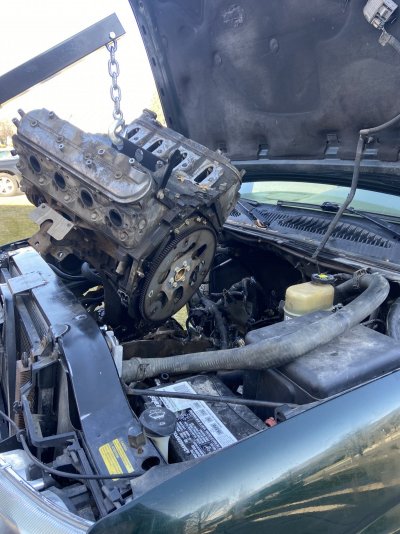
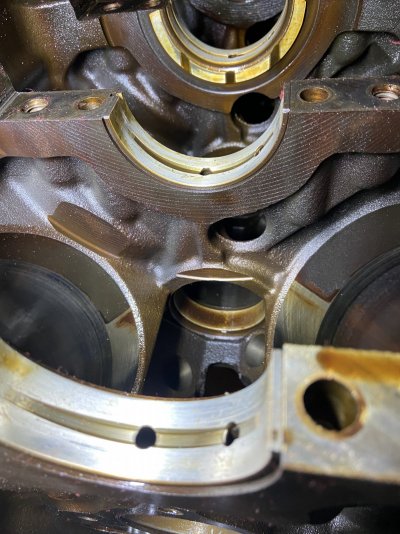
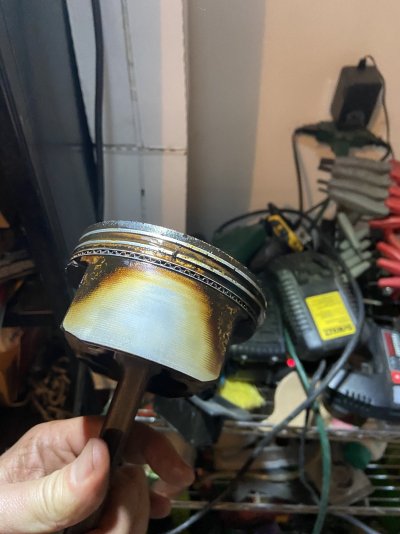
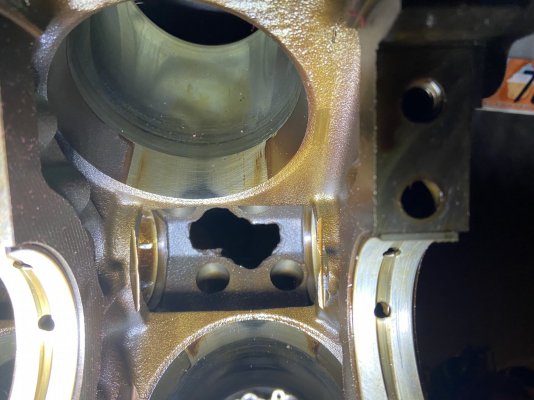
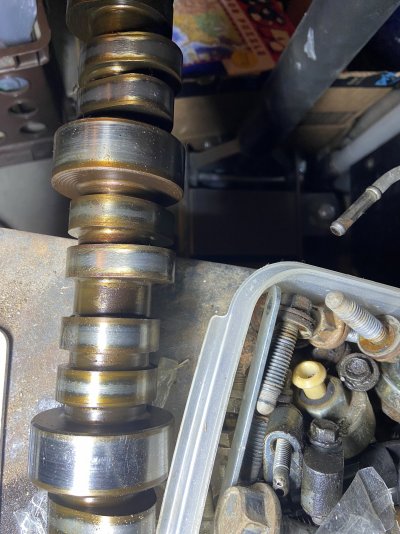
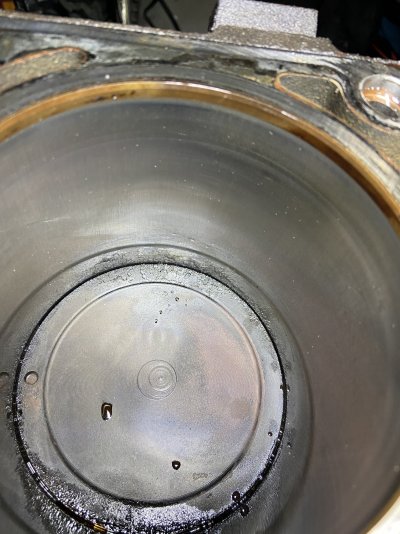
I have tore down the engine and no major issues have been found, just a lot of varnish.
Attachments
-
 6325E354-493E-4BE5-8352-83DBBD08CDBB.jpeg395.8 KB · Views: 7
 -
 9C7F2287-C9F3-4294-84D8-03A2803111CE.jpeg262.2 KB · Views: 7
 -
 00A728C2-5A51-4852-A9E8-96A34EAA33CC.jpeg304.6 KB · Views: 7
 -
 73F96491-4105-44C8-B602-EE61F116F3A6.jpeg388.6 KB · Views: 7
 -
 BC9E919A-3229-4607-93CC-F5BD95F66988.jpeg407.7 KB · Views: 6
Buggdave
Full Access Member
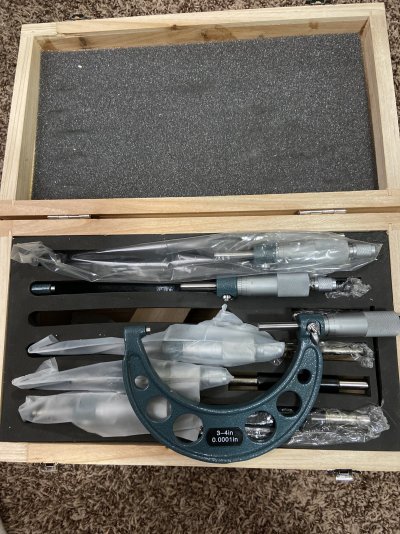
I am now going to blueprint the engine. First area will be the cylinder walls. Visually there is no scratches but I want to verify that there is no taper and that i do not need to oversized my hypereutectic pistons. Piston to bore max clearance is 0.0031”. My bore gage is set to be delivered today and I have already received my micrometer set.
Attachments
Buggdave
Full Access Member
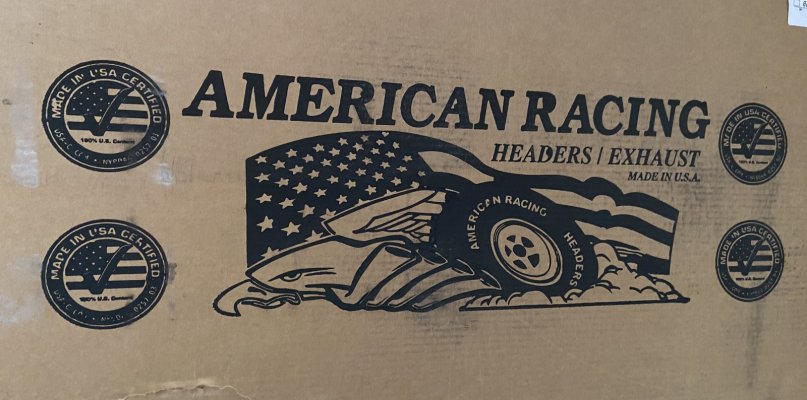
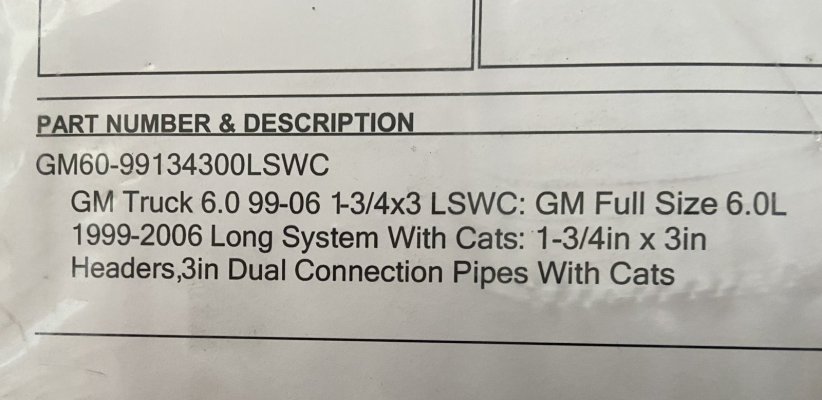
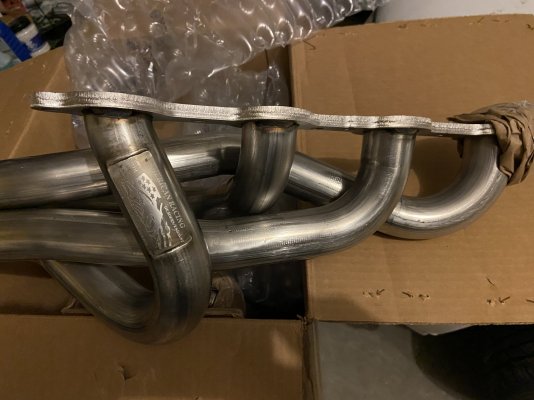
I got my headers that i ordered on Black Friday, and i can attest that American Race Headers make a nice set of headers. I ordered the long set that connects to my stock dual system. I have to pass emissions in my county so i had to have CATs as well. Since I am staying NA, 1/3/4 was sufficient for my needs. From all of the reports that i have read, these will install with no fitment issues.
Attachments
Buggdave
Full Access Member
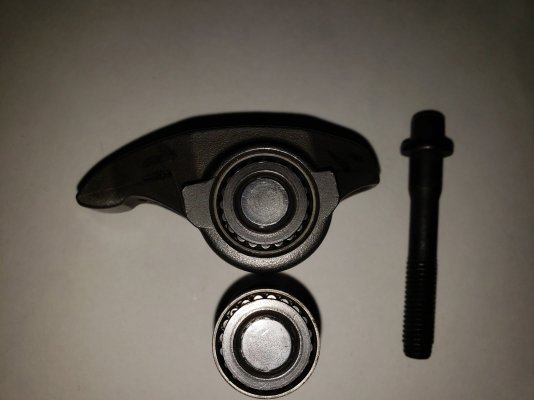
Since my rockers have 200k on them, I hve been researching a trunion upgrade. I will be installing dual springs and with the added spring pressure and the miles on my original rockers, I want to either upgrade the trunnion or upgrade the entire rocker. As I was researching looking to longevity, I understood that the trunnion upgrades that use the brass bushing wears fast. The ones that use needle bearrings are hit and miss on quality. I was thinking of going back with stock when i ran across a set on W6project, RPMSpeed Cathedral Port MAX EFFORT Rocker Arms. These are about the same price as the new stock replacements and seem to fix the only downside of the stock rockers, the lack of a bearing.
Attachments
ivin74
05 NBS Nali
How is the rebuilt coming along? Can you post some pictures, TIA.
Buggdave
Full Access Member
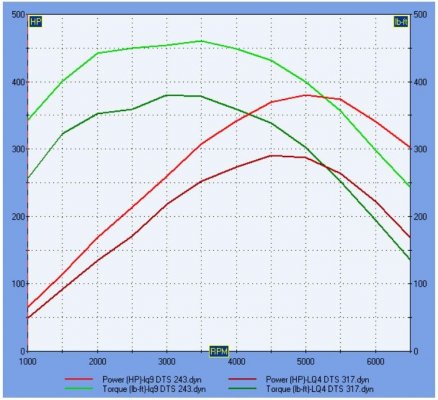
Rebuild is slow, my main and rod bearings are back ordered right now. I hope to get them next week to begin the re-build. I will document as best as possible. I am also struggling working in a non-heated garage (first world problems). Heating the block to get my measurements for clearances is a slow process when the ambiant temp is 30 degrees F. In the mean time I have been modeling my new setup with a program called DynoSim. The program is not perfect (i don't have a lot of faith in the absolute values of predicted HP and TQ) but gives a good comparison and relative changes on the same engine model. With my piston (LQ9/LS2) and Head (243) upgrade, cam change and headers, I am estimating an increase in torque of about 22% (85 ft/lbs) and an increase in horse power of about 31% (90 HP) over my old LQ4, see my plot below. I have modeled other truck torque cams and none offer any substantial gains or advantages over my Vinci cam choice. I have also modeled the 862 head on my "new" LQ9 and my simulations did not show any torque increase past 1500 rpm and it died off earlier than the 243 head. Given that switching to the 862 would increase my chance of detonation on pump gas (static compression about 11.7:1), I am keeping with the 243 heads (static compression of 11:1) for this setup.How is the rebuilt coming along? Can you post some pictures, TIA.
Attachments
Tonyrodz
Resident Resident
How long have you been waiting on the bearings? I have a new set for sale in the classifieds.Rebuild is slow, my main and rod bearings are back ordered right now. I hope to get them next week to begin the re-build. I will document as best as possible. I am also struggling working in a non-heated garage (first world problems). Heating the block to get my measurements for clearances is a slow process when the ambiant temp is 30 degrees F. In the mean time I have been modeling my new setup with a program called DynoSim. The program is not perfect (i don't have a lot of faith in the absolute values of predicted HP and TQ) but gives a good comparison and relative changes on the same engine model. With my piston (LQ9/LS2) and Head (243) upgrade, cam change and headers, I am estimating an increase in torque of about 22% (85 ft/lbs) and an increase in horse power of about 31% (90 HP) over my old LQ4, see my plot below. I have modeled other truck torque cams and none offer any substantial gains or advantages over my Vinci cam choice. I have also modeled the 862 head on my "new" LQ9 and my simulations did not show any torque increase past 1500 rpm and it died off earlier than the 243 head. Given that switching to the 862 would increase my chance of detonation on pump gas (static compression about 11.7:1), I am keeping with the 243 heads (static compression of 11:1) for this setup.
Attachments
Buggdave
Full Access Member
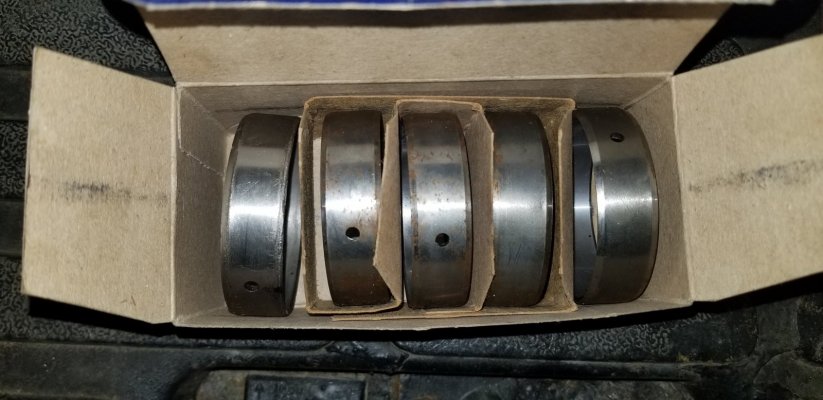
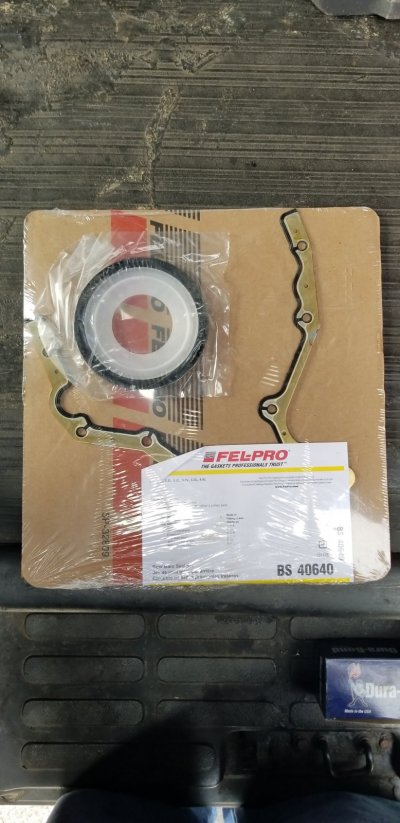
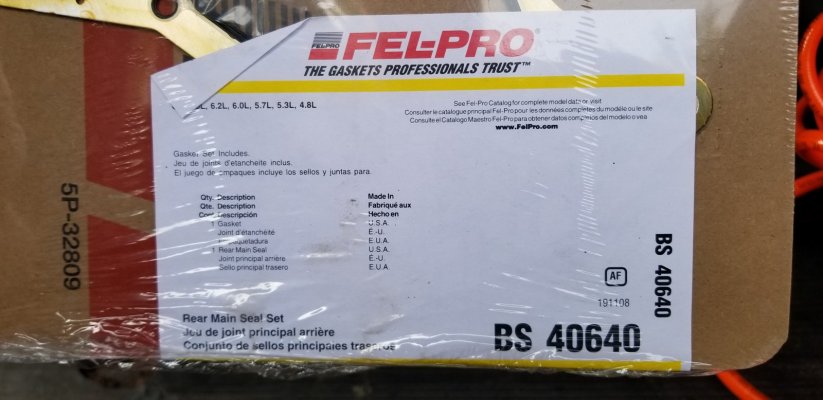
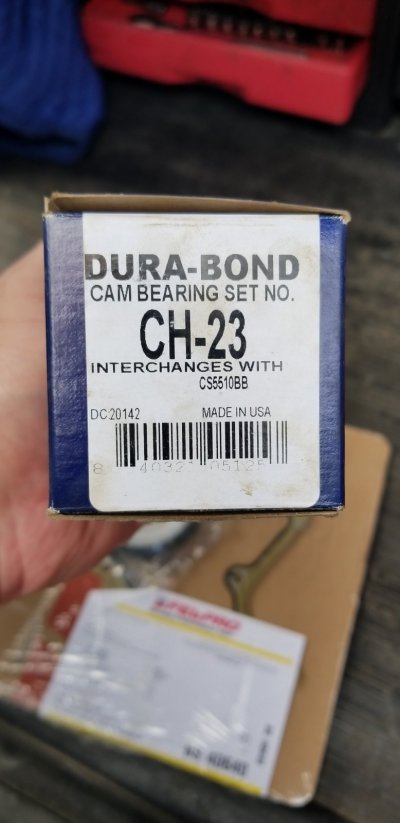
I appreciate the heads up Tony, I have not been waiting long on my bearings. There was a mix-up on my Christmas Eve delivery and I was not sent the correct rod and main Clevite bearing set. I have them in the mail back and the replacements will be shipped on Friday. I was just hoping to get started last week on the re-build, but alas I was slowed down. I am still targeting getting the engine completed in early Feb. I will then start on the transmission re-build and transfer case rebuild after that. I have my cam bearings in hand but I have not installed them yet as I want to heat up the block only once to room temperature to install my main and rod bearings at the same time as my cam bearings.How long have you been waiting on the bearings? I have a new set for sale in the classifieds.
Buggdave
Full Access Member
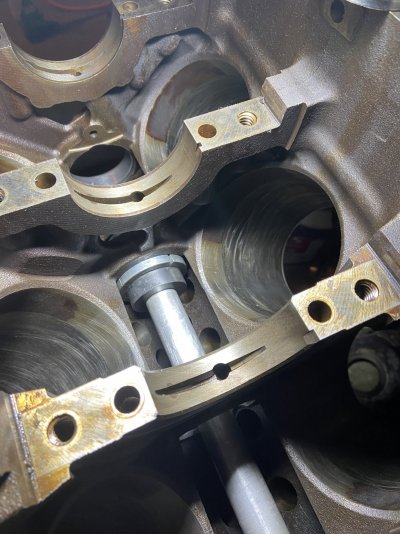
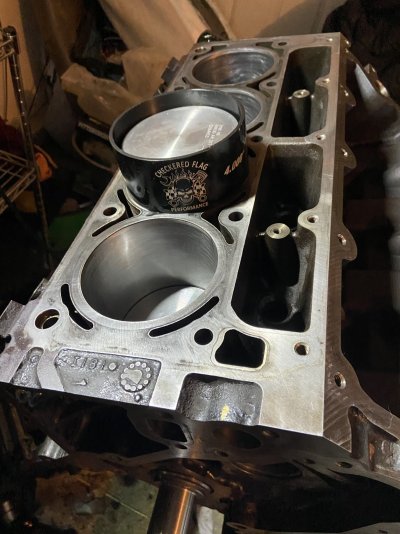
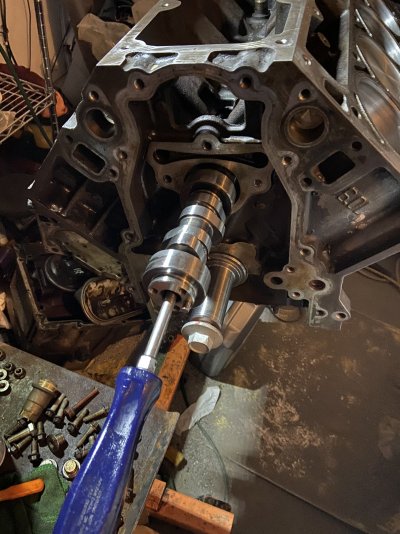
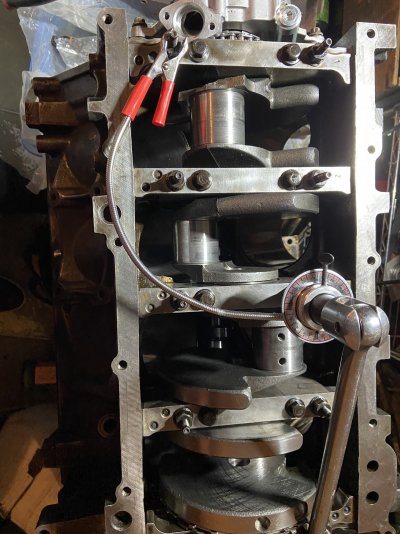
So the build is progressing slowly. Unfortunately life seems to get in the way. I have installed the rotating assembly so far with no major issues except one bone head mistake on the cam bearings. Here are some pictures.
Attachments
Similar threads
- Replies
- 7
- Views
- 2K
- Replies
- 8
- Views
- 3K

