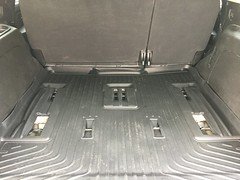
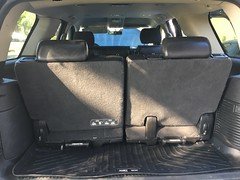
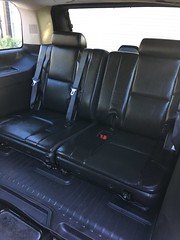
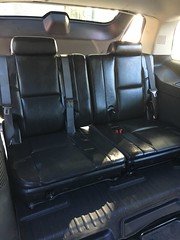
2012 Tahoe PPV new owner here!

Disclaimer: Links on this page pointing to Amazon, eBay and other sites may include affiliate code. If you click them and make a purchase, we may earn a small commission.

OP
OP
jatPPV2012

jatPPV2012

Member
Joined
Feb 11, 2020
Posts
83
Reaction score
84
Location
Tampa
Yeah 3rd row isn't bad... hardest part is figuring out where to cut out the rubber and insulation so the seat will latch...

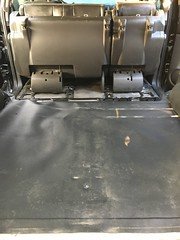
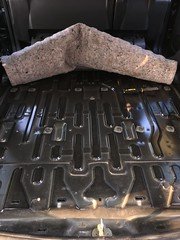
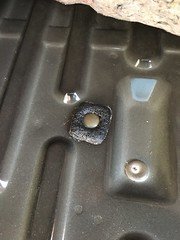
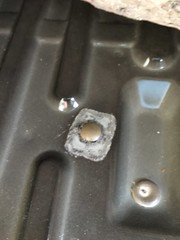
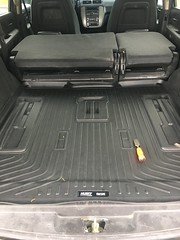
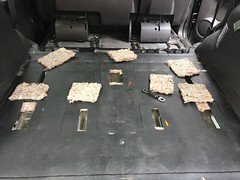
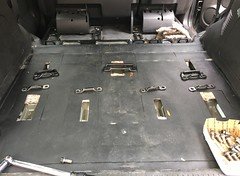
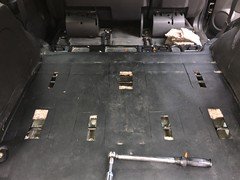
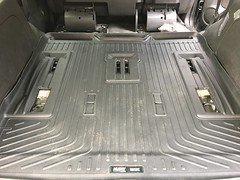
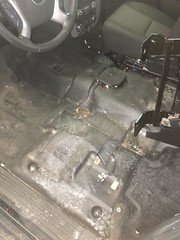
Yep! The cut out is the tough part! Luckily, the 3rd Row Husky cargo mat I got has the cut out slots for the seat brackets so all I need to do is lay it on top of rubber floor and trace cut the cut outs down to the rubber. Then from the rubber cut out, I can cut down through to insulation and I’ll be set. See how this goes.
 

ramchol76

Member
Joined
Nov 25, 2019
Posts
70
Reaction score
18
i am planning to mount center jump seat on my 2011 ppv in next 2 weeks, please post your experience if you did it sooner. I am bit nervous about removing front seat in terms of airbag, harness and lifting out. :)
 
OP
OP
jatPPV2012

jatPPV2012

Member
Joined
Feb 11, 2020
Posts
83
Reaction score
84
Location
Tampa
i am planning to mount center jump seat on my 2011 ppv in next 2 weeks, please post your experience if you did it sooner. I am bit nervous about removing front seat in terms of airbag, harness and lifting out. :)
I am planning to do it in the next day or so. Watched some YouTune vids on this, and as what Kee Fuller said, it looks like an easy job. You just have to make sure you disconnect the battery before you remove the seats and you're good to go. Going to get a friend to help em with this. Will post install pics as well.
 
Last edited:

Eod1

If you see me running, I would try to keep up.
Joined
Aug 28, 2018
Posts
342
Reaction score
200
Location
Phoenix Arizona
When u get the insides the way you want , look into what it will take to paint the body
 
OP
OP
jatPPV2012

jatPPV2012

Member
Joined
Feb 11, 2020
Posts
83
Reaction score
84
Location
Tampa
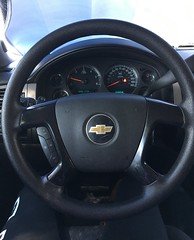
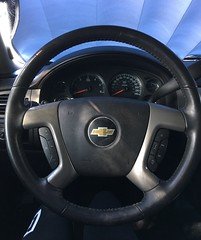
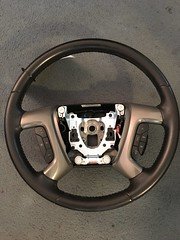
Just another update on my project. So this past week, and weekend, I got 3 more things done: Steering wheel w/radio controls swap, 3rd row seat install, and bench seat install.

1.The steering wheel swap was pretty straight foward. Unfortunately, I didn't take pics while I was doing it since I did it fairly quickly. I watched the following YouTube video (for anyone interested in doing a swap) and followed exactly how the guy demonstrated in the video while using the same tools and everything. The video was for how to replace a steering sheel on a 07-13 Chevy Silverado, but it was exactly the same and easy to do.

49558057333_769009da70_m.jpg

Before and after swap.
49602833717_aceb3482ff_m.jpg49602833672_e2b0e9478e_m.jpg


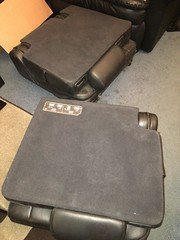
2. 3rd row seat install pics

49567013107_bdf4d37b65_m.jpg


Removing the plastic bolt caps
49582266771_ed7c44ef64_m.jpg49582266886_847797a4dd_m.jpg
49582499602_0eeef3c55f_m.jpg49582499472_80f2424db5_m.jpg

Using the cargo mat cut outs for the rubber floor and insulation cut out.
49594490702_a9ce765de3_m.jpg49594243886_4bf45982d7_m.jpg

Brackets and bolts ready for mounting
49602570876_2d1f0b9b64_m.jpg

Brackets installed. Ready for the seats!
49594243666_f0137c7203_m.jpg49593743158_99cc838bcd_m.jpg
49594243471_ef03846189_m.jpg

3rd row seats installed.

49594243356_5078d823f6_m.jpg
49593742738_fa1c8dde6f_m.jpg49593742843_a92b90afb8_m.jpg

Bench seat install pics in the following post.
 
Last edited:
OP
OP
jatPPV2012

jatPPV2012

Member
Joined
Feb 11, 2020
Posts
83
Reaction score
84
Location
Tampa
Bench seat install pics

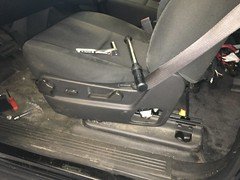
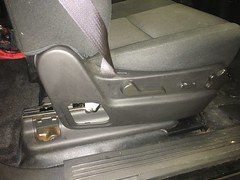
Unbolting driver and passenger seat and seat belts. Because my seats are power, I had move the seat back first to remove the front bolts, then move it forward to remove the rear bolts, and then I disconnected the battery as a precaution due to the seat air bags.

49606557963_61b030484b_m.jpg49607318962_bf6d10d5be_m.jpg
49607066176_2eaf4456fa_m.jpg


When I did this install, I only took out the driver seat and just moved the left seat over so the bench
seat can be placed in center mounting spot.

49606556318_d86667d710_m.jpg

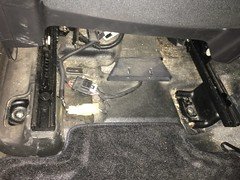
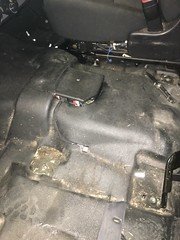
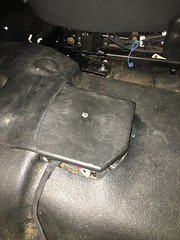
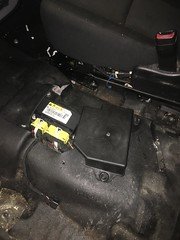
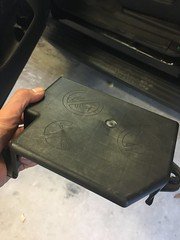
Ran into a little bit of issue when laying the bench seat into place. As I suspected, there was a plastic cover that does not clear the bottom of the under seat storage compartment.

49607067251_b381d4bd86_m.jpg49607317977_b3f3268437_m.jpg

This same thing happened with another guy who, on YouTube, was installing this same type of bench seat on his 2012 PPV.
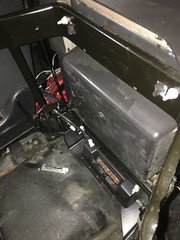
Underside of the under seat storage compartment.
49606556453_3328d21496_m.jpg

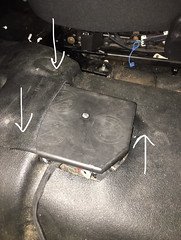
What he did was cut open a section off the bottom of the storage compartment, leaving an opening, so it would clear the cover, but I didn't do that. I just cut through the rubber flooring to find and loosen the 3 bolts (See arrows) for the plastic cover and removed it with no issues.

49611200663_0f0a82f5c7_m.jpg
Plastic cover removed.
49607317617_fc8286eb34_m.jpg49607317397_78867d58f2_m.jpg

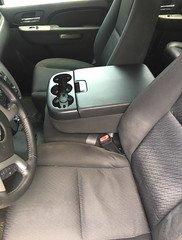
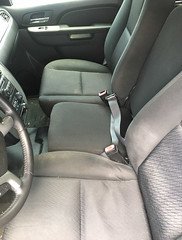
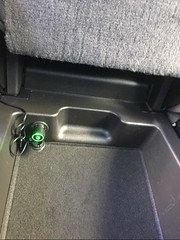
After removing the plastic cover, I connected power connector for the under seat storage compartment accessory outlet and the bench seat was laid right into place. Once that was done, the seats were put back in and bolted.

49611931437_993a8ebcca_m.jpg49611931507_5199d131a9_m.jpg

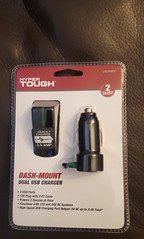
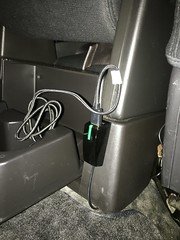
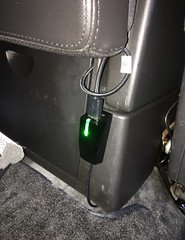
As an additional accessory, I added a dash mount dual USB charger which I plugged into the storage compartment accessory outlet and ran to the back side of the bench seat and mounted next to the rear cup holder compartment door.

49611671106_bdf4c162fc_m.jpg49611927512_c15567f22b_m.jpg
49611734312_dbca7d7ede_m.jpg49611155008_698d0ca96b_m.jpg

That pretty much completes all my interior modifications and upgrades for now.
Next things I need to do is have my trusted mechanic do a proper inspection and then get paint job estimates. More to come on that.
 

Forum statistics

Threads
132,223
Posts
1,864,261
Members
96,759
Latest member
06Tonka
Top