skpyle
Full Access Member
- Joined
- May 15, 2021
- Posts
- 414
- Reaction score
- 1,087
Hello Gentlemen,
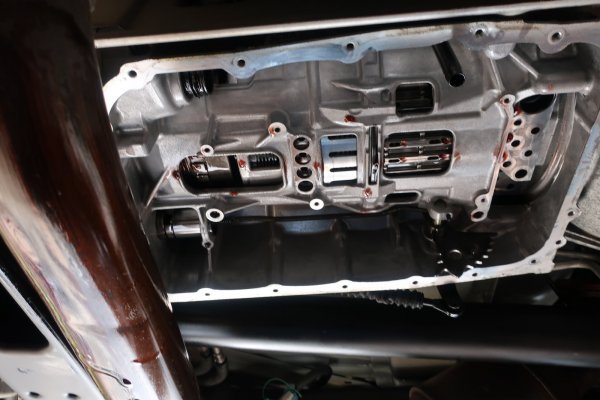
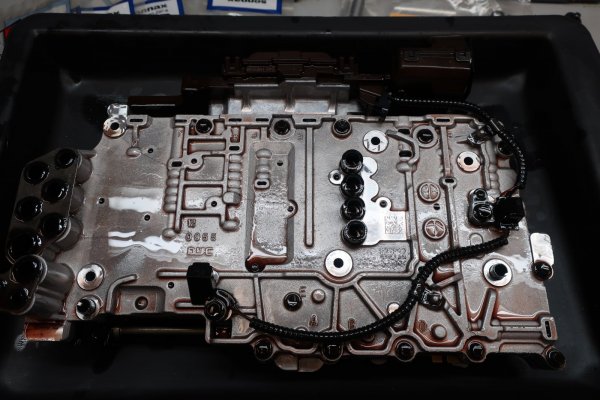
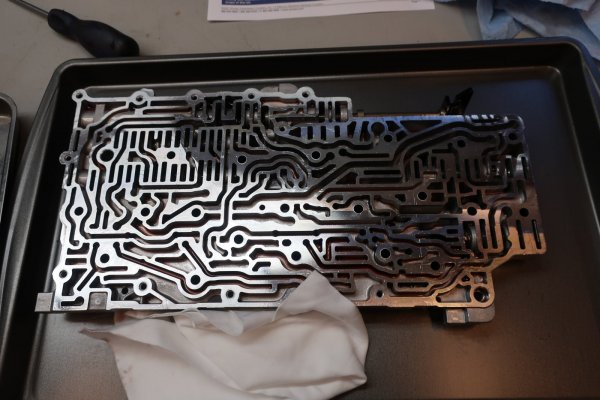
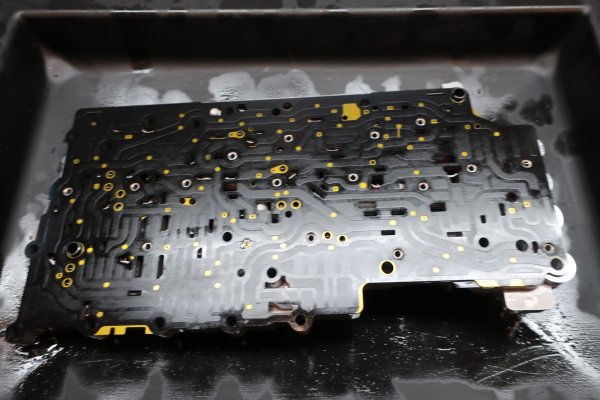
Over the past few days, I have completed the following work to the 6L80 transmission in my 2013 Escalade ESV:
-rebuilt the TECHM pressure switches using Sonnax parts
-installed most of the Sonnax ZIP kit in the valve body
-replaced the filter
-installed a new pan with a drain plug
-installed a remote spin on filter assembly
-flushed the fluid
I have had this new-to-me Escalade for two weeks tomorrow. I am catching up on maintenance and fluid changes that I feel need to be done. The truck has 124,*** miles on it, 1,000 of those I have put on.
I have a 'thing' for automatic transmissions, I want them to function as best as possible. This means lots of fluid changes for clean fluid, better filtration, and improvements from shift kits and such. This being a Cadillac, the transmission is tuned for softer shifts. I don't want softer shifts. I want positive shifts that will prolong the life of the transmission. (I will be putting in a Black Bear tune to improve the transmission shift characteristics as well.)
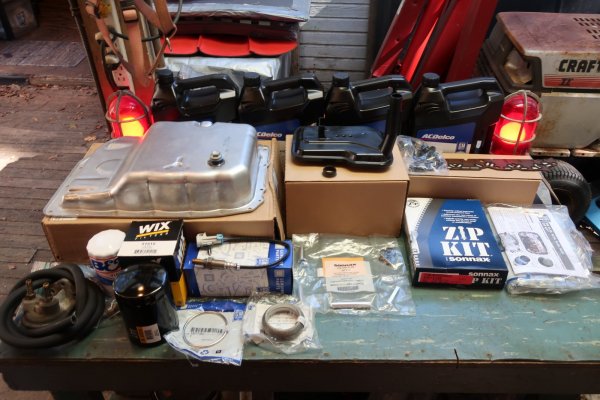
4 gallons of Dexron VI, new transmission pan with nut and drain plug welded on, new GM filter, new GM TECHM solenoid filter plate, new GM heated oxygen sensor, new GM exhaust manifold to pipe seals, Sonnax ZIP kit, Sonnax pressure switch rebuild kit and tools, used remote oil filter mount with new filter, new Derale 3/8" ID transmission cooling hose, new WIX filter for the remote mount later.
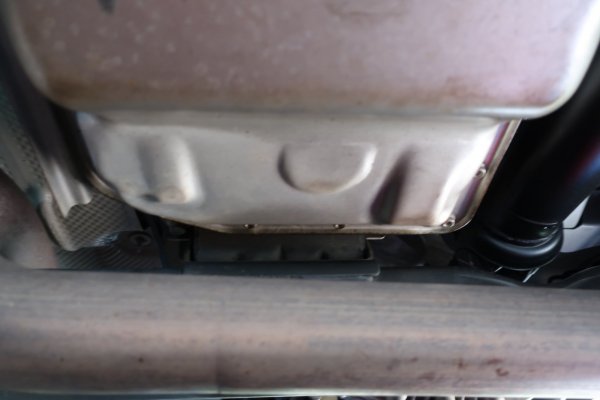
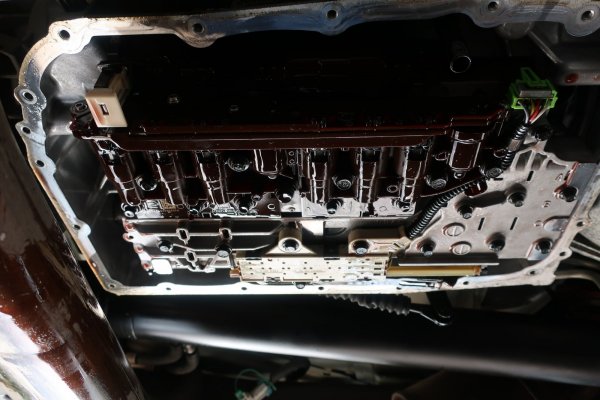
Researching here on tahoeyukon forum, I have learned that the exhaust crossover pipe must be lowered to gain enough clearance to remove the transmission pan. From what I understand, there is no getting around this. So, I dropped the exhaust from the manifolds.
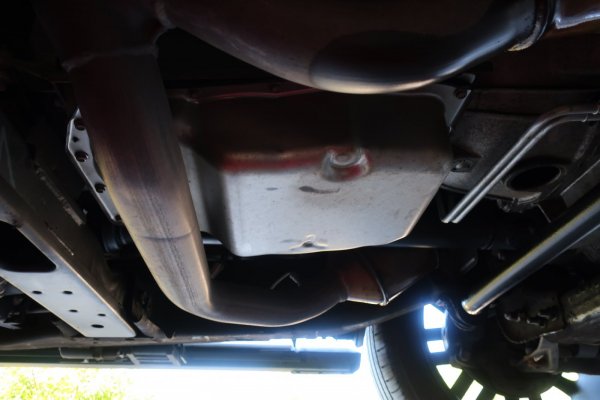
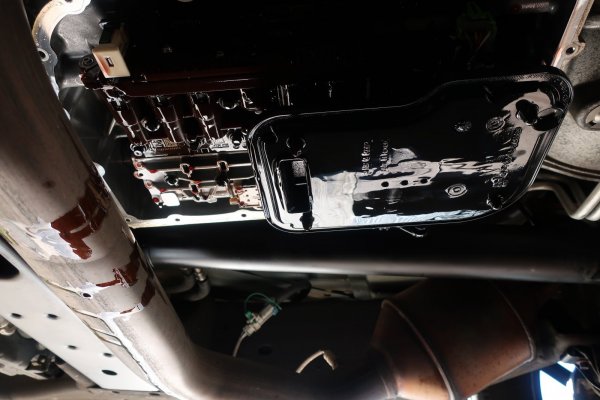
Exhaust crossover pipe is tight up against the transmission pan.
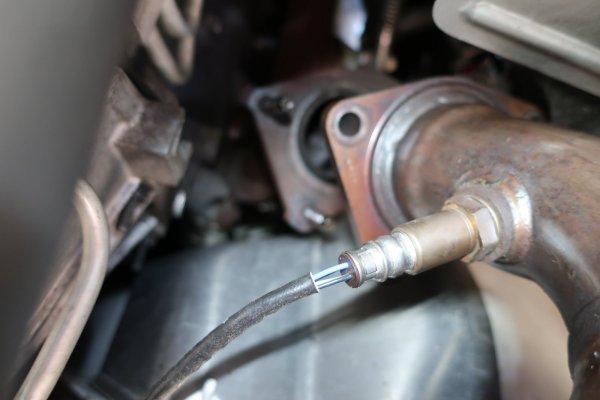
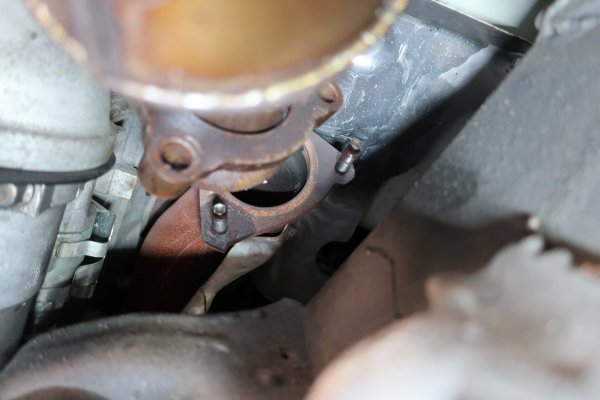
This is a whole new world for me. I grew up in Ohio, and cut my teeth on 70's and 80's GM cars. They were all RUSTY! My Explorer was rusty. There is no way I would have been able to drop the exhaust without a cutting torch. On this Escalade, the only rust I have found is on untreated cast iron surfaces. I was able to remove the passenger's side upstream oxygen sensor with no fuss. I had to remove the oxygen sensor because 1) it blocked access to one of the exhaust manifold nuts, and 2) it needed to be replaced. I left the newly installed driver's side upstream oxygen sensor installed because it was not blocking any nuts and its cable had plenty of slack in it.
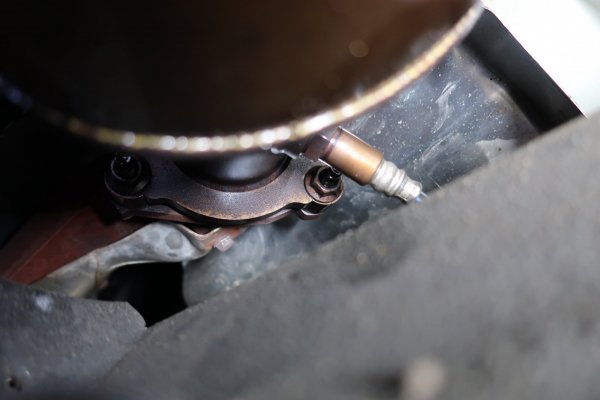
Passenger's side upstream oxygen sensor blocking access to one of the exhaust manifold nuts.
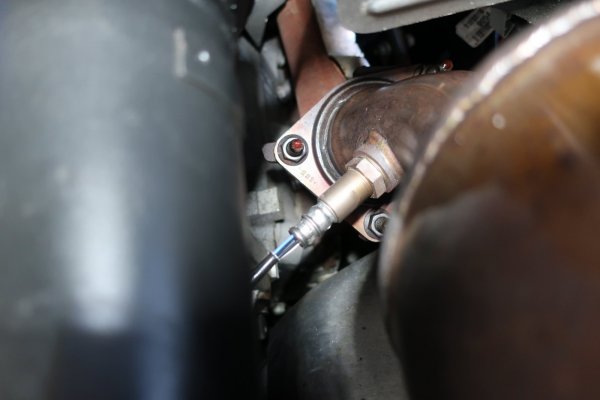
Driver's side upstream oxygen sensor is not blocking anything. Note the drops of AeroKroil on the end of the exhaust manifold studs.
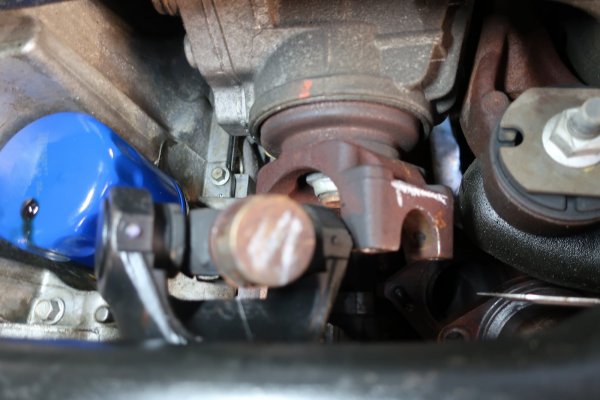
I was able to break loose all of the exhaust manifold nuts with no real problem. NOTE: I had been soaking the nuts with AeroKroil for a week just in case. I had to get creative with a deep well 15mm socket, 15mm flare crow's foot, a universal joint, and lots of extensions. That, and I did have to disconnect the front drive shaft from the front axle and move it aside to get my fat hands up to the manifold nuts. With the nuts off, the exhaust dropped enough that it looked like I would be able to pull the transmission pan.
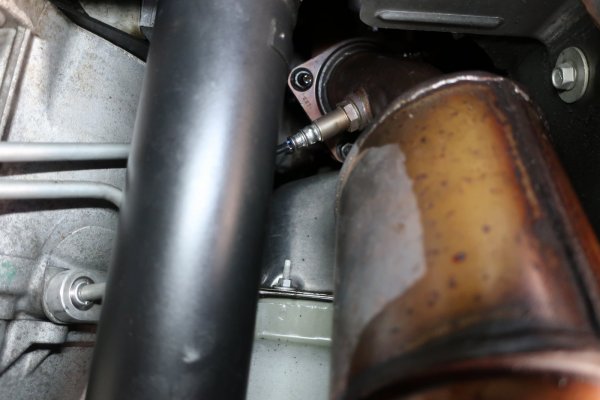
Front drive shaft makes it tough to get my fat hands up there.
Over the past few days, I have completed the following work to the 6L80 transmission in my 2013 Escalade ESV:
-rebuilt the TECHM pressure switches using Sonnax parts
-installed most of the Sonnax ZIP kit in the valve body
-replaced the filter
-installed a new pan with a drain plug
-installed a remote spin on filter assembly
-flushed the fluid
I have had this new-to-me Escalade for two weeks tomorrow. I am catching up on maintenance and fluid changes that I feel need to be done. The truck has 124,*** miles on it, 1,000 of those I have put on.
I have a 'thing' for automatic transmissions, I want them to function as best as possible. This means lots of fluid changes for clean fluid, better filtration, and improvements from shift kits and such. This being a Cadillac, the transmission is tuned for softer shifts. I don't want softer shifts. I want positive shifts that will prolong the life of the transmission. (I will be putting in a Black Bear tune to improve the transmission shift characteristics as well.)

4 gallons of Dexron VI, new transmission pan with nut and drain plug welded on, new GM filter, new GM TECHM solenoid filter plate, new GM heated oxygen sensor, new GM exhaust manifold to pipe seals, Sonnax ZIP kit, Sonnax pressure switch rebuild kit and tools, used remote oil filter mount with new filter, new Derale 3/8" ID transmission cooling hose, new WIX filter for the remote mount later.
Researching here on tahoeyukon forum, I have learned that the exhaust crossover pipe must be lowered to gain enough clearance to remove the transmission pan. From what I understand, there is no getting around this. So, I dropped the exhaust from the manifolds.

Exhaust crossover pipe is tight up against the transmission pan.
This is a whole new world for me. I grew up in Ohio, and cut my teeth on 70's and 80's GM cars. They were all RUSTY! My Explorer was rusty. There is no way I would have been able to drop the exhaust without a cutting torch. On this Escalade, the only rust I have found is on untreated cast iron surfaces. I was able to remove the passenger's side upstream oxygen sensor with no fuss. I had to remove the oxygen sensor because 1) it blocked access to one of the exhaust manifold nuts, and 2) it needed to be replaced. I left the newly installed driver's side upstream oxygen sensor installed because it was not blocking any nuts and its cable had plenty of slack in it.

Passenger's side upstream oxygen sensor blocking access to one of the exhaust manifold nuts.

Driver's side upstream oxygen sensor is not blocking anything. Note the drops of AeroKroil on the end of the exhaust manifold studs.
I was able to break loose all of the exhaust manifold nuts with no real problem. NOTE: I had been soaking the nuts with AeroKroil for a week just in case. I had to get creative with a deep well 15mm socket, 15mm flare crow's foot, a universal joint, and lots of extensions. That, and I did have to disconnect the front drive shaft from the front axle and move it aside to get my fat hands up to the manifold nuts. With the nuts off, the exhaust dropped enough that it looked like I would be able to pull the transmission pan.

Front drive shaft makes it tough to get my fat hands up there.
Last edited:

