Another 6.2 for 5.3 swap going on.

Disclaimer: Links on this page pointing to Amazon, eBay and other sites may include affiliate code. If you click them and make a purchase, we may earn a small commission.

OP
OP
PatDTN

PatDTN

Full Access Member
Joined
Jul 5, 2016
Posts
599
Reaction score
419
Awesome. Thanks iamdub. I'll figure this out from what you've told me. I was hoping it was going to be pouring oil in somewhere. :)
 

Geotrash

Dave
Supporting Member
Joined
Feb 16, 2018
Posts
6,384
Reaction score
15,794
Location
Richmond, VA
Awesome. Thanks iamdub. I'll figure this out from what you've told me. I was hoping it was going to be pouring oil in somewhere. :)
Chris' approach is the right way to go for making sure the whole lubrication system is functioning prior to first startup. That said, if all you want to do is prime the pump, this is the simpler process for that:
 
OP
OP
PatDTN

PatDTN

Full Access Member
Joined
Jul 5, 2016
Posts
599
Reaction score
419
Geotrash, thanks.

I was just down looking at those oil cooler lines. I'm pretty sure I can do something with those to force oil throughout the engine. Need to spend some time figuring out how but I suspect PVC pipe and air pressure are involved.
 

kbuskill

***CAUTION*** I do my own stunts!
Joined
Mar 11, 2017
Posts
5,299
Reaction score
8,299
Location
NE. FL.
Geotrash, thanks.

I was just down looking at those oil cooler lines. I'm pretty sure I can do something with those to force oil throughout the engine. Need to spend some time figuring out how but I suspect PVC pipe and air pressure are involved.

Just thinking out loud here... couldn't you also insert a fitting in place of the oil pressure sending unit a the back of the engine and force feed it from up top a lot easier?
 

donjetman

Full Access Member
Joined
Oct 22, 2018
Posts
1,520
Reaction score
2,686
Disconnect the fuel injection harness(es) or ignition harness(es) and crank it over with the starter until you see oil pressuere. You could also remove the spark plugs too.
 

smokymtn65

Full Access Member
Joined
Jul 23, 2018
Posts
109
Reaction score
46
Location
East TN
Disconnect the fuel injection harness(es) or ignition harness(es) and crank it over with the starter until you see oil pressuere. You could also remove the spark plugs too.
That's a lot of cranking... Ask how I know. LOL
 
OP
OP
PatDTN

PatDTN

Full Access Member
Joined
Jul 5, 2016
Posts
599
Reaction score
419
Yeah, this oil pump has a lot of open space in it ti fill. I don't think I'm comfortable with that method. I'll do it after I get it pumping some oil though.

I got my valve stem seals last night as well as my cool valve spring tool. Unfortunately I was called out to a brush fire and was hauling butt out of the house when I saw the packages on my porch. Too worn out when I got home.

This morning I'm popping the old springs and seals out, giving the valves a quick inspection, popping in New seals and new springs, and dropping the heads back on. Pictures to come soon. This valve spring tool is awesome.
 
OP
OP
PatDTN

PatDTN

Full Access Member
Joined
Jul 5, 2016
Posts
599
Reaction score
419
Funny. Doing this write-up is more work than changing the springs and seals. Here we go.

L94-15.jpg

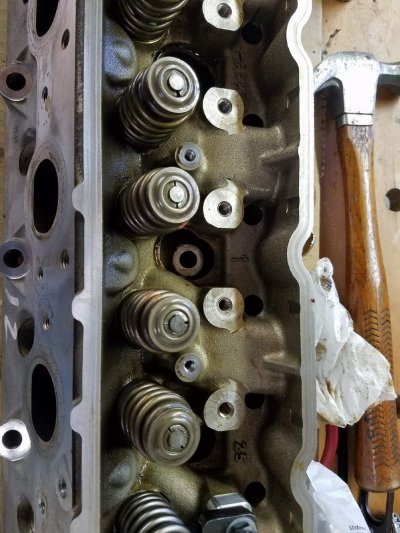
Head on my bench ready. (I actually already did the first cylinder.)

L94-16.jpg

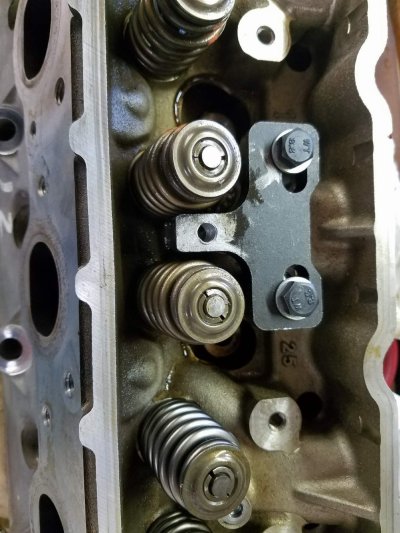
First I screw down that plate finger tight so it'll move around pretty easily.

L94-17.jpg

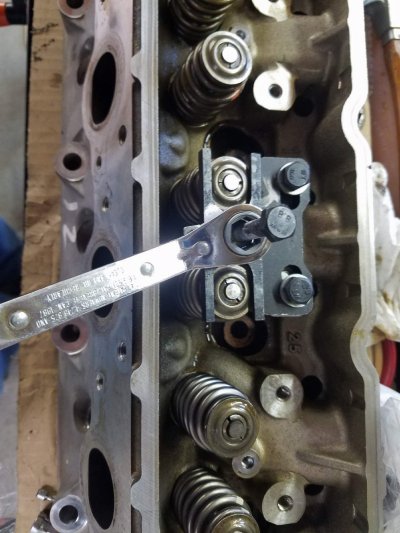
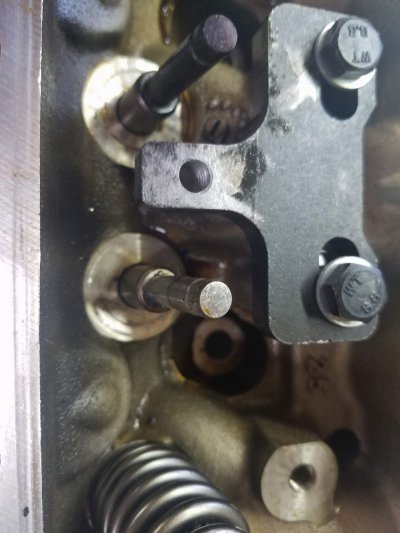
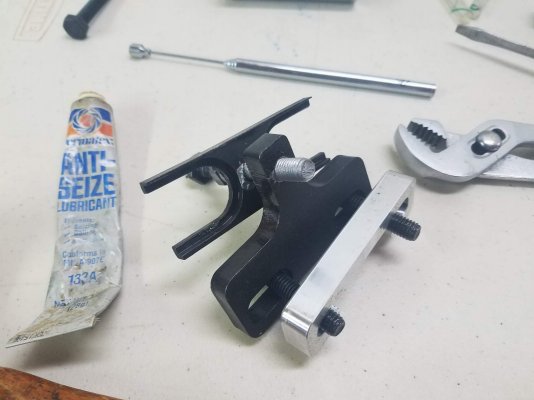
Then add the part that presses the valve springs and the bolt. I did some reading and a lot of folks stripped/galled the tension bolt so it's coated with anti seize. You want to wiggle things around so the tension bolt is centered between the valve springs and the plate is centered onto the caps. Then tighten down the mount part.

L94-18.jpg

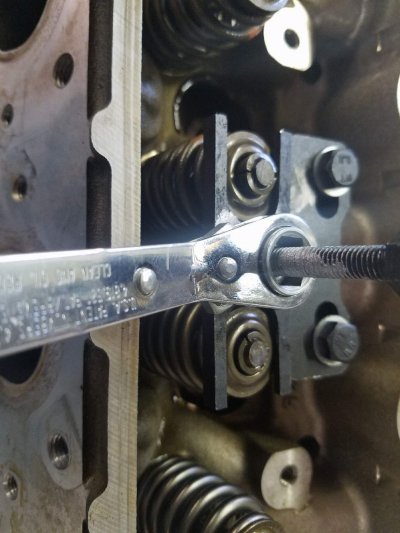
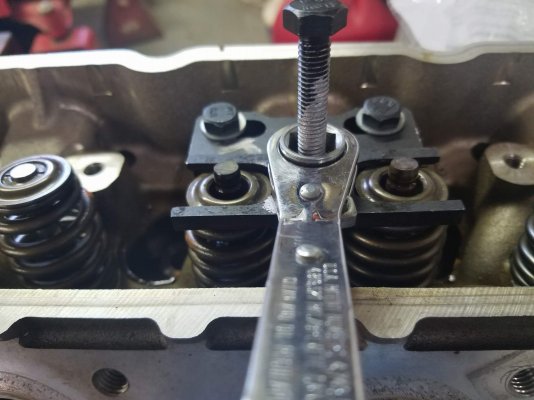
As I started compressing the first one I realized it was a little tight. I tapped the caps just lightly and the keepers popped loose. Then I finished cranking down the tension nut to get the keepers out. On the first couple I would run the tension bolt well down through the tool then turn the nut on the shaft with my ratchet box. I figured out they gave me a couple extra nuts and a lock washer so I figured out where I wanted it and double nutted the tension tool so I just turned it from the top of the bolt. Did I mention all this goes VERY easily?

L94-19.jpg

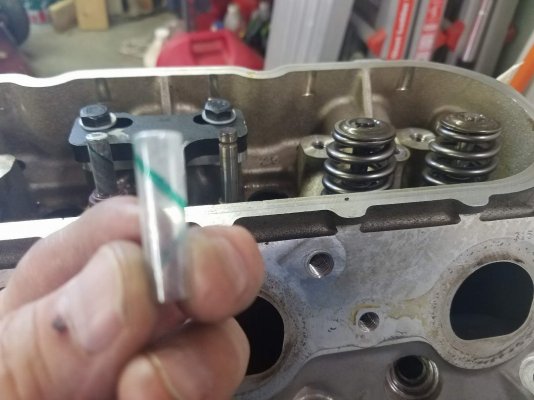
Keepers off. Ready to unload the springs and pull those and the seals.

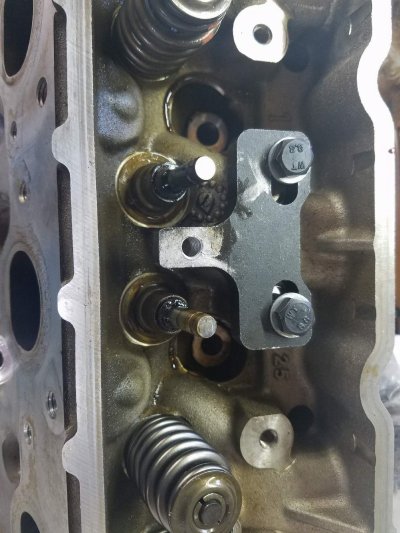
L94-20.jpg

Seals exposed and ready to pop out. If I was worried about slipping and scoring the valve stem I could slide them out at this point since I'm on the bench. Note the tool base is still there.

L94-21.jpg

Seals off and the area wiped down some.

L94-22.jpg

Fel-Pro includes these cute little straws to slip over the valve stem to keep the keeper groove from cutting the new seals. I added a tiny wipe of assembly lube on the top before putting the seals on. With the seals in place and pushed down I found a 15/16" deep well socket was just the ticket for snapping the in place. Just a tap with the heal of my hand did it.

L94-24.jpg

This is the tool I used. It has just enough flexibility to let me easily put the new springs in and center things up so the keepers drop in place.
 

Forum statistics

Threads
132,089
Posts
1,862,245
Members
96,559
Latest member
McRib
Top