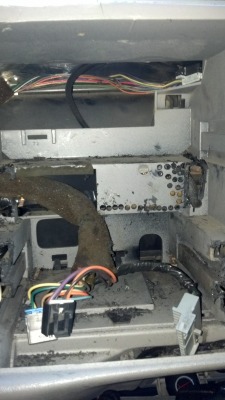
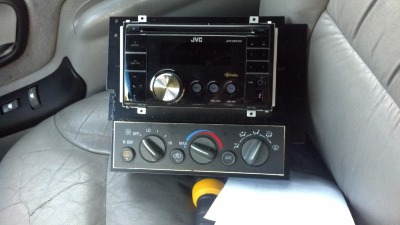
Double Din Install

Disclaimer: Links on this page pointing to Amazon, eBay and other sites may include affiliate code. If you click them and make a purchase, we may earn a small commission.

_Dylan_

STAY FROSTY
Joined
Jan 10, 2012
Posts
1,547
Reaction score
6
Location
941
Everything looked good until I saw butt connectors on the stereo harness...come on man!
 
OP
OP
Donnie Yukonie

Donnie Yukonie

Yates Caretaker
Supporting Member
Joined
Jul 31, 2011
Posts
5,125
Reaction score
161
yes i didnt want a screen as odd as that sounds i dont see the point IMO but i wanted something with a clean "stock" looking look if that makes sense it still has xm radio ports multi color function ect ect... but doesnt "POP"

yes im soldering them lol i was trien to cheap out of it but decided bad idea lol getting redone friday with solder im better than that i kno
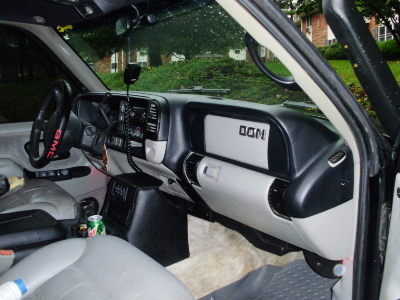
center console is from a NBS tahoe also not finished and yes thats the final coat my whole interior is going black heres a older pick before dd install started
P9070183.jpg
 
Last edited:

_Dylan_

STAY FROSTY
Joined
Jan 10, 2012
Posts
1,547
Reaction score
6
Location
941
What paint are you using? and does it stick well?

I love the black interior in the NBS trucks. I wish my interior was all black...grey is better than blue or red though lol
 
OP
OP
Donnie Yukonie

Donnie Yukonie

Yates Caretaker
Supporting Member
Joined
Jul 31, 2011
Posts
5,125
Reaction score
161
What paint are you using? and does it stick well?

I love the black interior in the NBS trucks. I wish my interior was all black...grey is better than blue or red though lol

i have to look again tom night or so and let you know its from any autozone or advance, its paint for vynle and fbric (not using it on fabric) but the key is a good prep and cure and after doing all of it i had one piece that chipped in two places on one of the door handle bezels not sure how it happend
 
OP
OP
Donnie Yukonie

Donnie Yukonie

Yates Caretaker
Supporting Member
Joined
Jul 31, 2011
Posts
5,125
Reaction score
161
Update

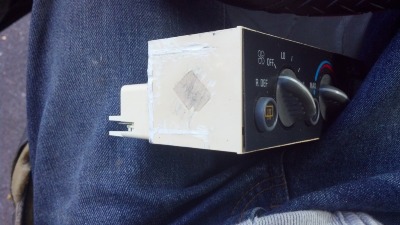
ok so i got the hvac cut up , you have to cut the existing tabs and vents off the sides to make it fit into the new cage not hard just be easy did it with a dremel and plastic cut off wheel turned out well
2012-09-30_08-04-42_701.jpg
2012-09-30_08-04-34_839.jpg
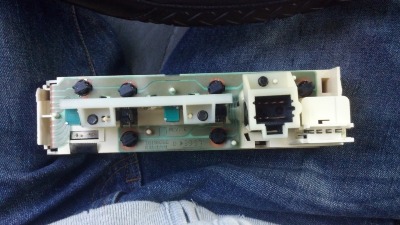
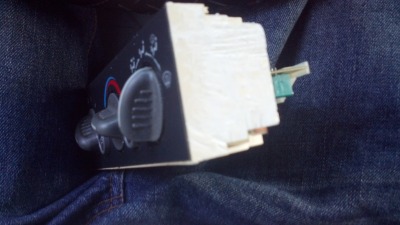
I also snapped a picture of the back of the Hvac unit (i already did this mod but for refrence) those black tabs you see in the back are your bulbs i cant remember what the part number is from Superbright LED but there is a thread on them but you can swap in your LEDs there this is for any of you who have questions regarding where they are and all they are is twist outs FYI
2012-09-30_08-05-11_88.jpg
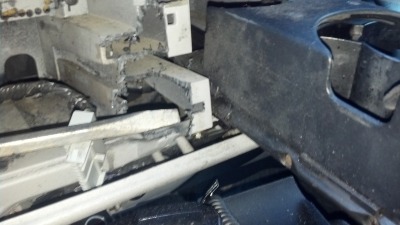
Also got some more cutting done i dont have an air saw or w.e the instructions say is ideal but i have a drememl with cut off wheel NOW DONT CUT OFF THIS DAMN PLASTIC TAB SEEN IN THE PIC BELOW I HAD TO FIX IT the instruction tell you to be careful but i didnt read the instructions lol its the tab my screw driver is pointing at next to the cup holder it holds your dash to the dash
2012-09-30_08-06-02_931.jpg

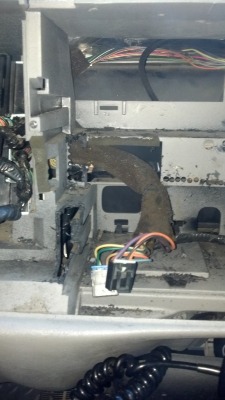
did some more cutting almost done dont mind the random drill holes i got pissed off because i didnt read the instructions so i just started randomly drilling holes in this section that needs to be cut out lol "DONT JUDGE ME" :lol2: its getting fixed as we speak
2012-09-30_08-03-31_619.jpg
2012-09-30_08-03-20_310.jpg
and here is the cage mounted with the DD head unit and HVACs
2012-09-30_08-03-55_219.jpg
 
Top