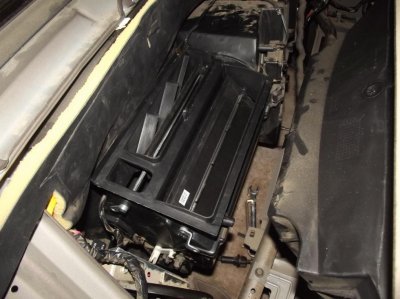
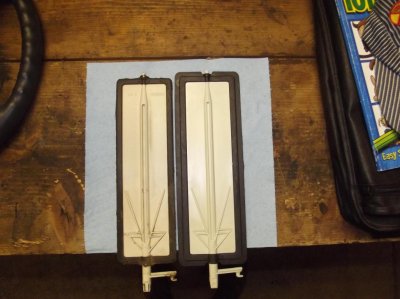
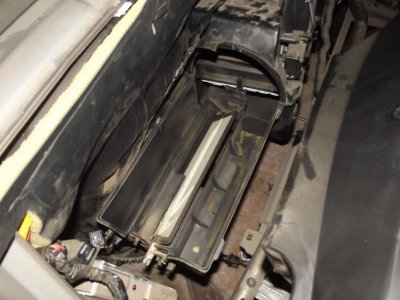
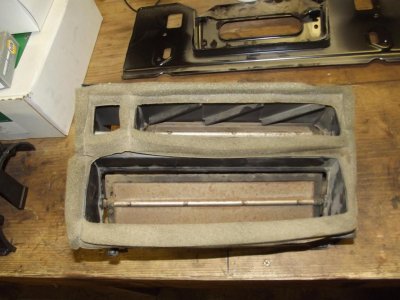
Flapper door install done!

Disclaimer: Links on this page pointing to Amazon, eBay and other sites may include affiliate code. If you click them and make a purchase, we may earn a small commission.

kelly1

Member
Joined
Jan 22, 2012
Posts
63
Reaction score
0
Location
Central Kansas
Why do we do this to ourselves? buy something older and spend $$ and LOT of time bringing it back up to like-new standards. We could have bought something much newer by the time we were done.

Who cares!!...I love turning wrenches and not having a car payment! lol

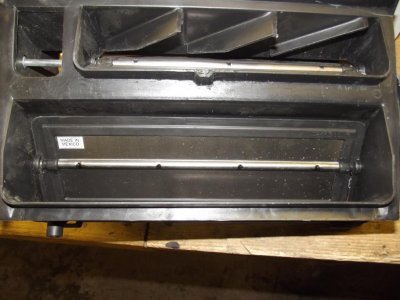
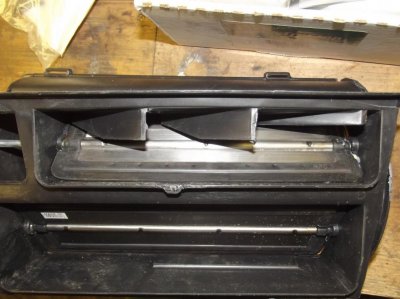
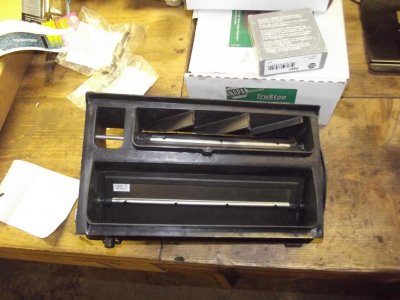
Flapper doors are installed and air cfm must have at least doubled. Nice!!
 

Attachments

  • flapper install.jpg
    flapper install.jpg
    90.8 KB · Views: 92
  • flapper install_2.jpg
    flapper install_2.jpg
    91.5 KB · Views: 87
OP
OP
K

kelly1

Member
Joined
Jan 22, 2012
Posts
63
Reaction score
0
Location
Central Kansas
I have pics of most of the disassembly except pics of the dash rotated back. I stopped taking pics at that point and it was 2 a.m. when I finally got the flappers installed. I took no pics of reassembly. Was pretty tired at that point. I'm kicking myself now but will post what I have later today.
 
OP
OP
K

kelly1

Member
Joined
Jan 22, 2012
Posts
63
Reaction score
0
Location
Central Kansas
Okay, I did this repair several years ago on another tahoe I used to own but I used the following link as a good refresher on the job.

http://www.thetruckstop.us/forum/sh...-defrost-door-hvac-flow-distribution-flap-box

The same info might be on this site as well but in my seemingly long search this is some of the first and best info I found. I believe the link states that the correct way to do this job is to vacuum down the a/c and actually remove the hvac box. This is what I did a few years ago. I no longer have access to a good vacuum pump to recharge the a/c myself and am money poor after other upgrades I've recently done so I did as the guy in the above link did and trimmed my flapper box to fit. Wasn't too bad at all and I didn't have to remove the dash, just tilt it back. I also placed some 3M strip caulk along the back semi-circle area of the flapper box where I trimmed the flange.

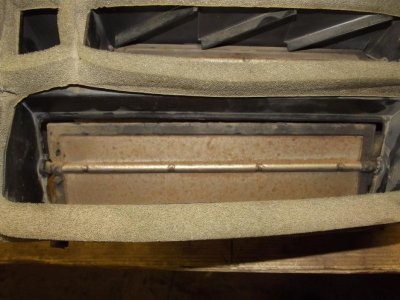
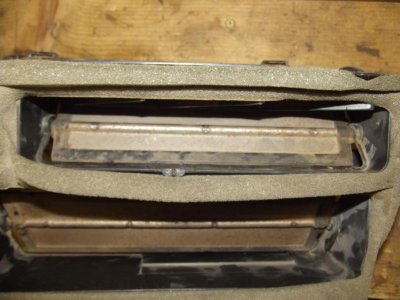
You can see in the attached pics the gaps around the original doors. My prior tahoe actually had one of the doors fall out of the box. If you do the job, make sure you buy the 3rd lower flapper door as well. Transfer the old foam seal to the new assembly or just buy a new seal.
 

Attachments

  • flapper install_3.jpg
    flapper install_3.jpg
    86.3 KB · Views: 33
  • flapper install_4'.jpg
    flapper install_4'.jpg
    95.6 KB · Views: 28
  • flapper install_5.jpg
    flapper install_5.jpg
    87.8 KB · Views: 26
  • flapper install_6.jpg
    flapper install_6.jpg
    90.2 KB · Views: 26
  • flapper install_7.jpg
    flapper install_7.jpg
    89.9 KB · Views: 21
OP
OP
K

kelly1

Member
Joined
Jan 22, 2012
Posts
63
Reaction score
0
Location
Central Kansas
couple more pics.

one other thing, I removed the two screws from the firewall just behind the engine that retain the hvac box in the area I was working. This gave me just enough wiggle to pop that 4th clip off the front (firewall side) right side of the box.

Note: This is technically my 3rd time doing this as I was reminded how after installing the hvac box the first time a few years ago and putting the entire dash back together I had somehow tore a hole in the evaporator and had to pull everything back apart again to replace it. Ahhh, the big Man upstairs does enjoy the humor I provide him.
 

Attachments

  • flapper install _8.jpg
    flapper install _8.jpg
    92.1 KB · Views: 14
  • flapper install_9.jpg
    flapper install_9.jpg
    91.9 KB · Views: 13
Last edited:

Forum statistics

Threads
132,187
Posts
1,863,662
Members
96,699
Latest member
gclibby
Top