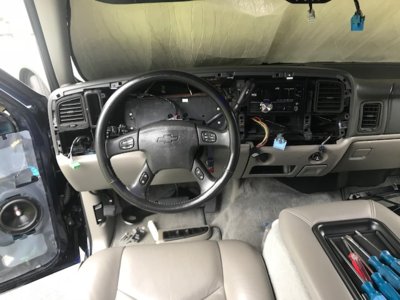
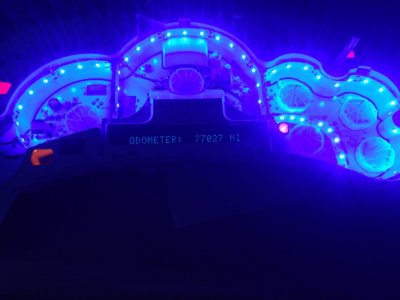
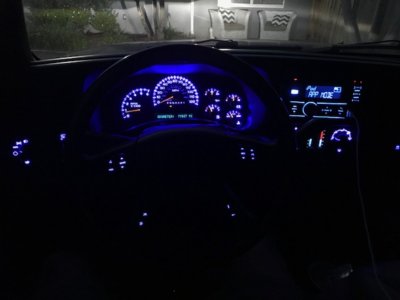
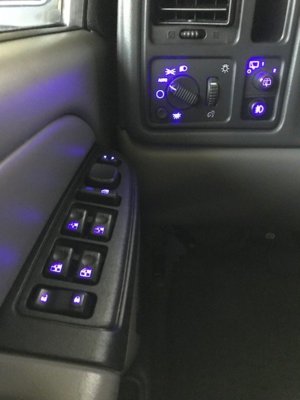
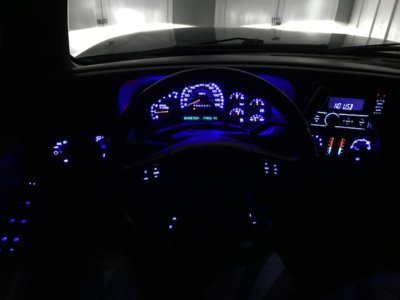
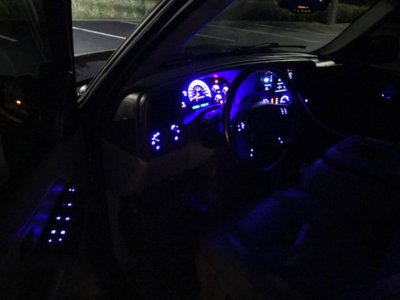
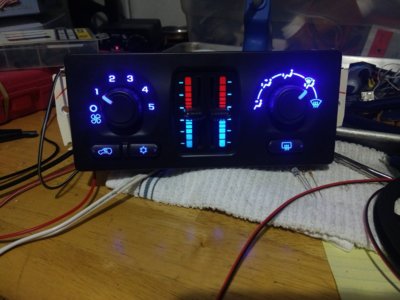
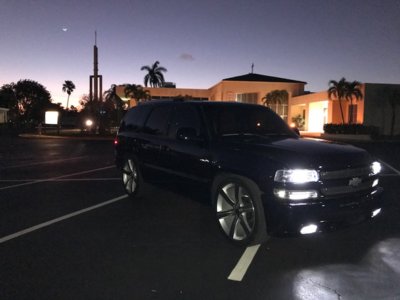
This next update all got started due to the lights going out on the passenger side of my front A/C controller and the driver's rear window regulator going out. I already fixed the regulator in a previous post, but have been waiting to get the rest of this stuff all buttoned up to show the end results. I am very happy with the outcome. Here's the write up and lots of pictures to follow.
LEDs
I wanted to get the A/C controller light fixed and figured it was perfect time to upgrade to blue LEDs and match my steering wheel controls that I had done last year. So I contacted
@ScottyBoy to see if he wanted to take on my project.
One piece turned into 10 pieces as I ripped the dash and doors apart, bubble wrapped everything up and sent the parts his way so that he could do his magic. A massive shout out to @Scottboy as the end result in all blue LEDs looks amazing!! Many thanks man.
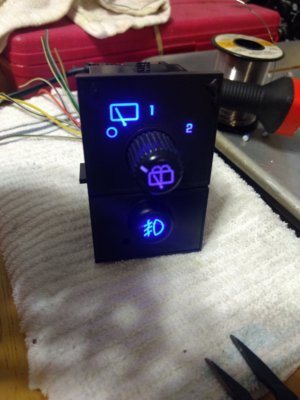
1. Headlight switch
2. Rear wiper/fog switch
3. Traction control switch
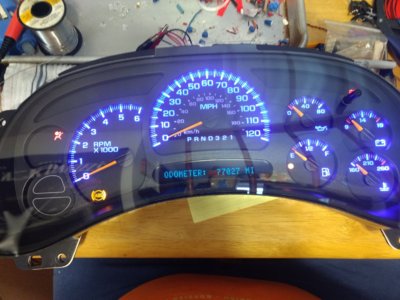
4. Instrument Cluster
5. Front A/C control panel
6. Rear Upper A/C control panel
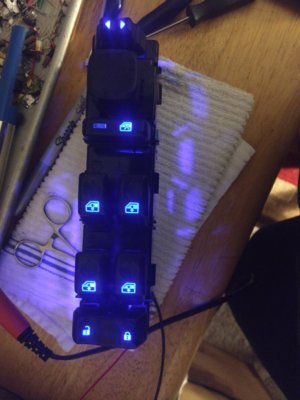
7. Drivers Window/Lock/Mirror switch
8. Front Passenger Window/Lock switch
9. Drivers Rear Window switch
10. Passenger Rear Window switch
Every piece looks fantastic and is super bright. He even put some blue vinyl over the Odometer/DIC digital display to tone down the OEM green tint.
DOORS
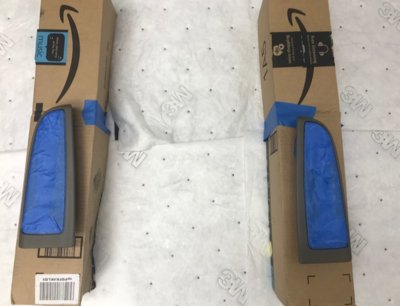
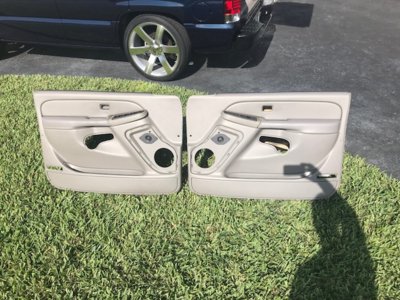
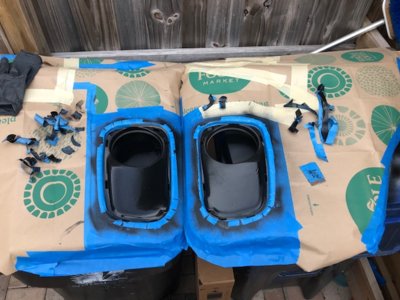
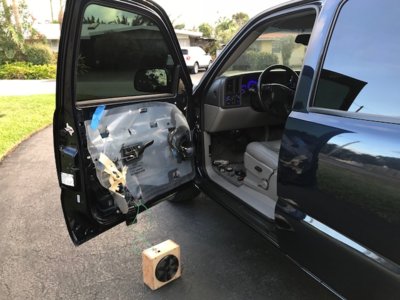
Since the doors were already apart, it was time to clean the door panels first. I had also been wanting to do a little Plasti Dip work on the front door panels to complement the sail panels and door handle plates that I had done a few years ago, just to give them a little more contrast.
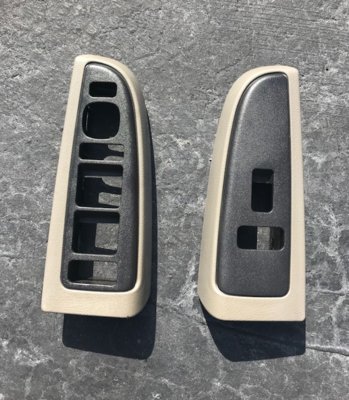
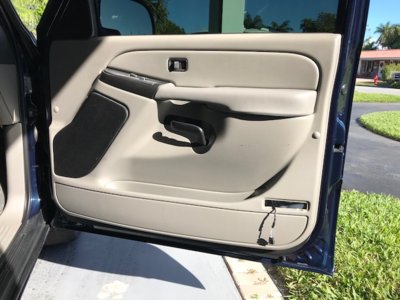
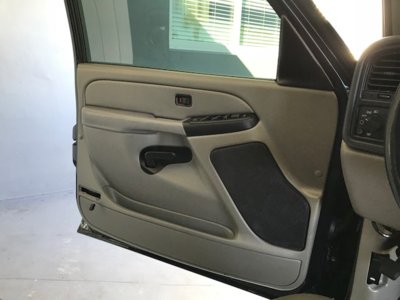
The speaker grilles had already been spray painted black. Notably, the door switch cover plate/assembly to match the black where the switches actually sit and behind the speaker grilles.
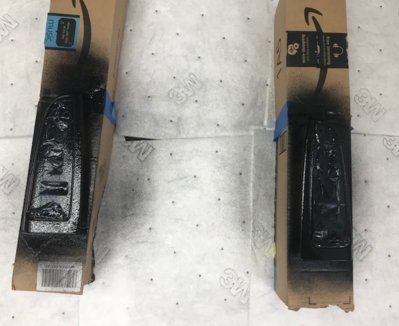
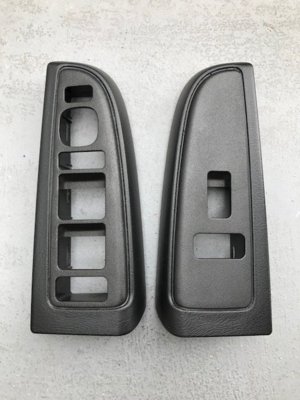
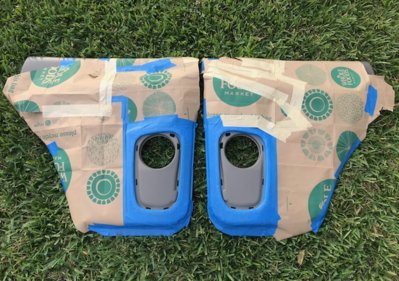
I pulled the door switch assembly and gave it quite a few coats of Plasti Dip so the whole piece is black now. I Plasti Dipped behind the speaker grilles so that when you look at the door, you won't really see the speakers.
The black speaker grille, black speakers and black background all blend together, rather than previously where the door was mono-chromatic with the black speakers being the focus point. I think the outcome looks very nice with a small bit of contrast to the doors. And it can all be removed without too much trouble.
SPEAKERS
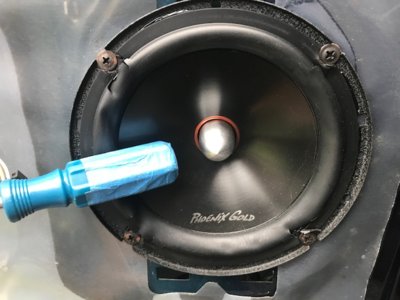
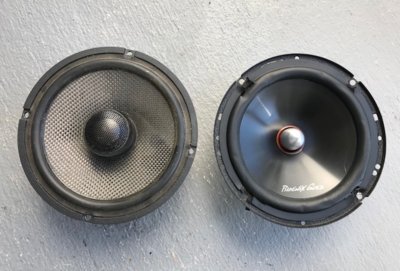
My front 6.5" components have been blown for some time, however I just never got around to changing them out until the doors were already torn apart. The timing was perfect.
After searching around for options, I hit up
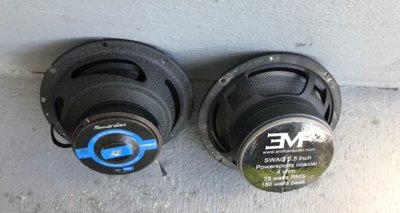
@NathanJax for some info/input and he told me about the EMF Audio SWAG 6.5" Coaxial speakers. He said that they should pound pretty good in that mid-bass range and fill out the front of the cabin nicely.
They had great reviews, could handle pretty much all the power you could throw at them, have a carbon fiber cone and are built for the outdoors and marine environment. Price $150 shipped.
I almost hit that order button numerous times and then I came across a used pair for $76 shipped. I jumped on that pair immediately.
They turned up in their own little wooden boxes (I guess the previous owner had them mounted somewhere and built the boxes) and were a little dusty as described, but otherwise in perfect condition. I wiped them down and tested them. They sounded really good in those boxes.
The driver's side did not want to line up with the OEM holes, so I drilled 4 new holes and installed it, while the passenger side took to the OEM holes just fine. I decided to keep the crossover and tweeter in place since it was already hooked up and take advantage of the highs.
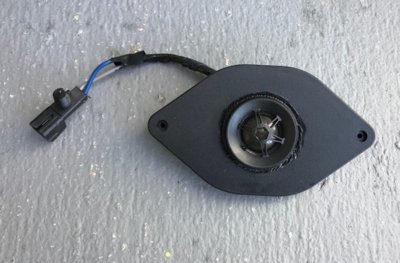
I hadn't noticed until now that when the shop originally installed the components a few years ago, that they had melted the OEM tweeter out and installed the aftermarket tweeter into place so that it would fit in the OEM location in the door. Pretty cool little mod.
On to the pictures.
